Smooth ceilings
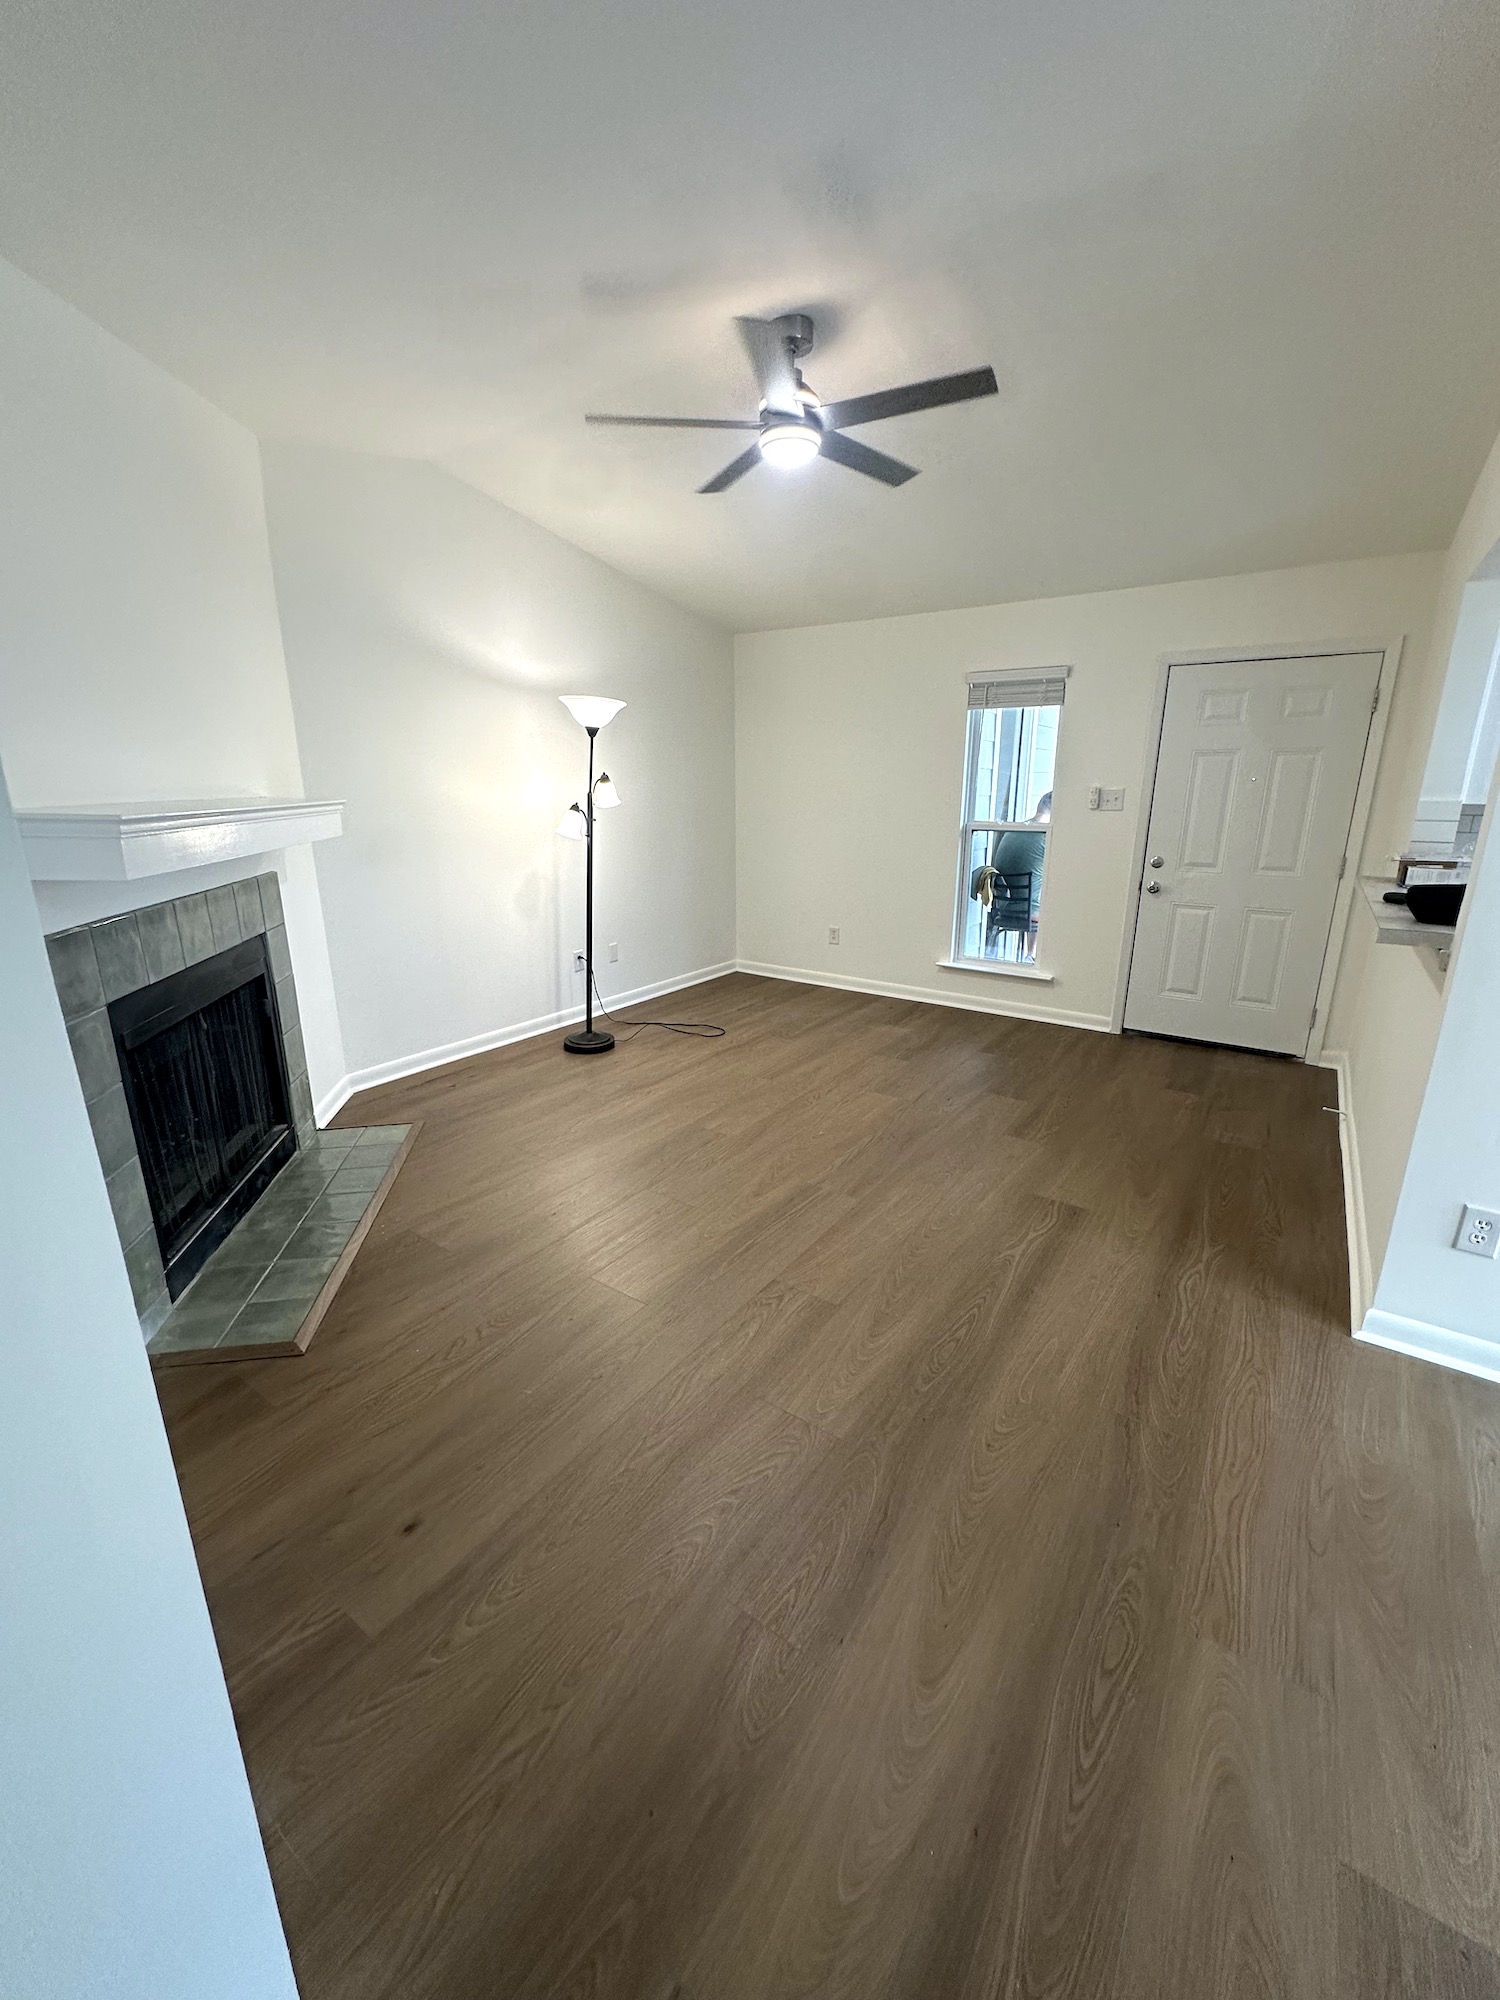
Popcorn texture was removed throughout the apartment. Cracks and damaged areas were repaired, skim-coated, sanded, primed and painted for a clean smooth finish.
Completed project · Full apartment renovation · Austin, TX
This Austin apartment was transformed through coordinated ceiling, wall, bathroom, window, door, painting and storage work—managed as one connected renovation instead of a collection of unrelated jobs.
Real project · Clear written scope · Payments by completed stages
Start with the result
The goal was not to refresh one isolated room. It was to create a consistent apartment—from smooth ceilings and walls to the bathroom, doors, closets and windows.
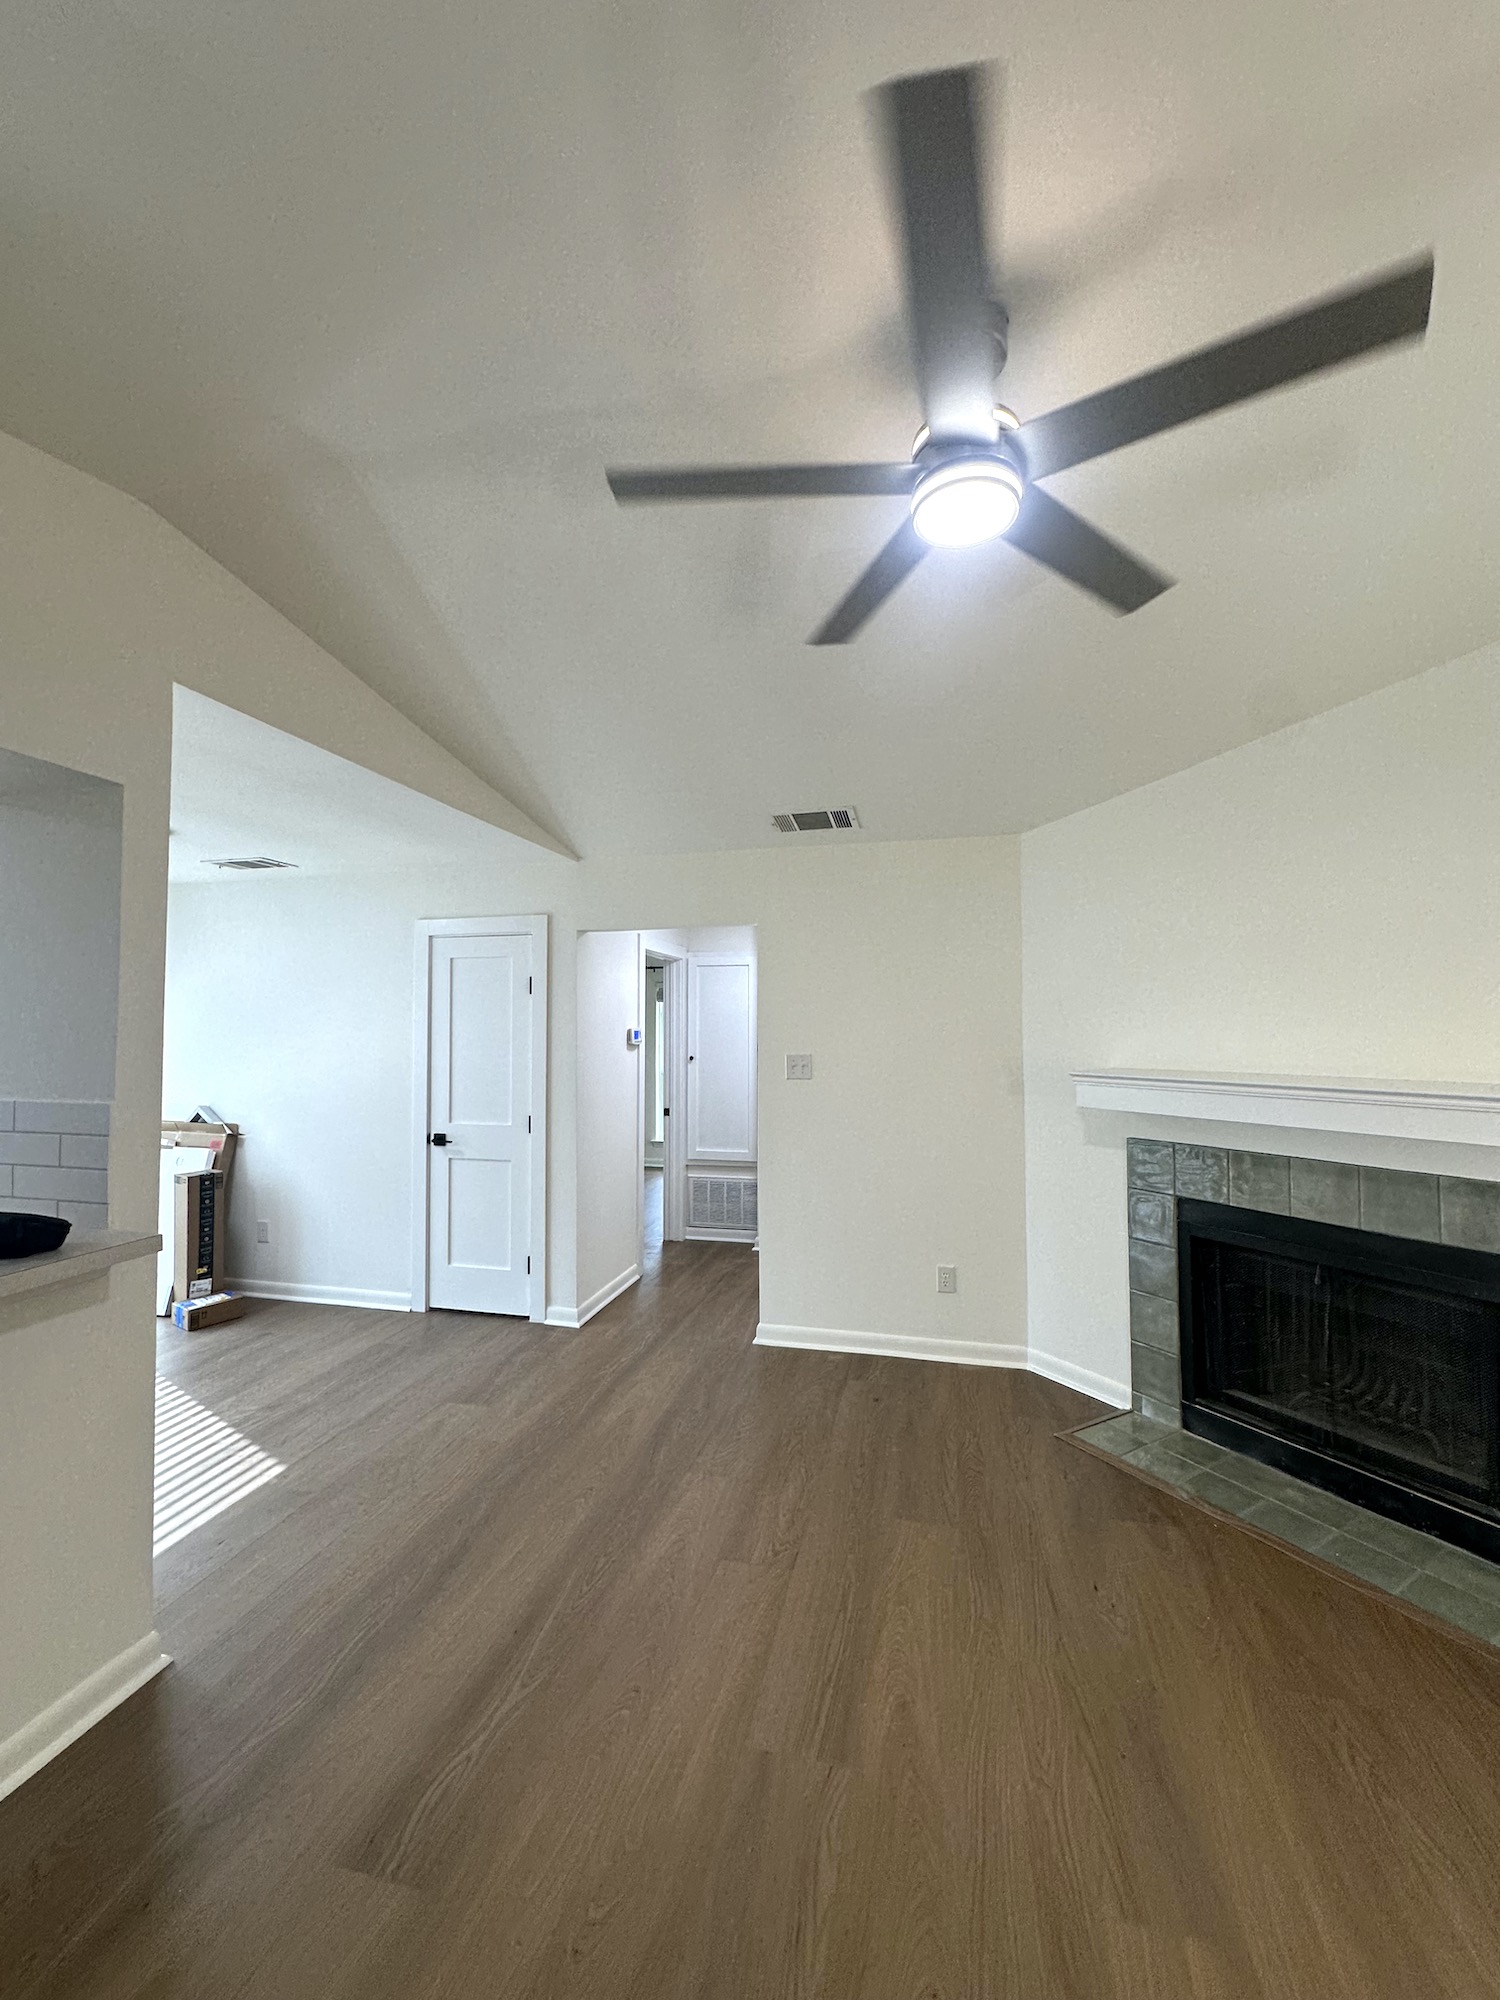
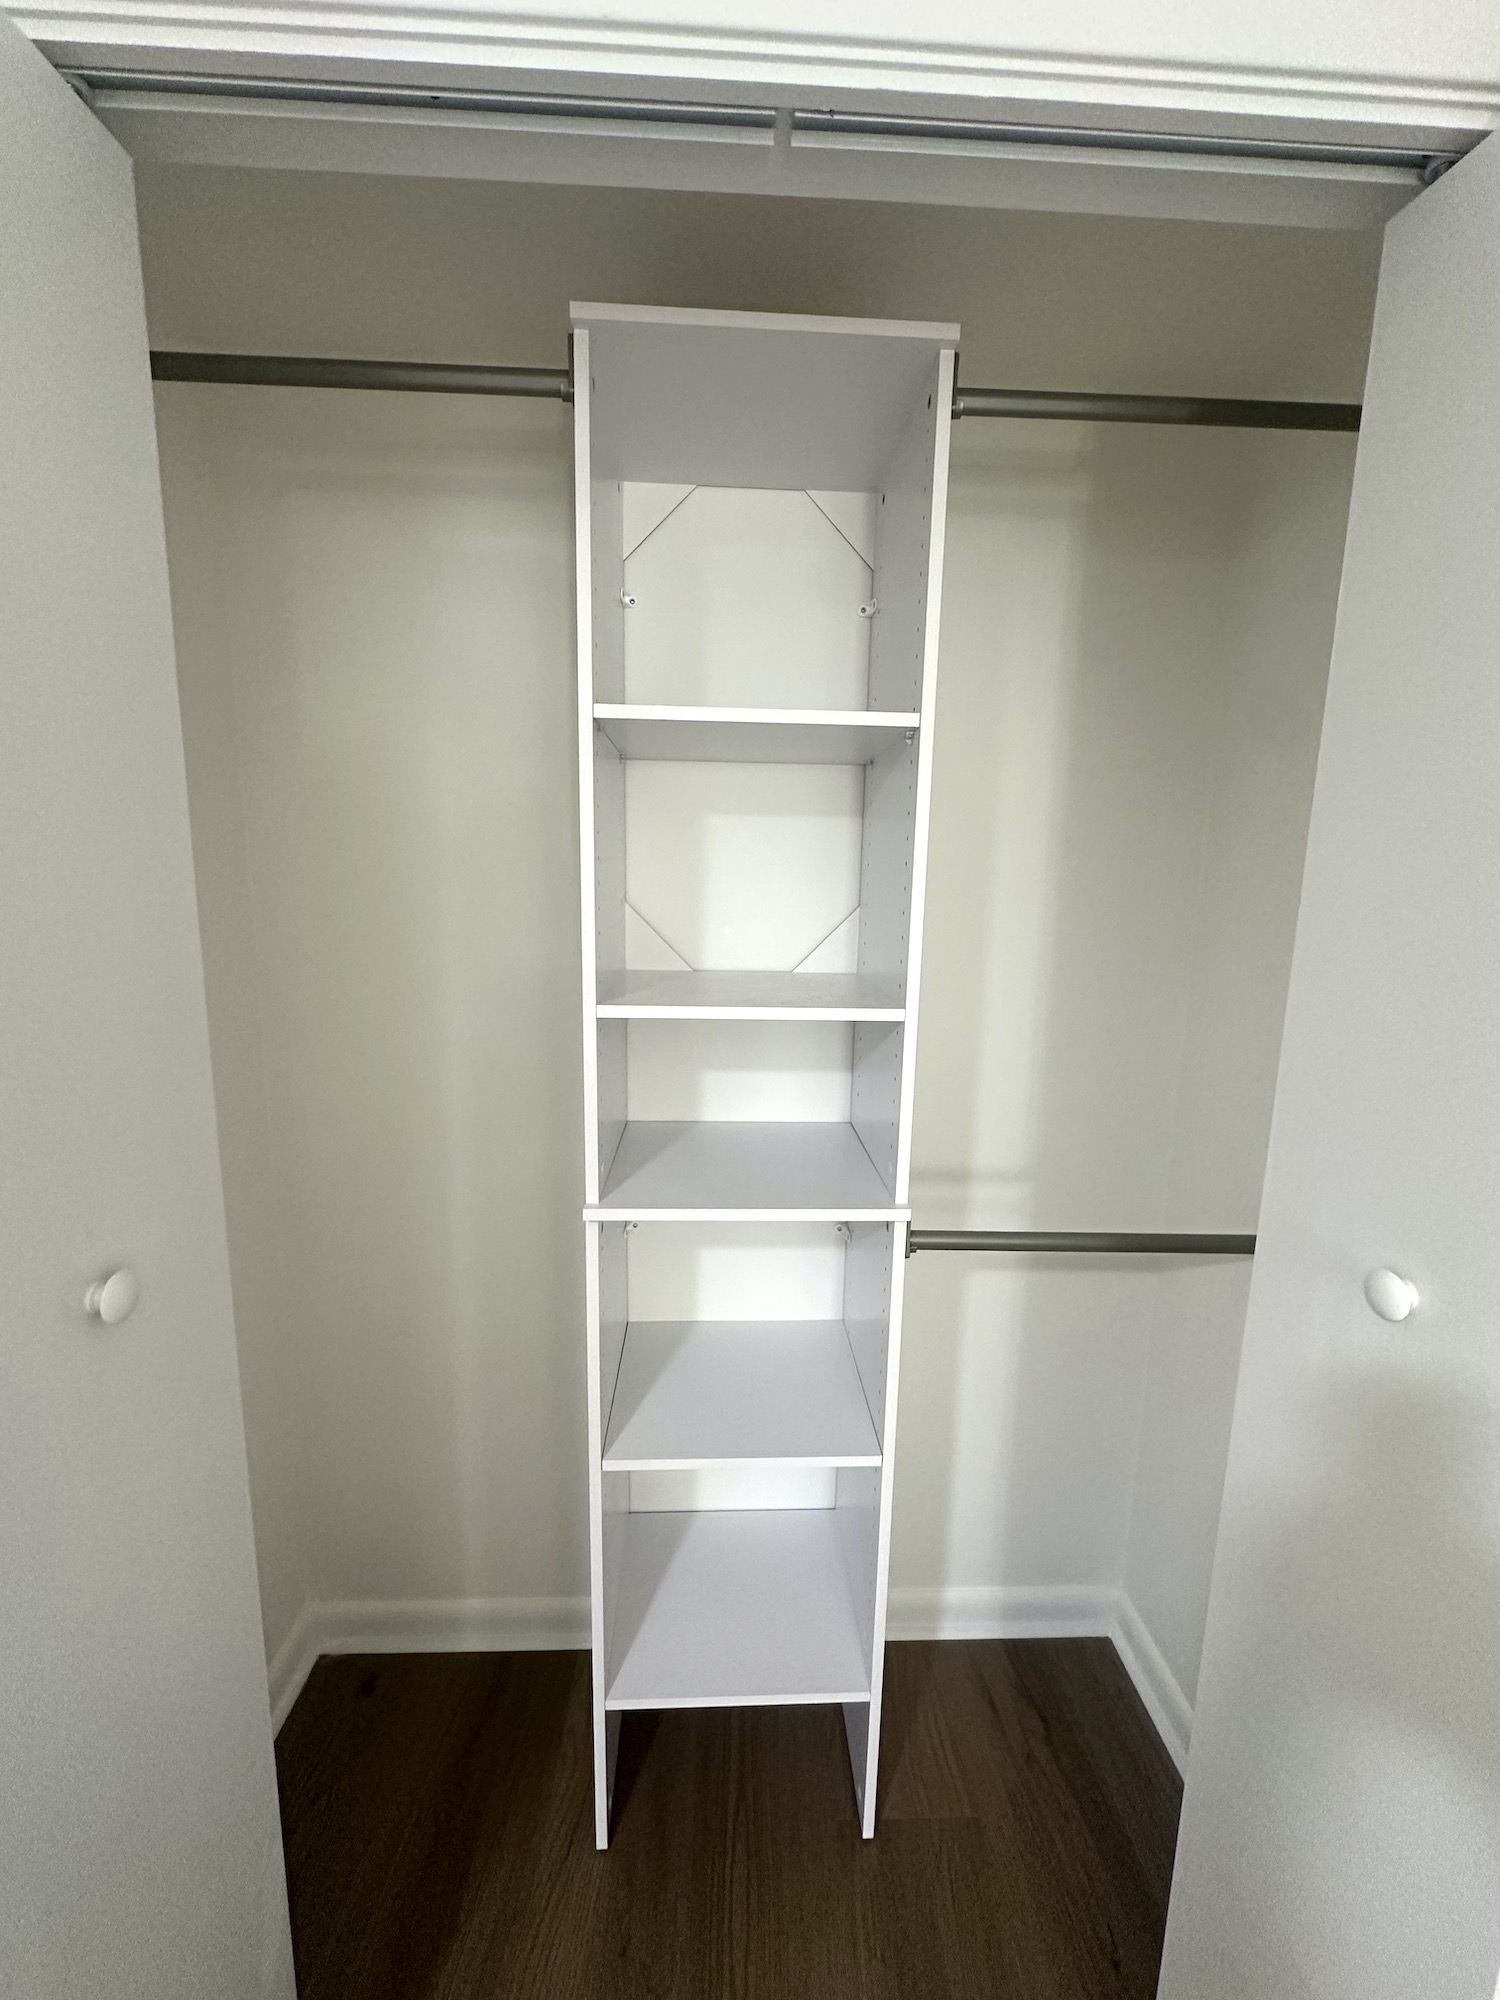
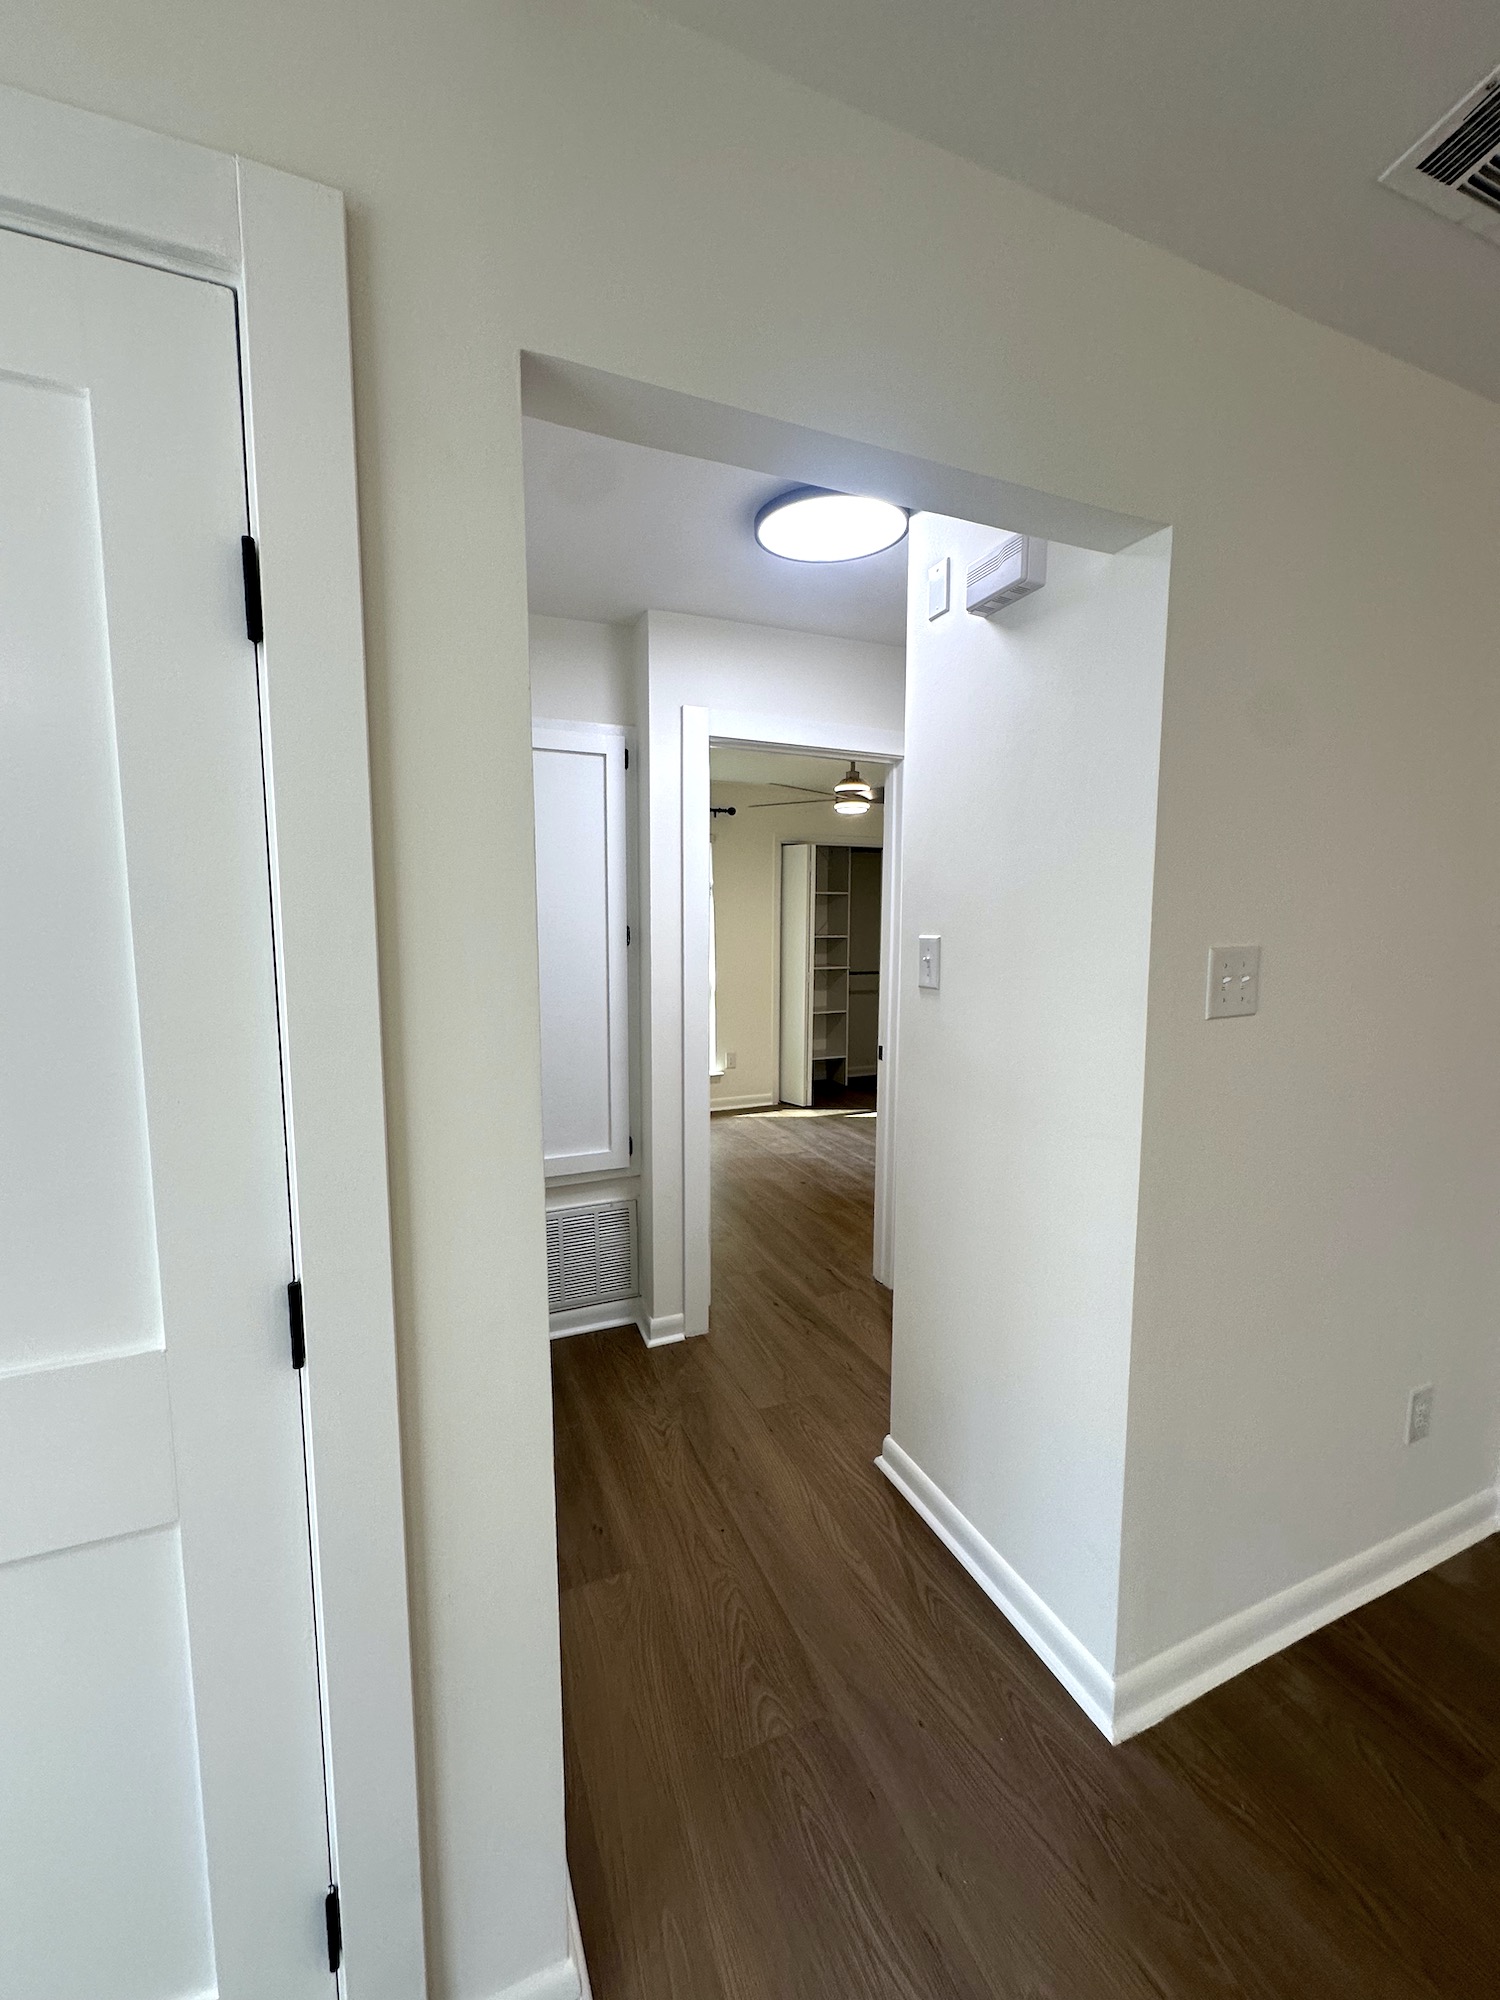
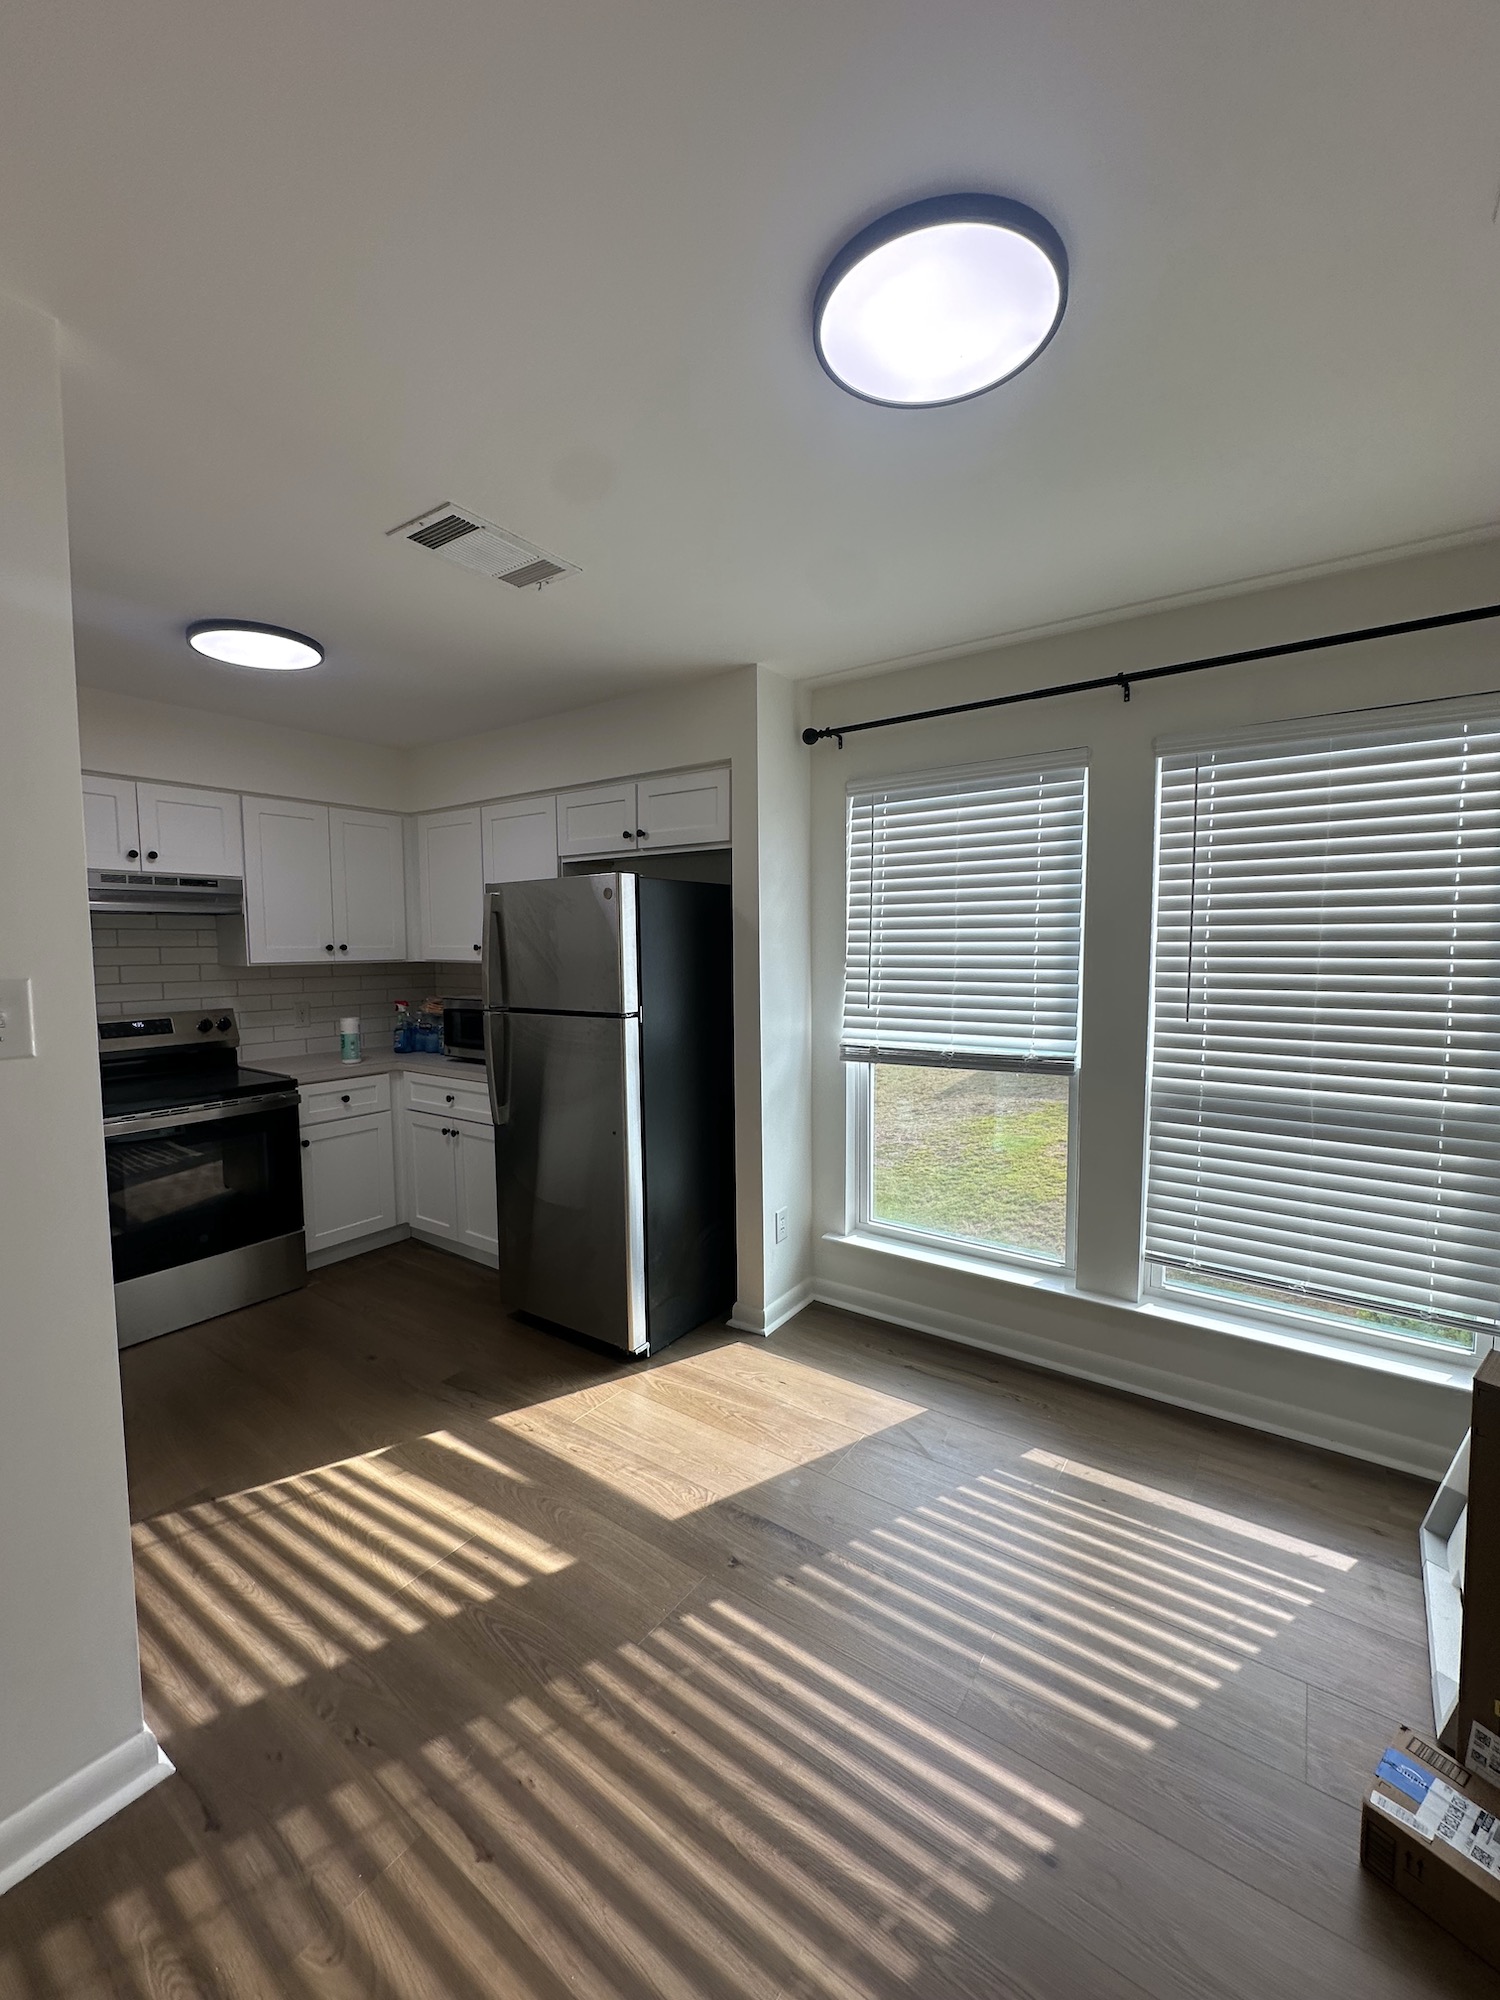
Popcorn texture was removed from the ceilings, including the vaulted living-room ceiling. The walls were sanded, repaired and refined to a Level 5 finish before primer and paint. New doors, insulated vinyl windows and organized closet storage completed the interior update.
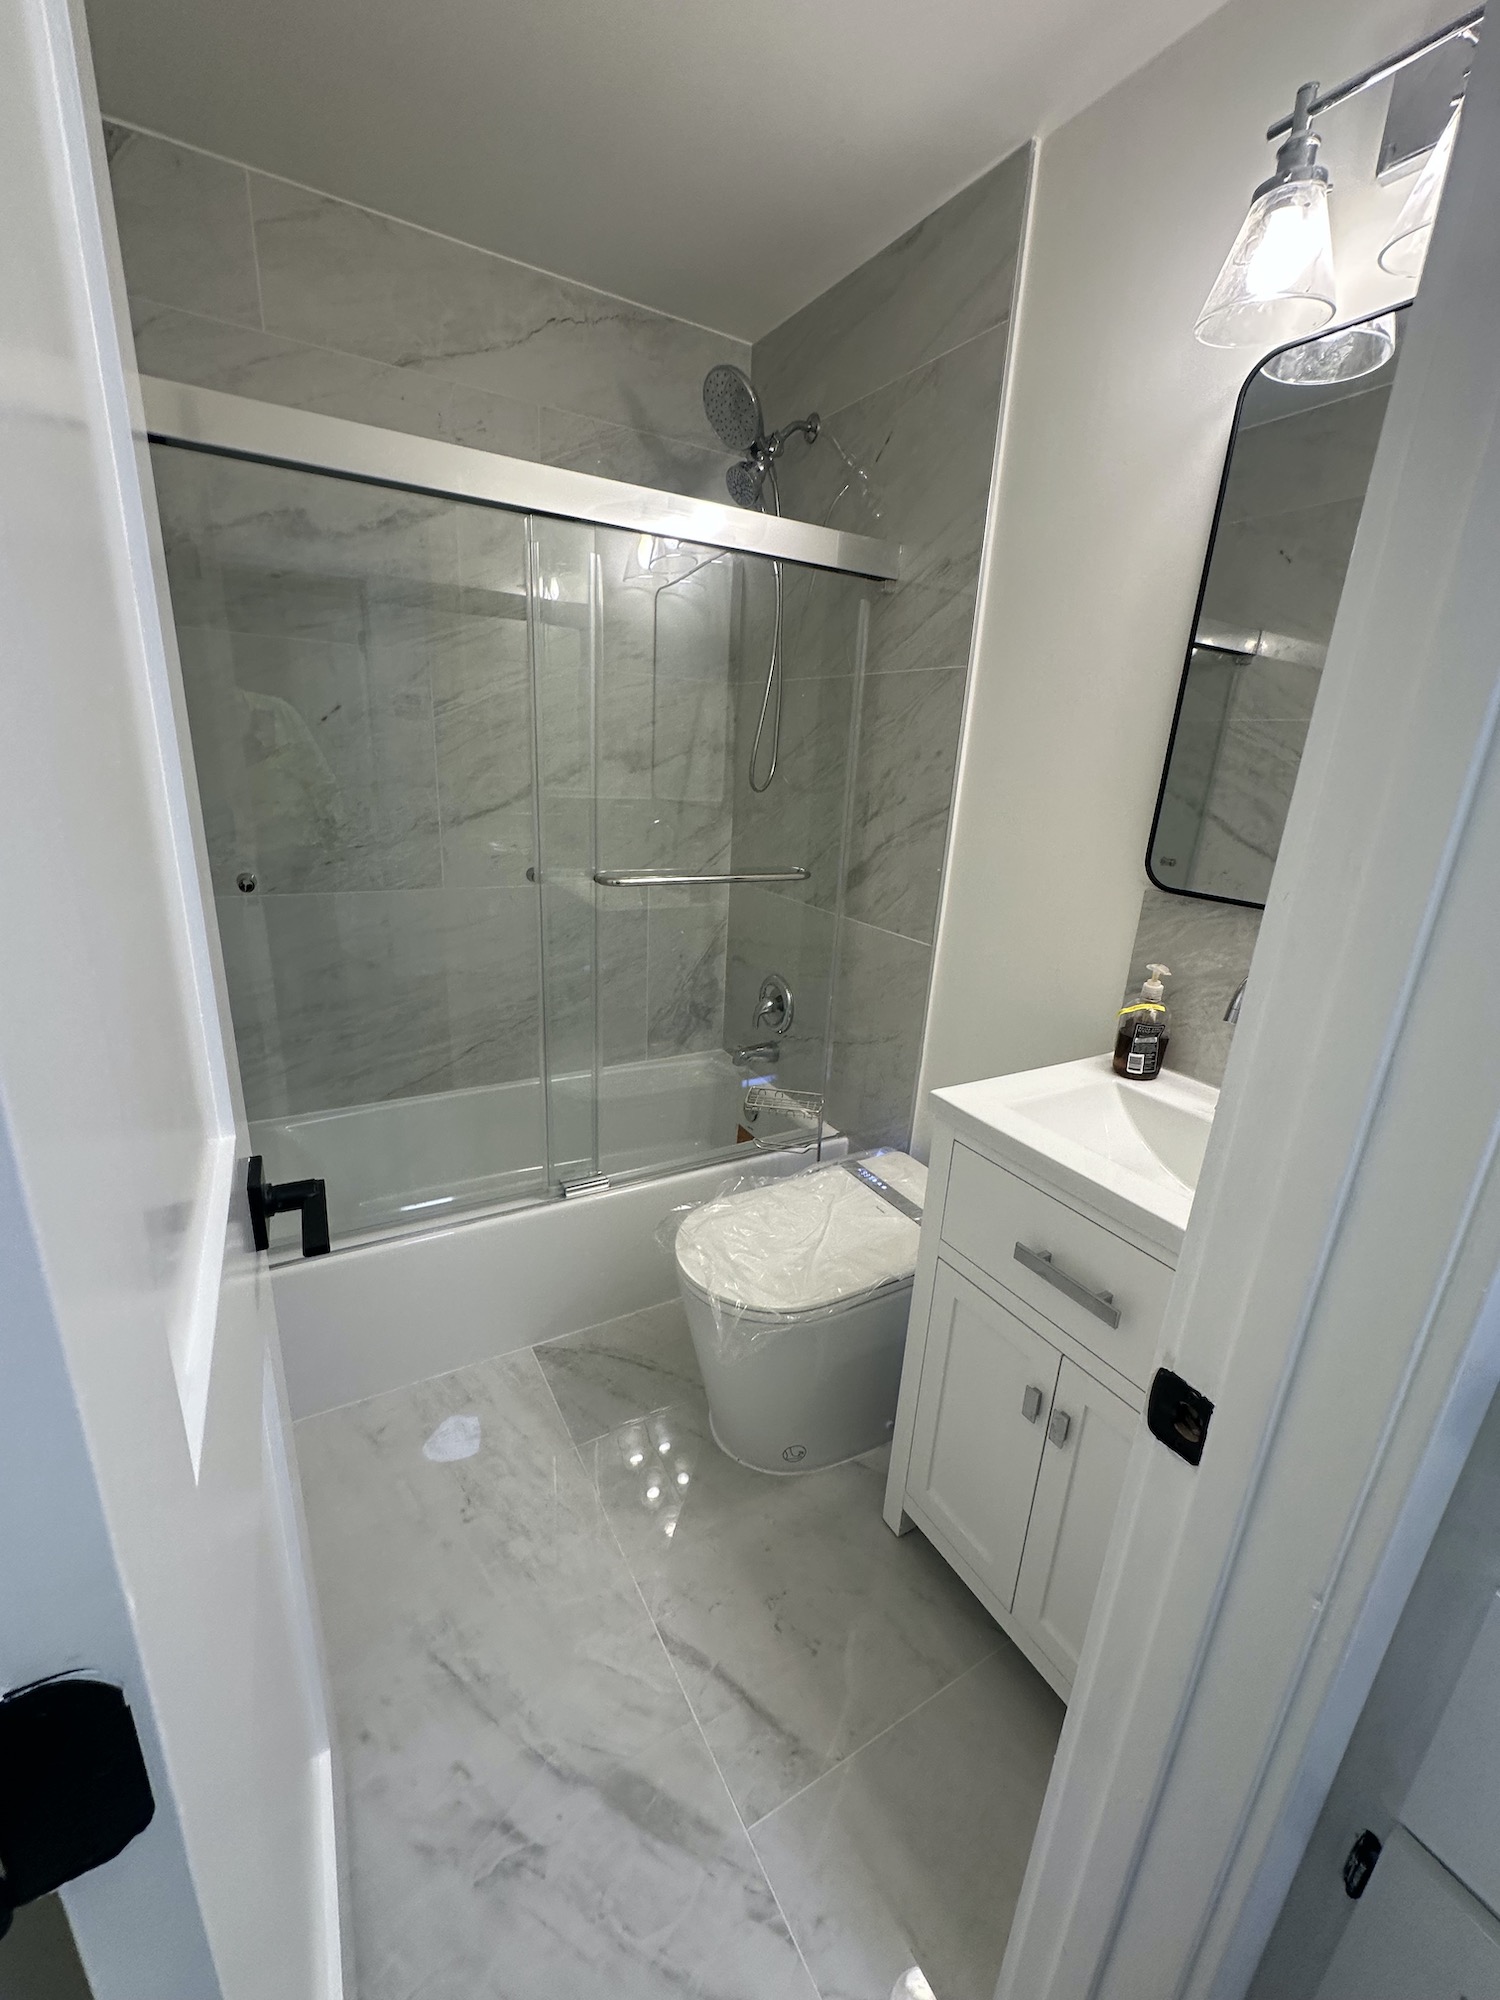
The bathroom became the feature space: a new acrylic bathtub, large-format tile, glass shower panel, updated fixtures, vanity and smart toilet were installed as one coordinated system.
Project video tour
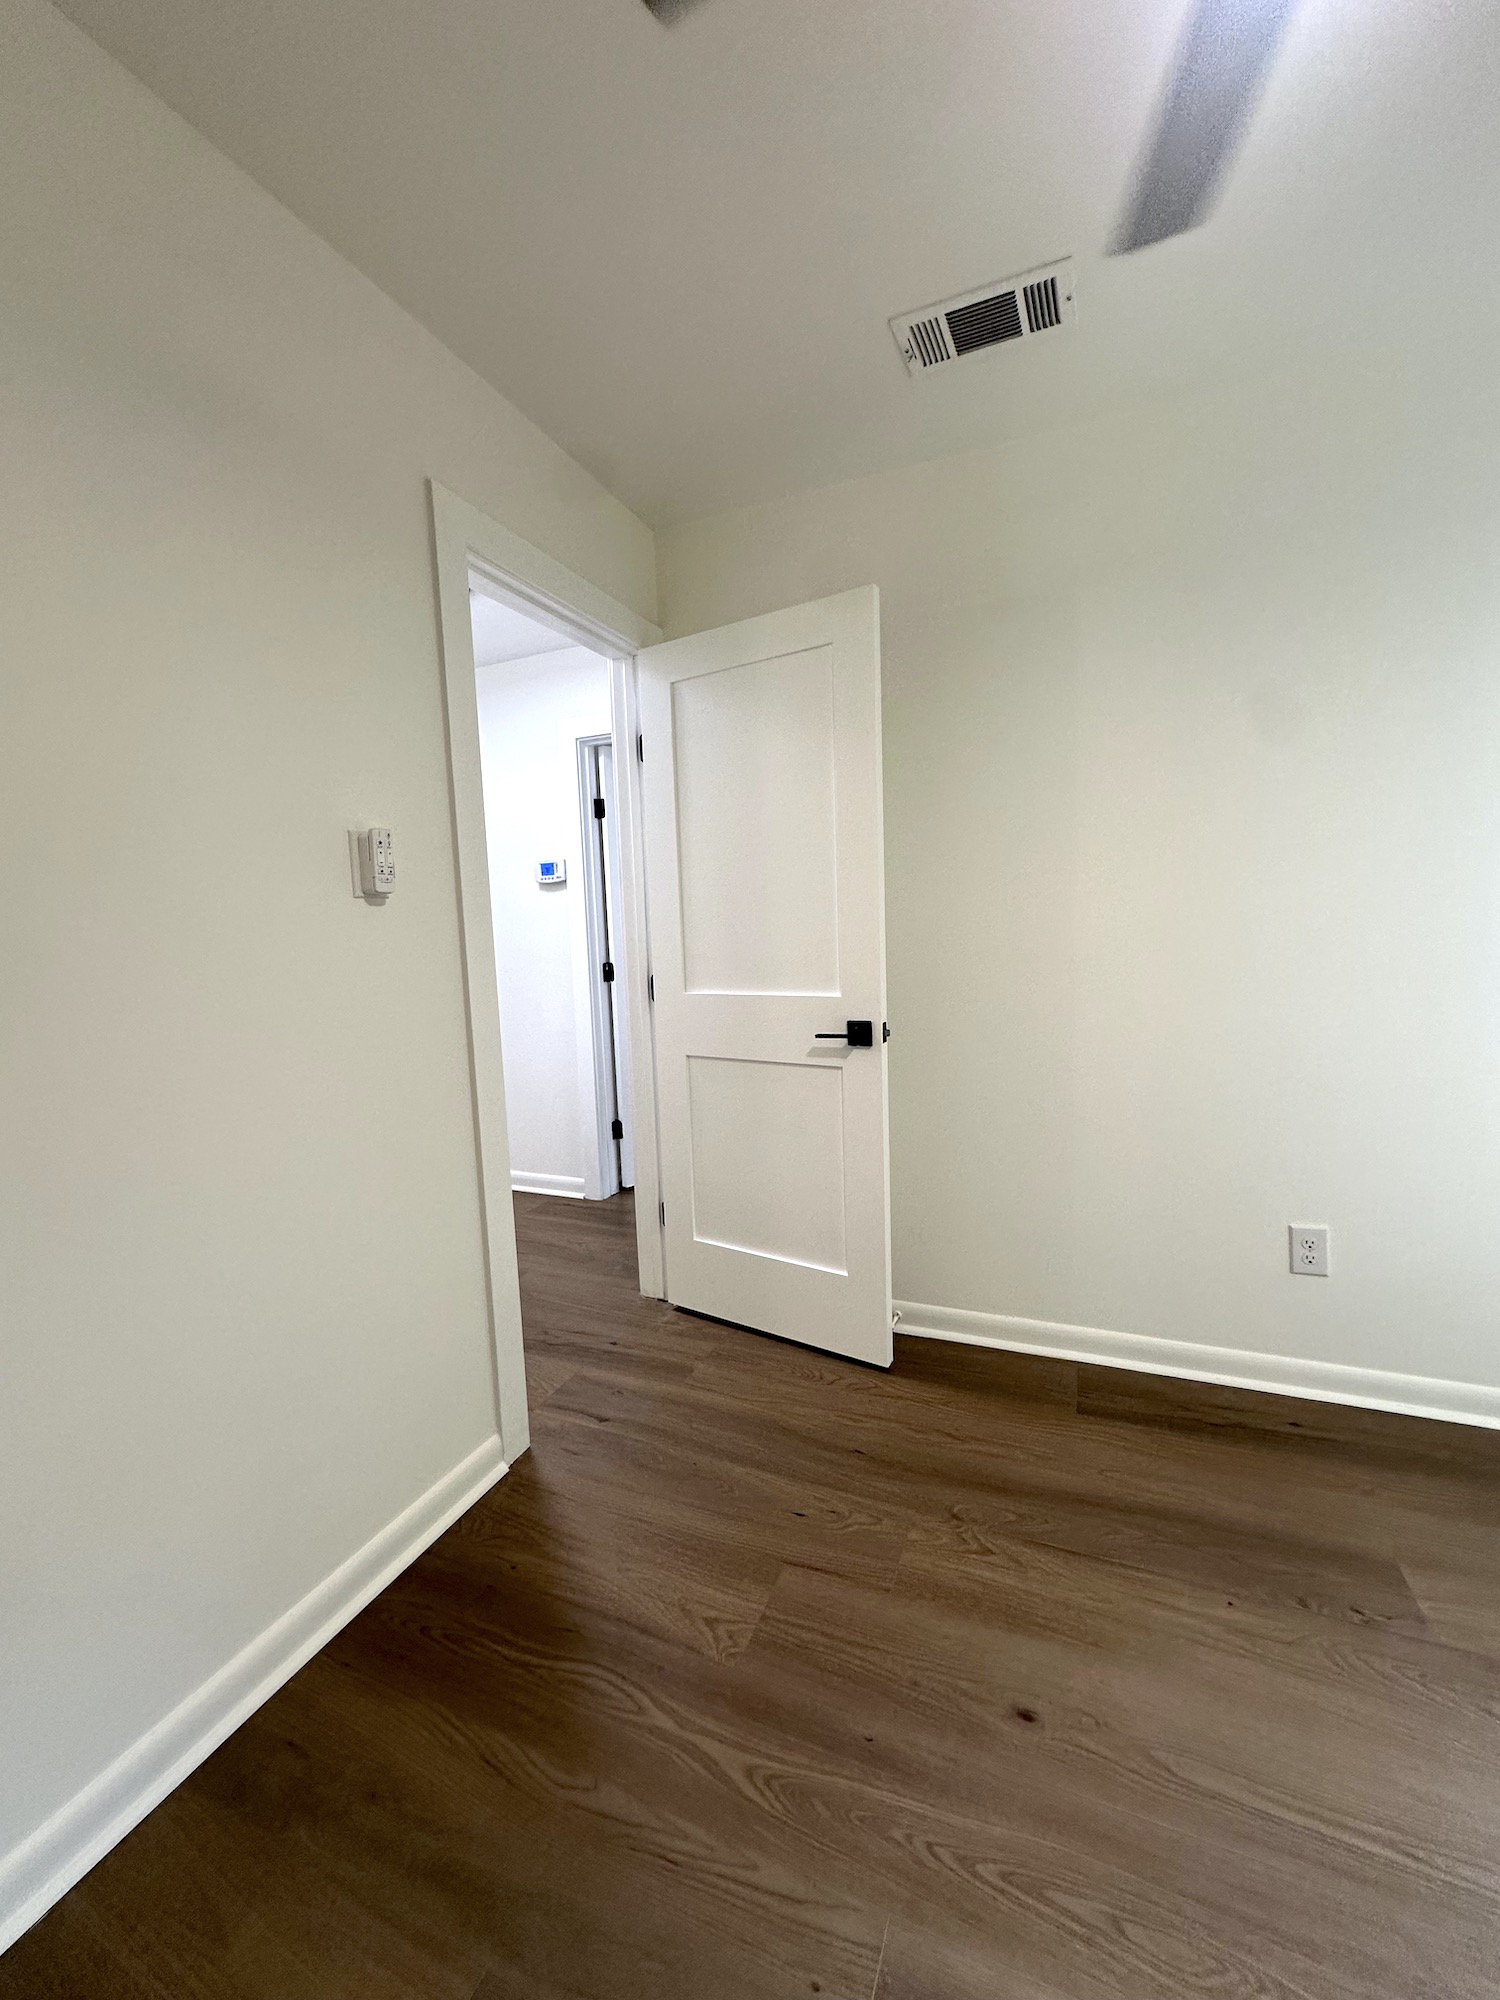
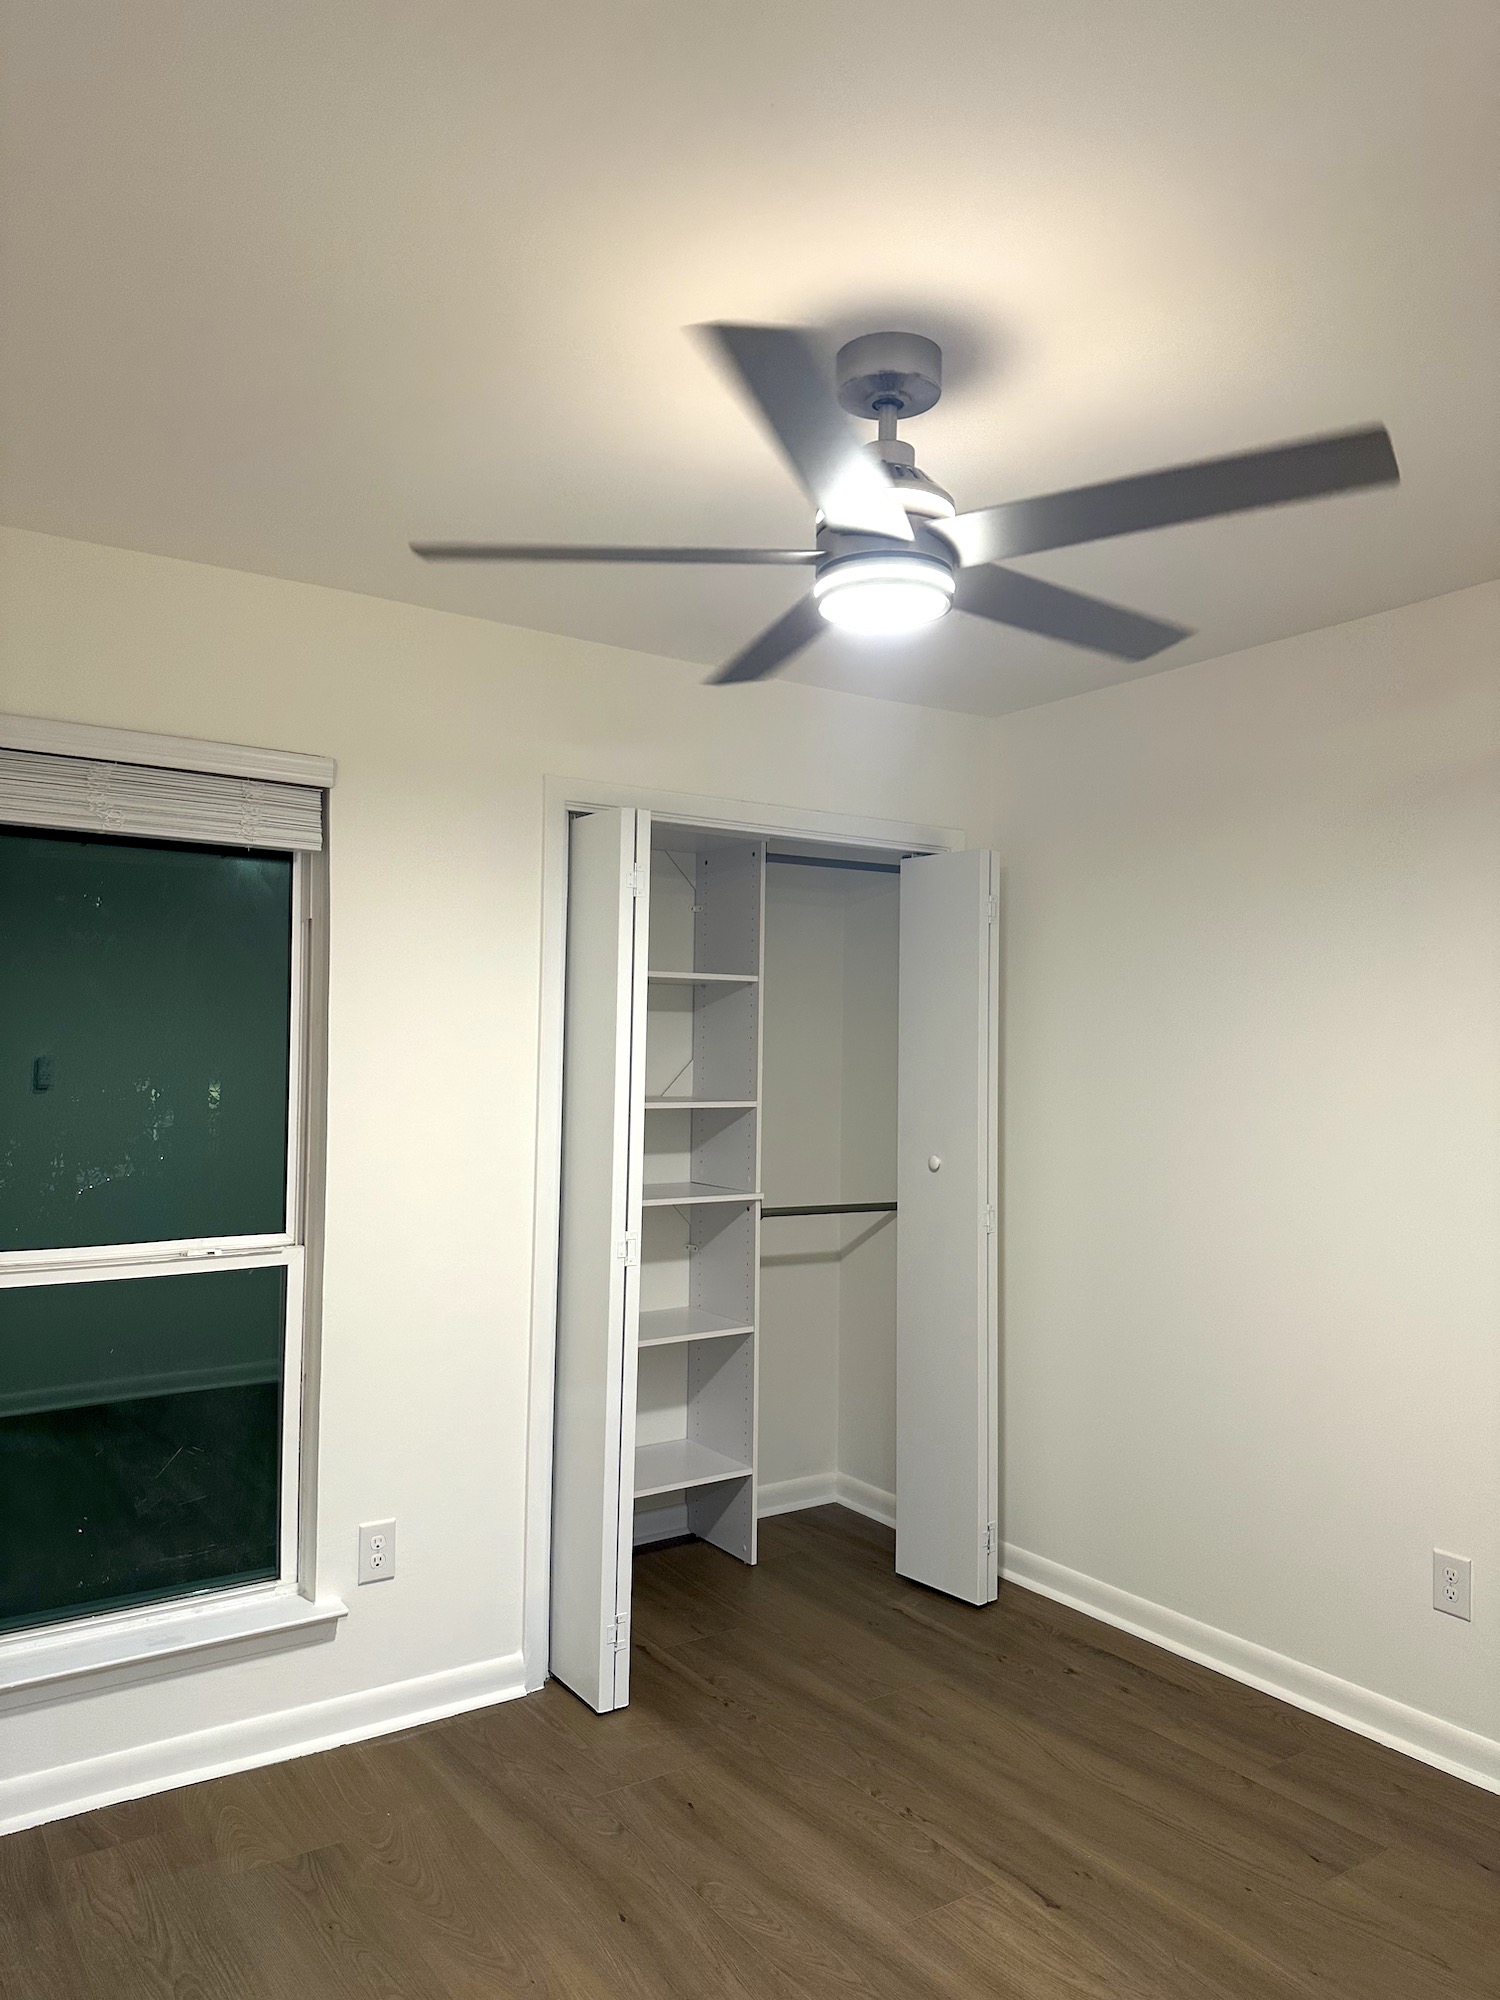
See how the smooth ceilings, Level 5 walls, new doors, windows, bathroom finishes and storage systems come together as one finished interior.
Complete project scope
Each stage supported the next one, reducing repeated preparation and keeping the finished surfaces consistent.
Popcorn texture was removed throughout the apartment. Cracks and damaged areas were repaired, skim-coated, sanded, primed and painted for a clean smooth finish.
Walls were repaired, sanded and skim-coated to a Level 5 finish, then primed and painted for a consistent surface across the rooms.
Full demolition, new acrylic tub, wet-area preparation, large-format wall and floor tile, vanity, fixtures, glass panel and smart toilet.
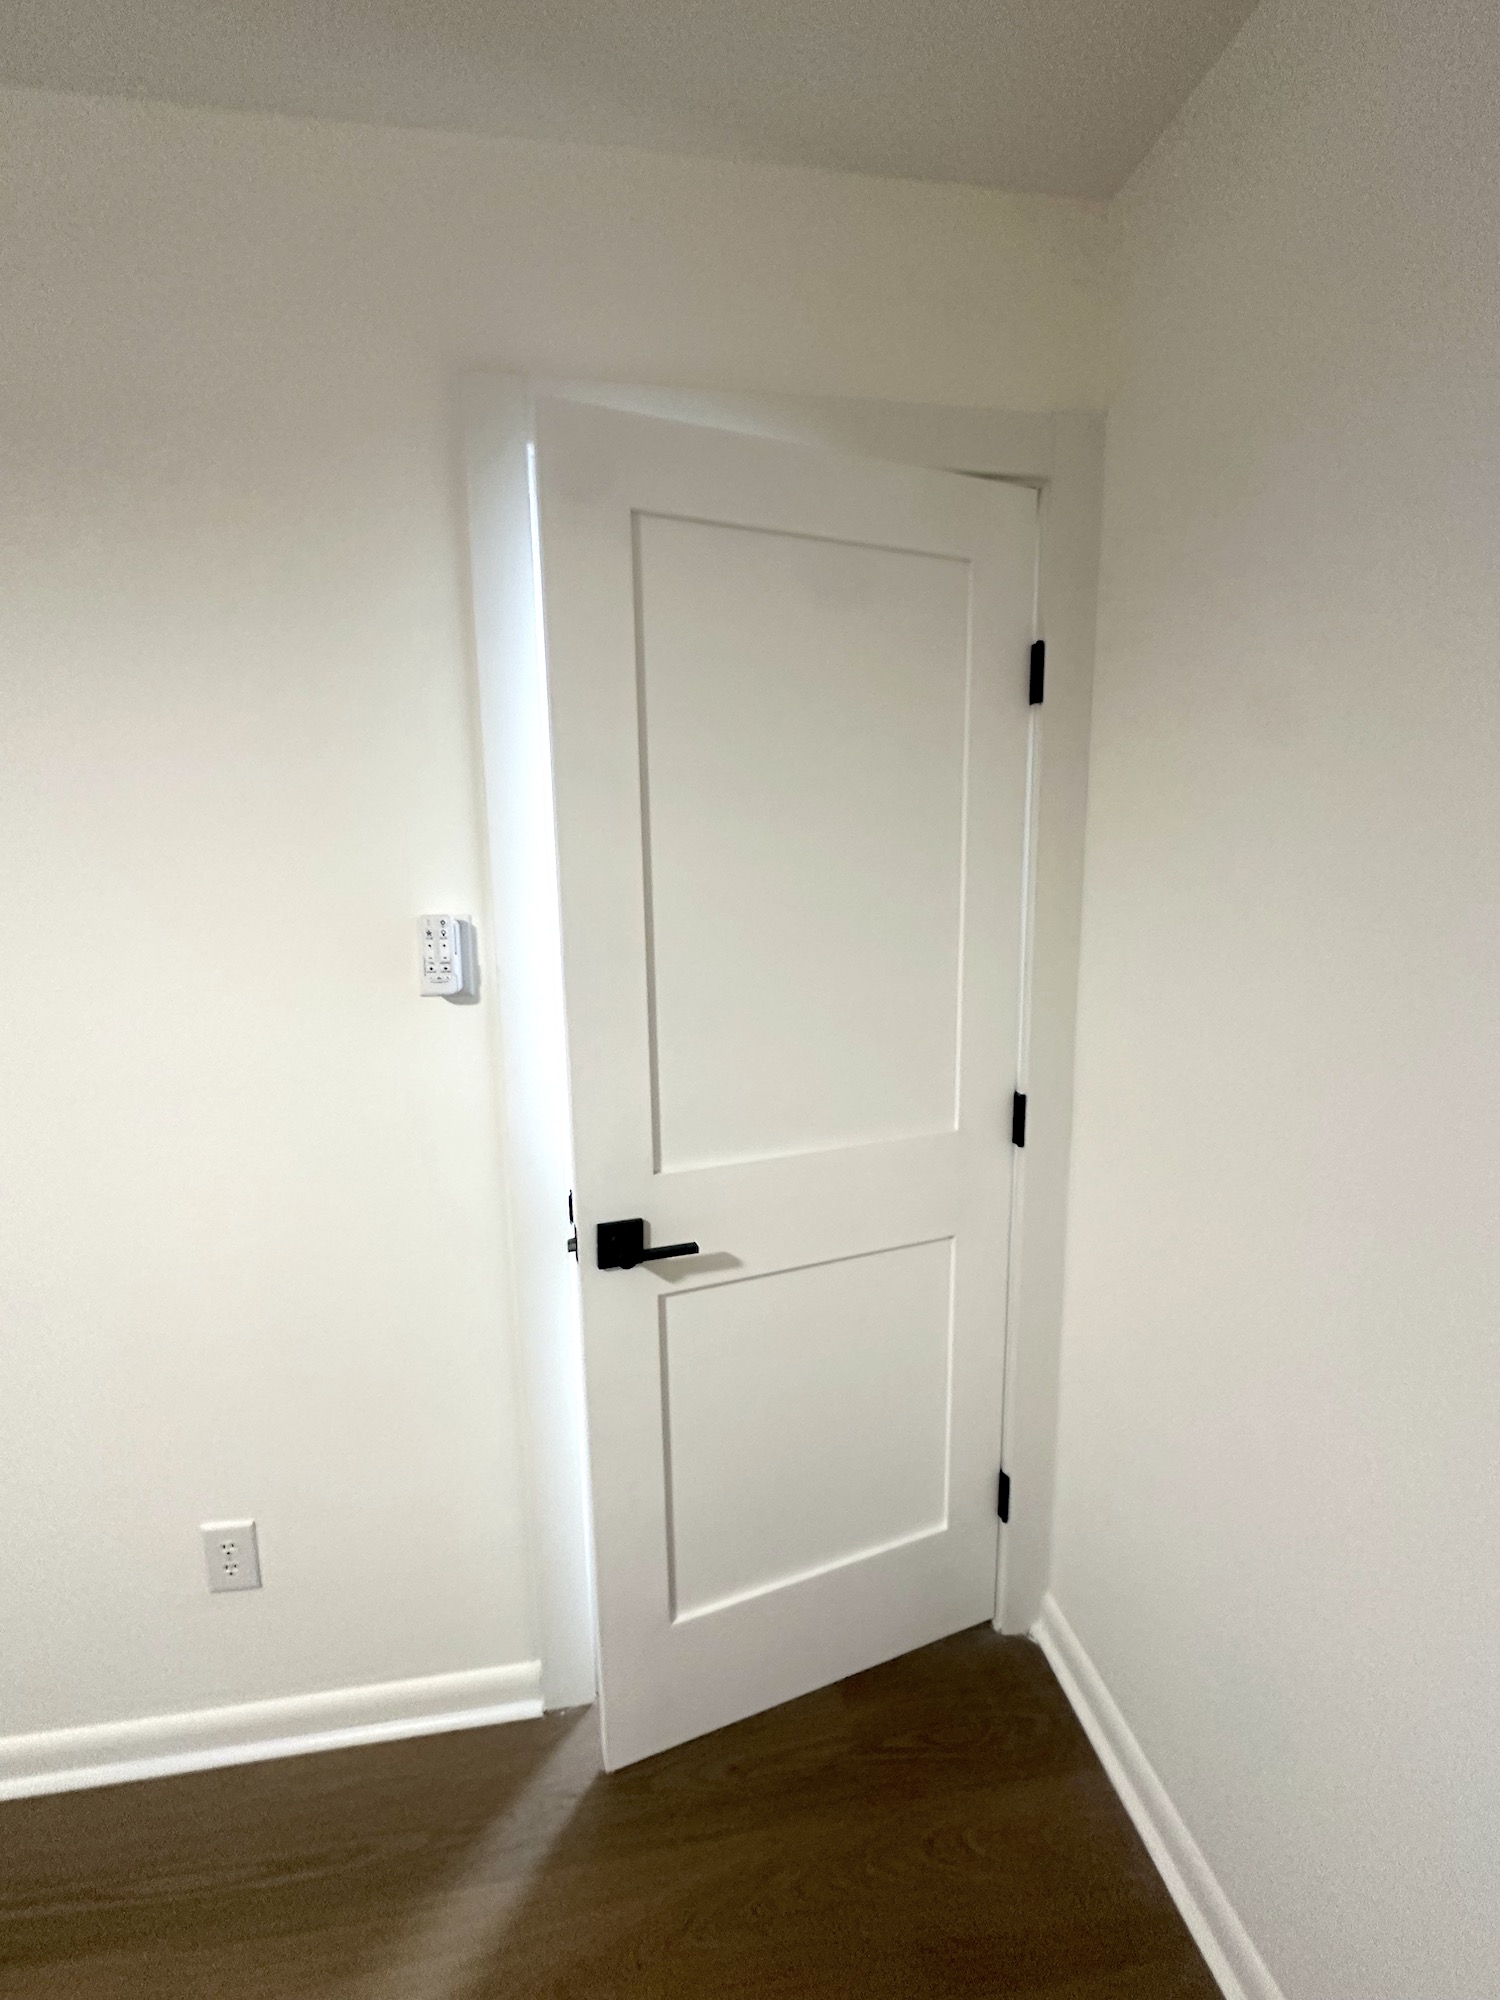
Existing doors were replaced, aligned and adjusted, with hardware, casing transitions, caulking and finish work completed around each opening.
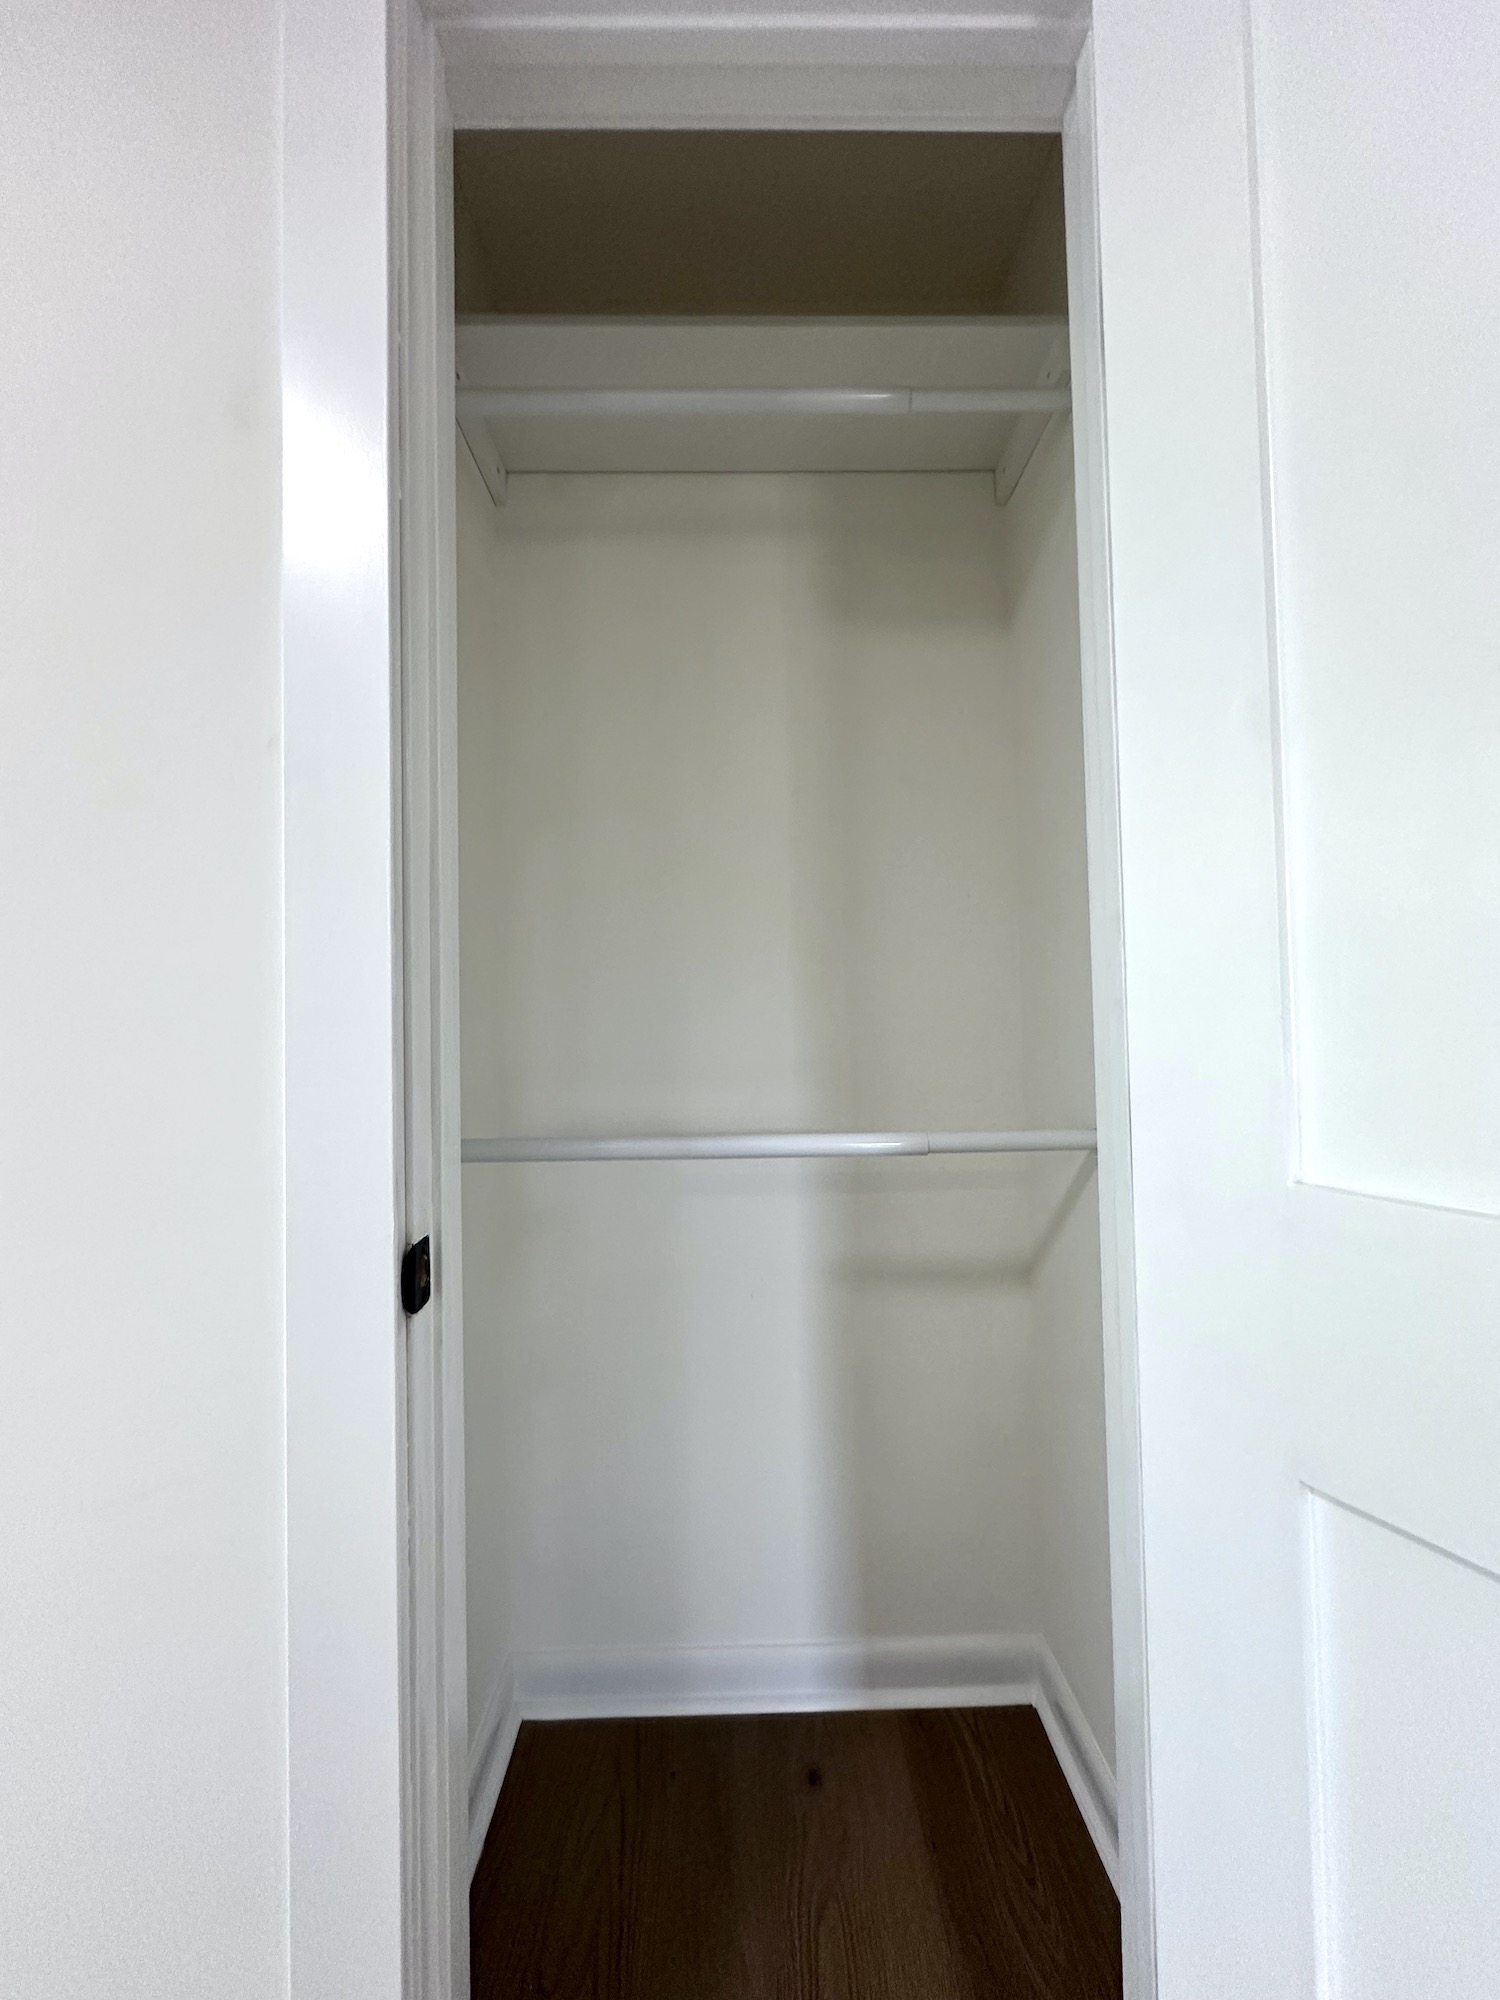
Closets received organized storage systems with shelving and hanging space planned to make better use of the available footprint.
Old aluminum windows and frames were removed, openings were prepared and sealed, and new insulated vinyl windows were installed.
The laundry area was repaired and refreshed with new flooring, wall and ceiling preparation, paint and water-heater drain-pan work.
Localized trim and frame repairs, construction debris removal, final touch-ups and a project walkthrough completed the renovation.
Different specialists worked in an organized sequence while Kirill remained the homeowner’s direct point of contact throughout the project.
Behind the finished surfaces
Good renovation work is easier to trust when you can see what happened before the paint, tile and fixtures went in.
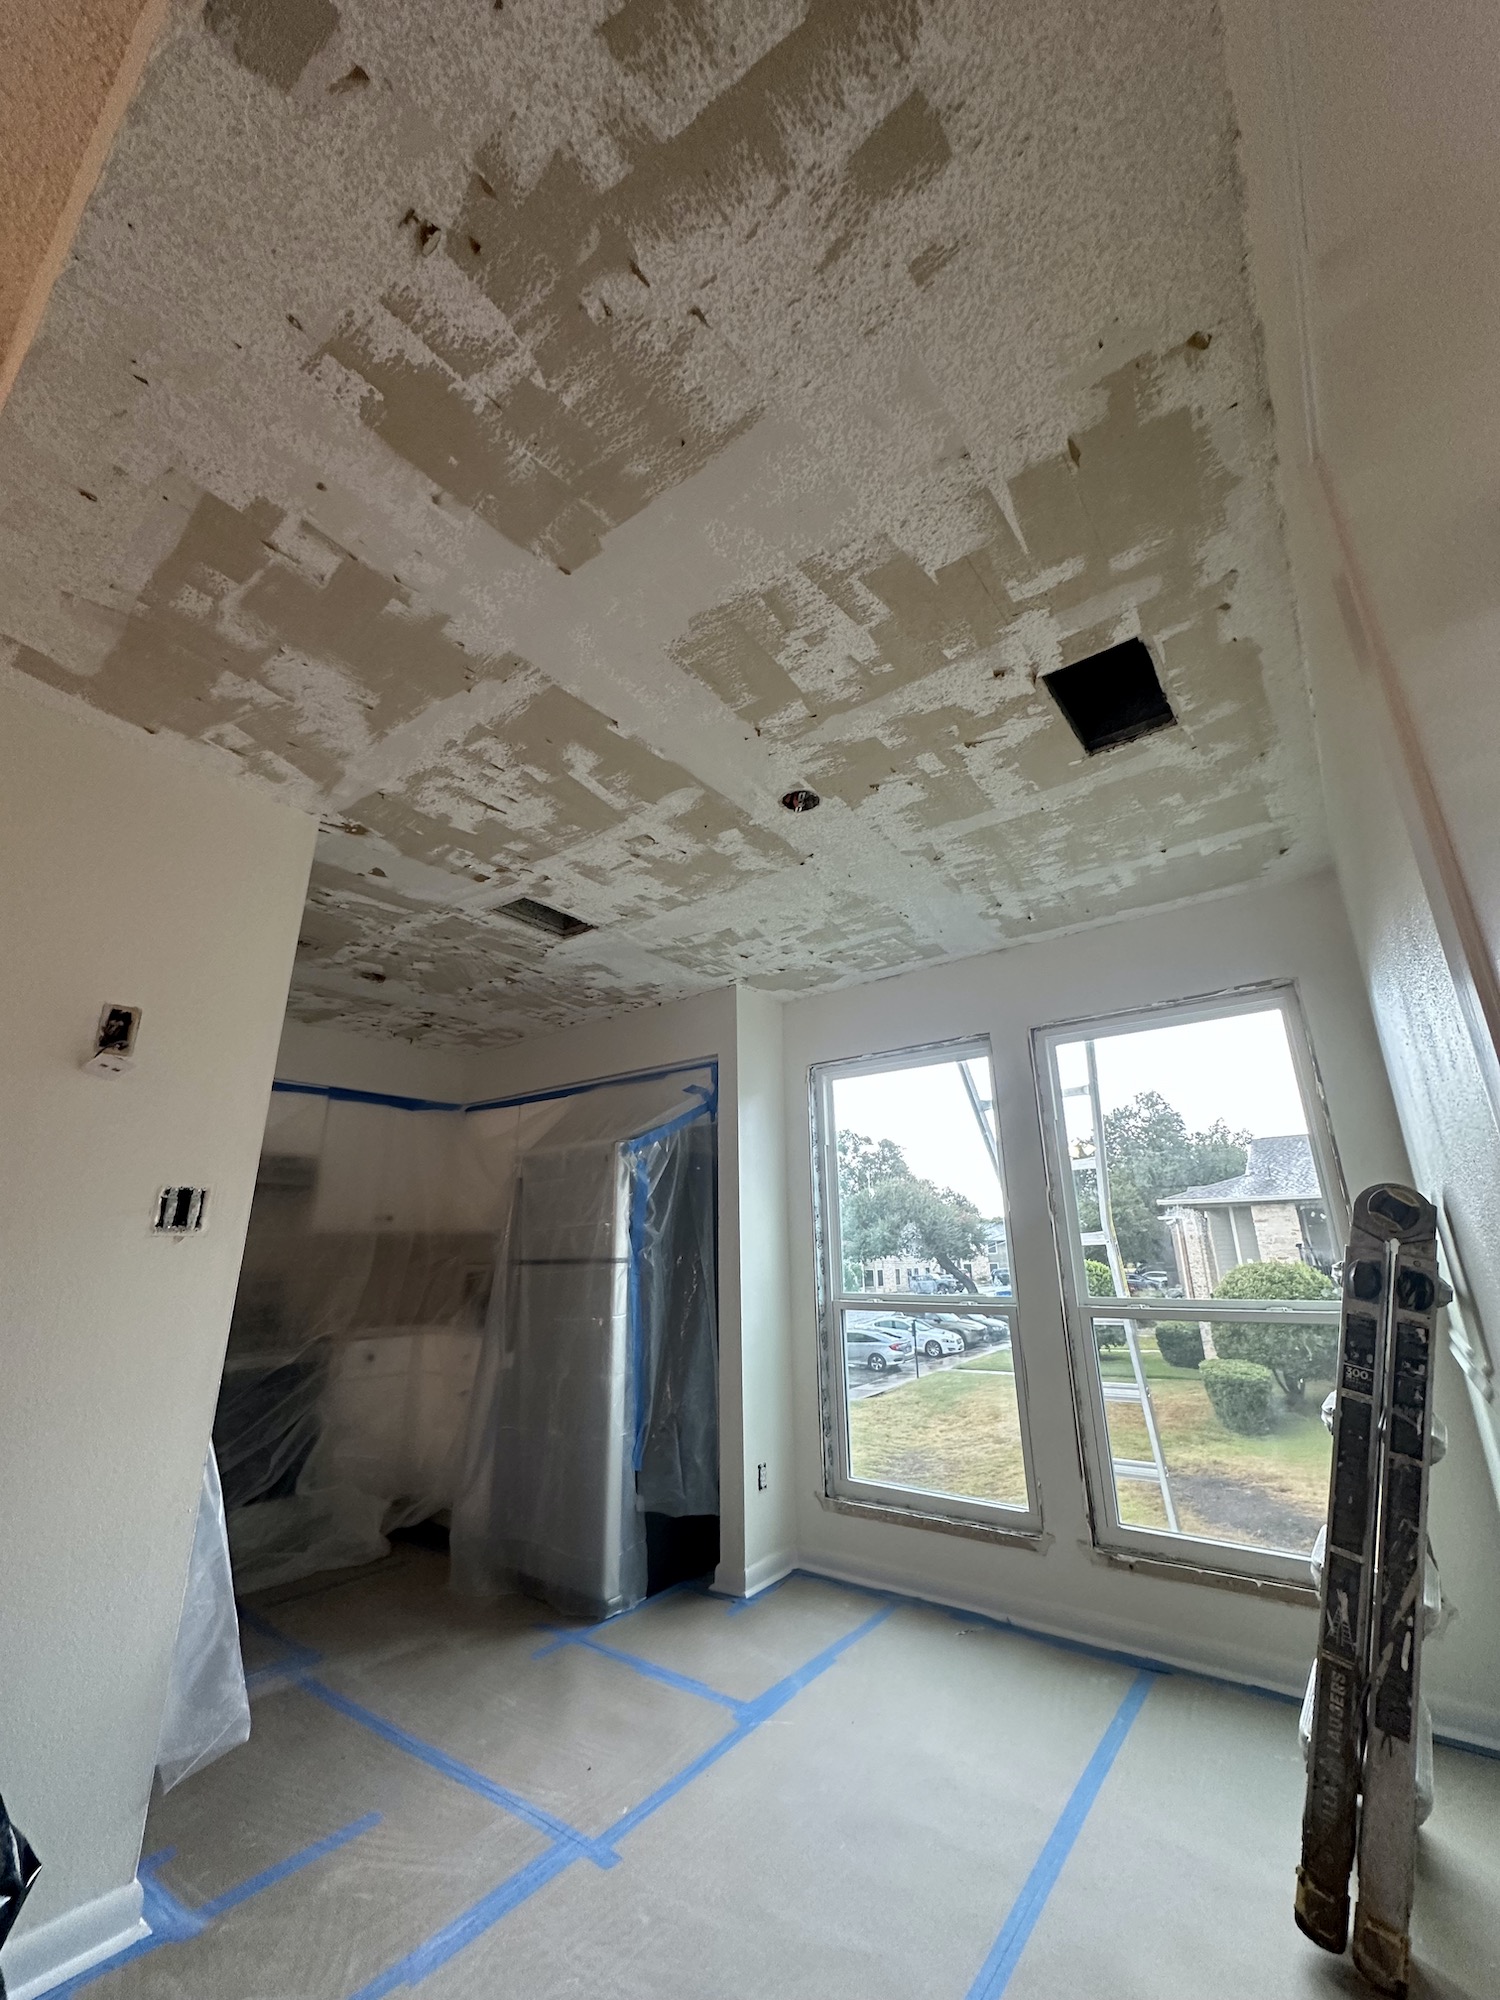
Floors, openings and adjacent areas were protected before the popcorn texture was removed.
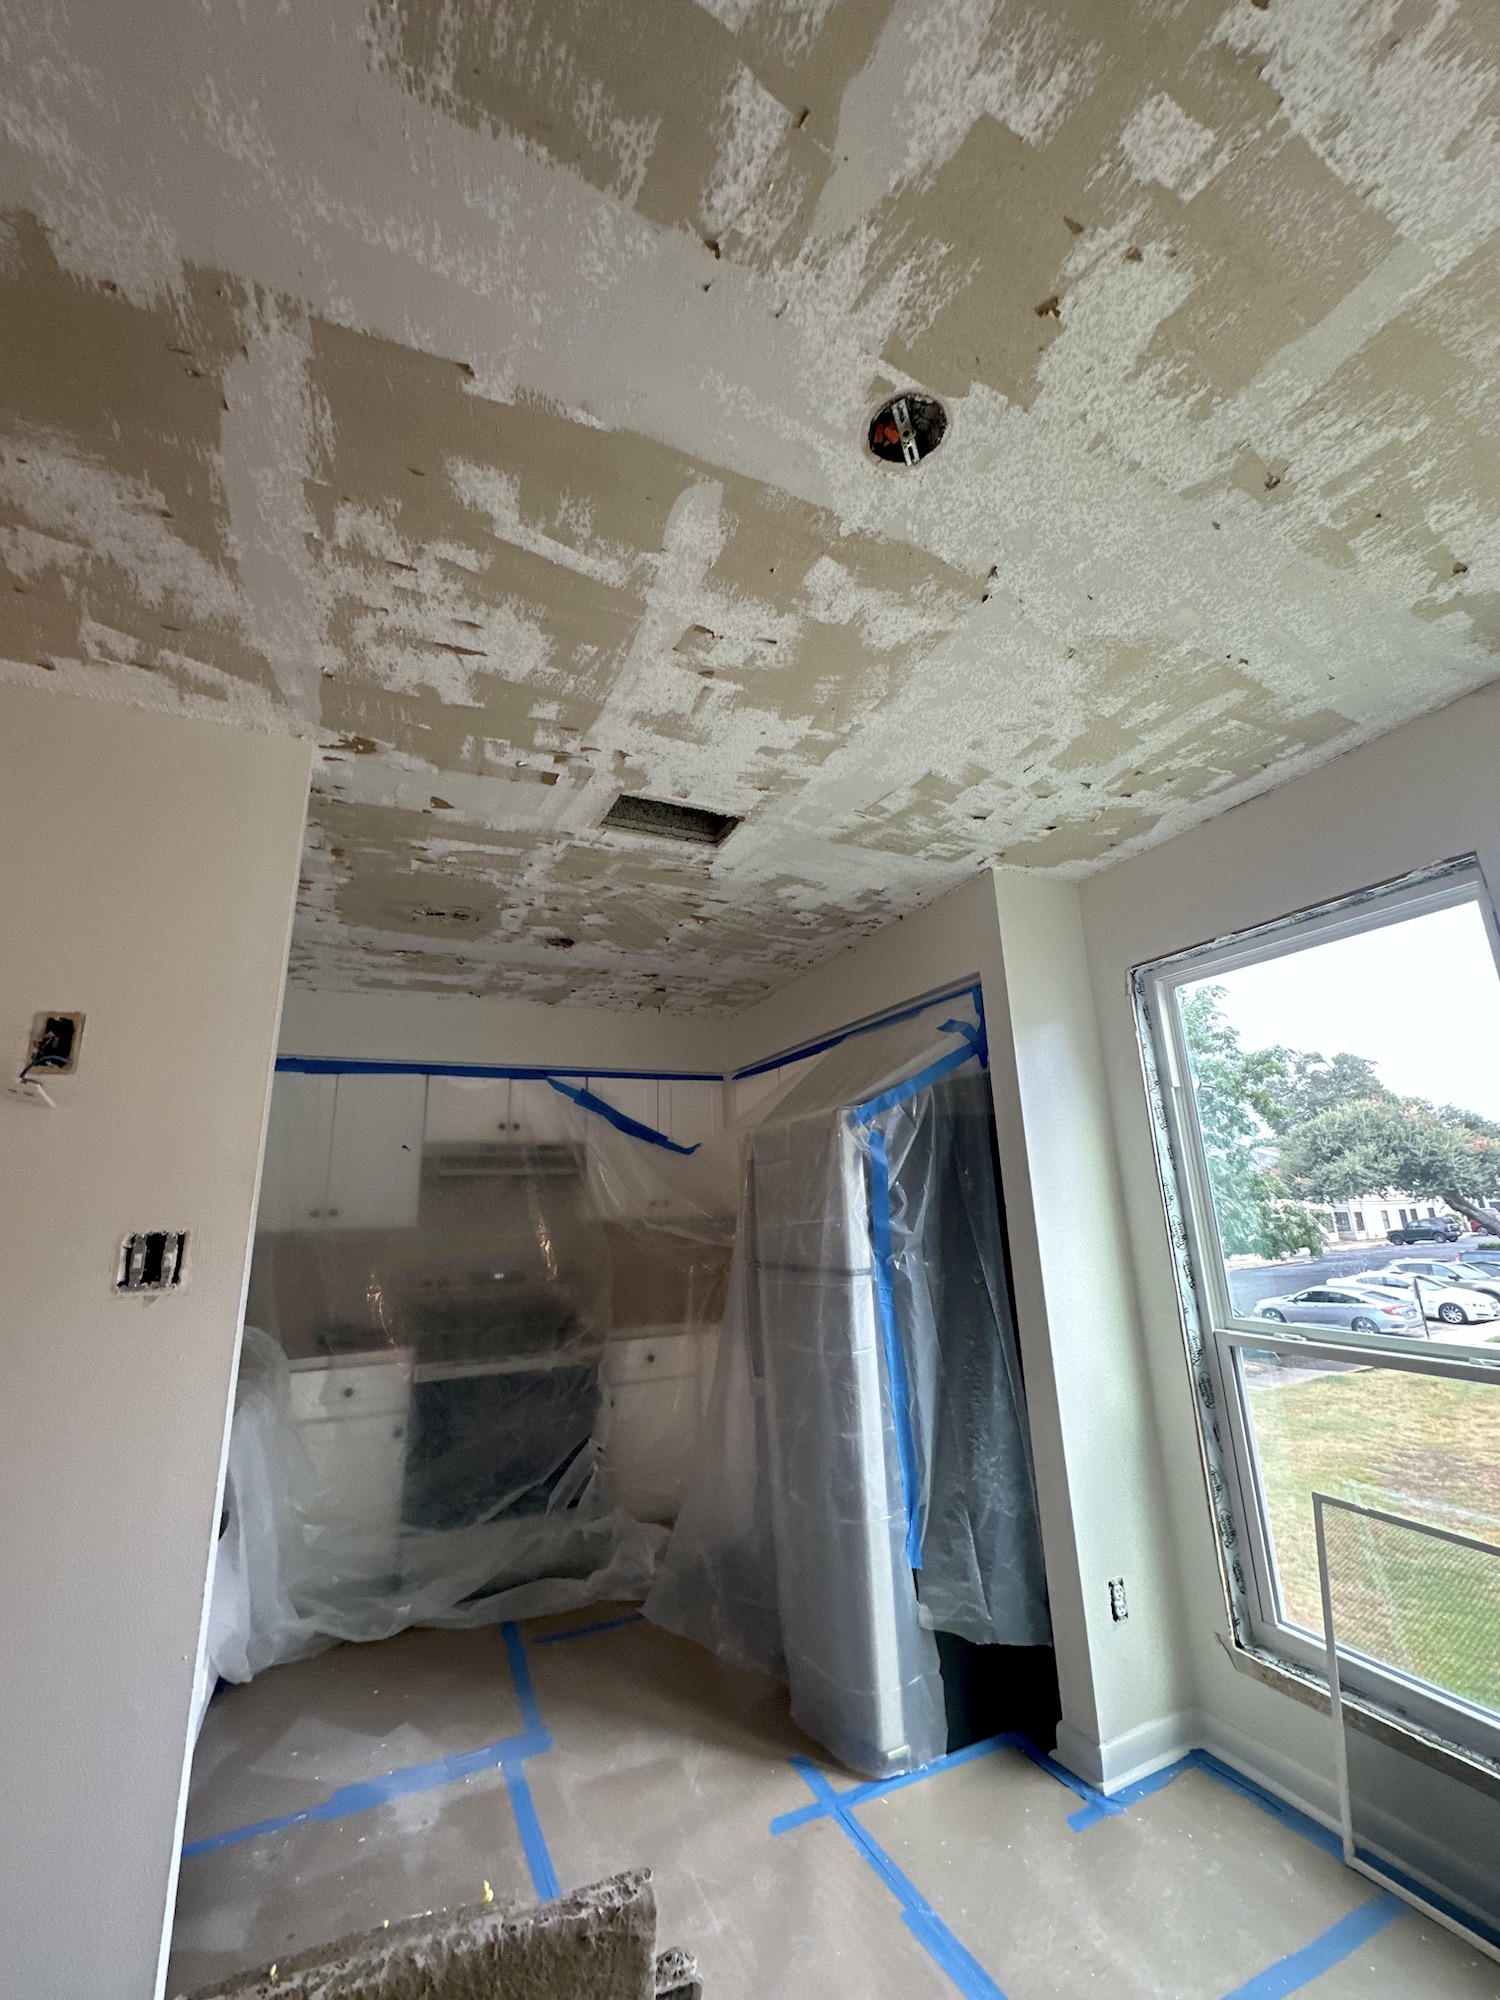
Ceiling and wall surfaces were repaired, skim-coated and prepared for the final smooth finish.
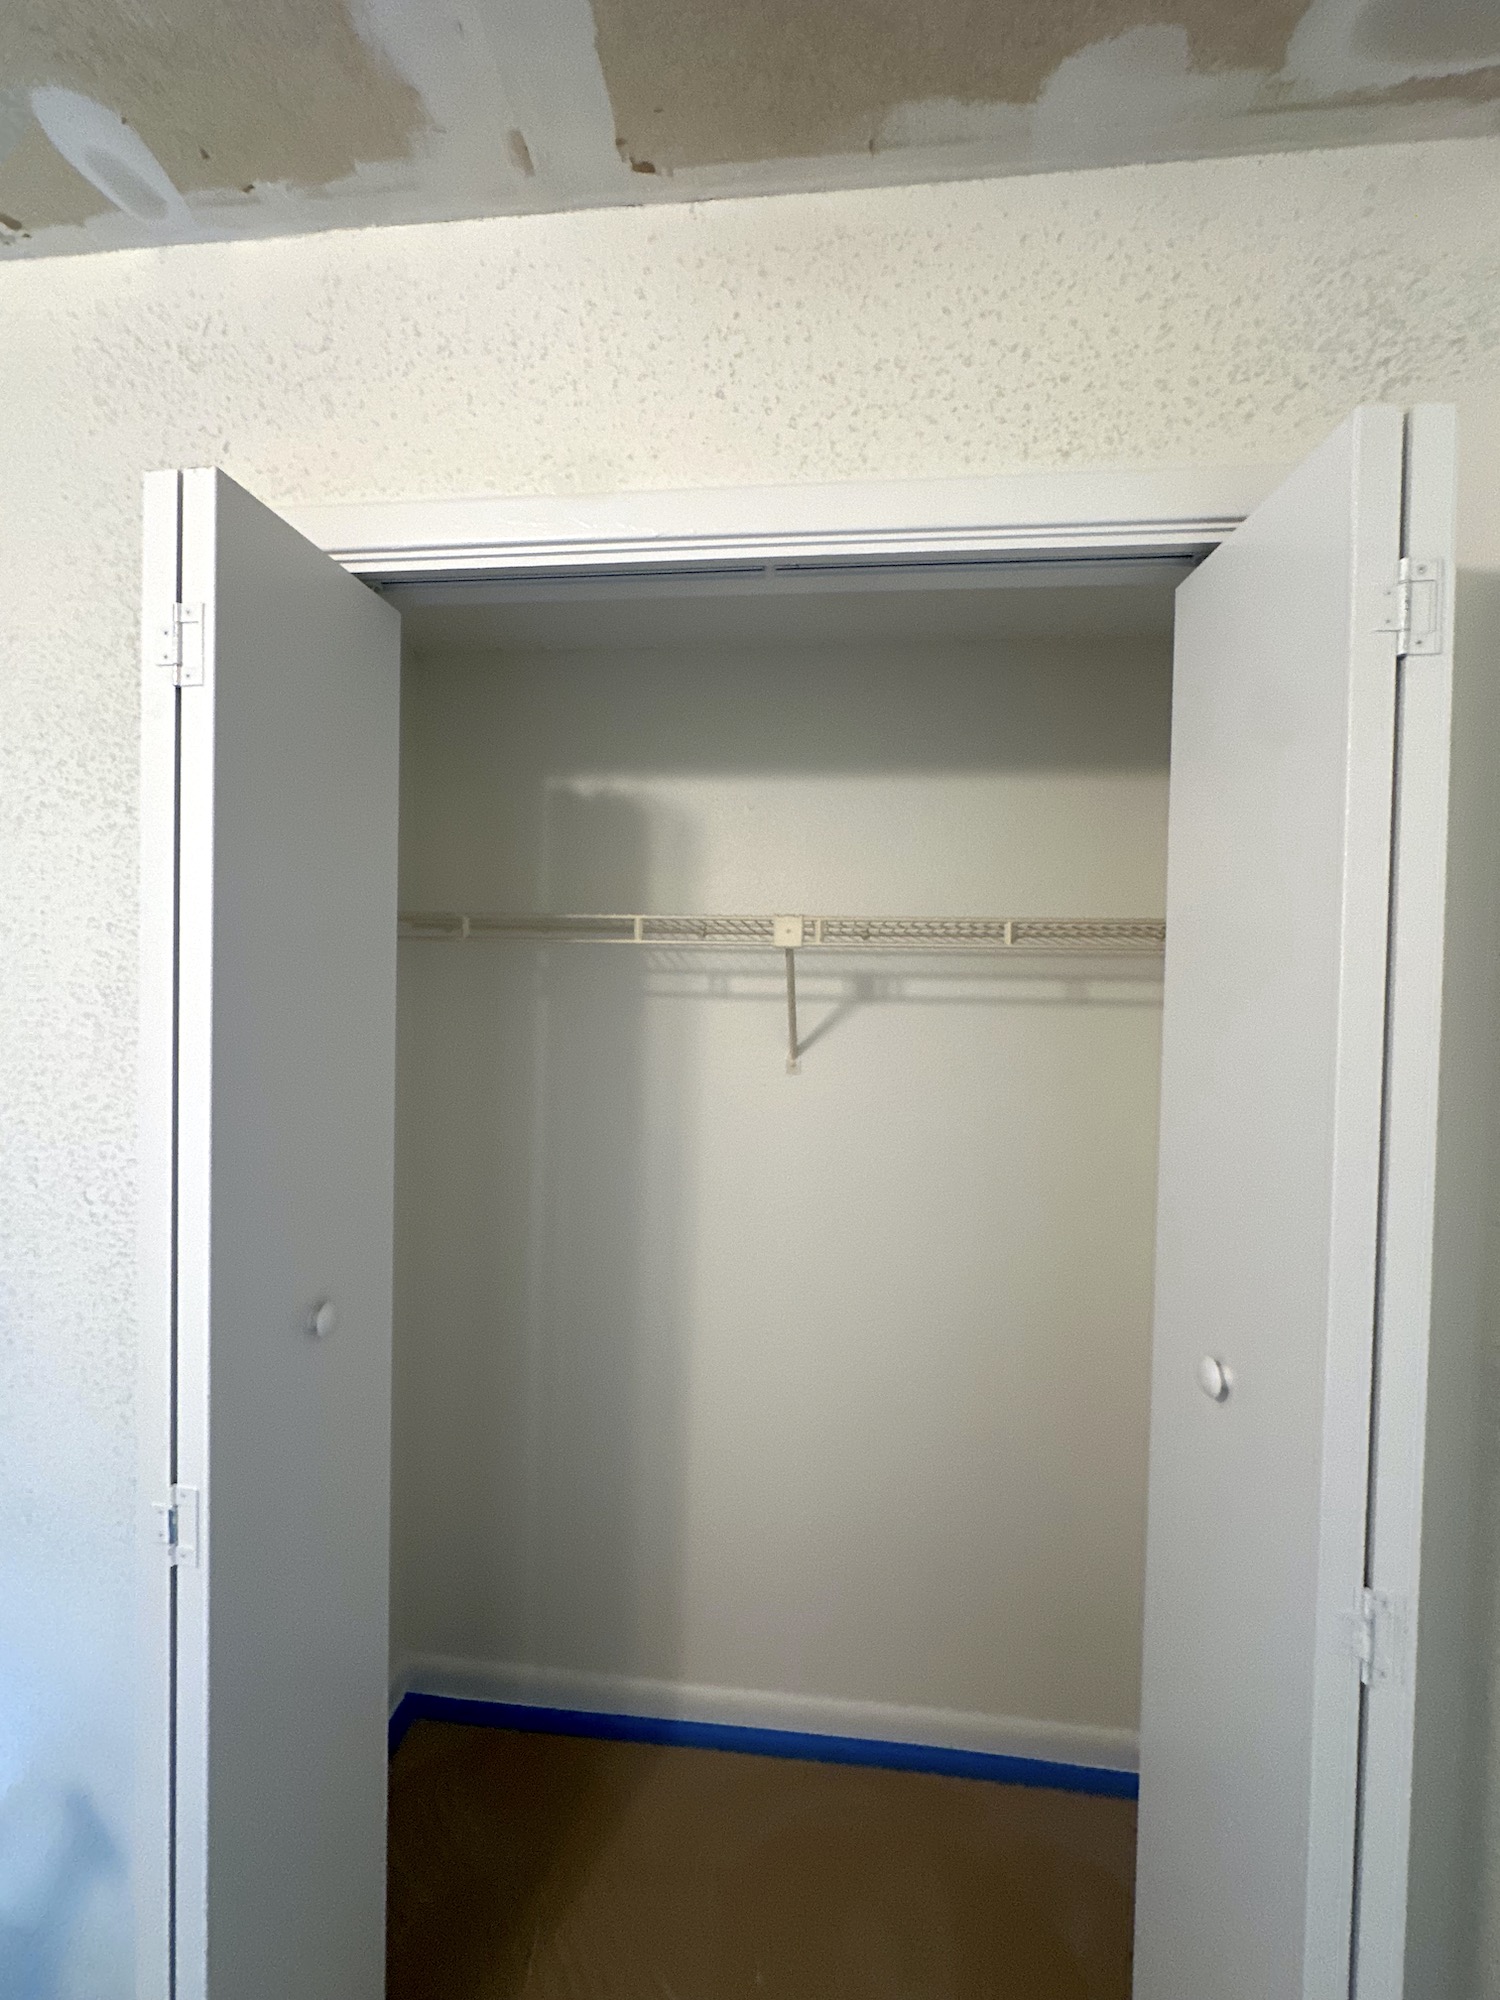
Closets, doors and openings were measured and prepared before new components were installed.
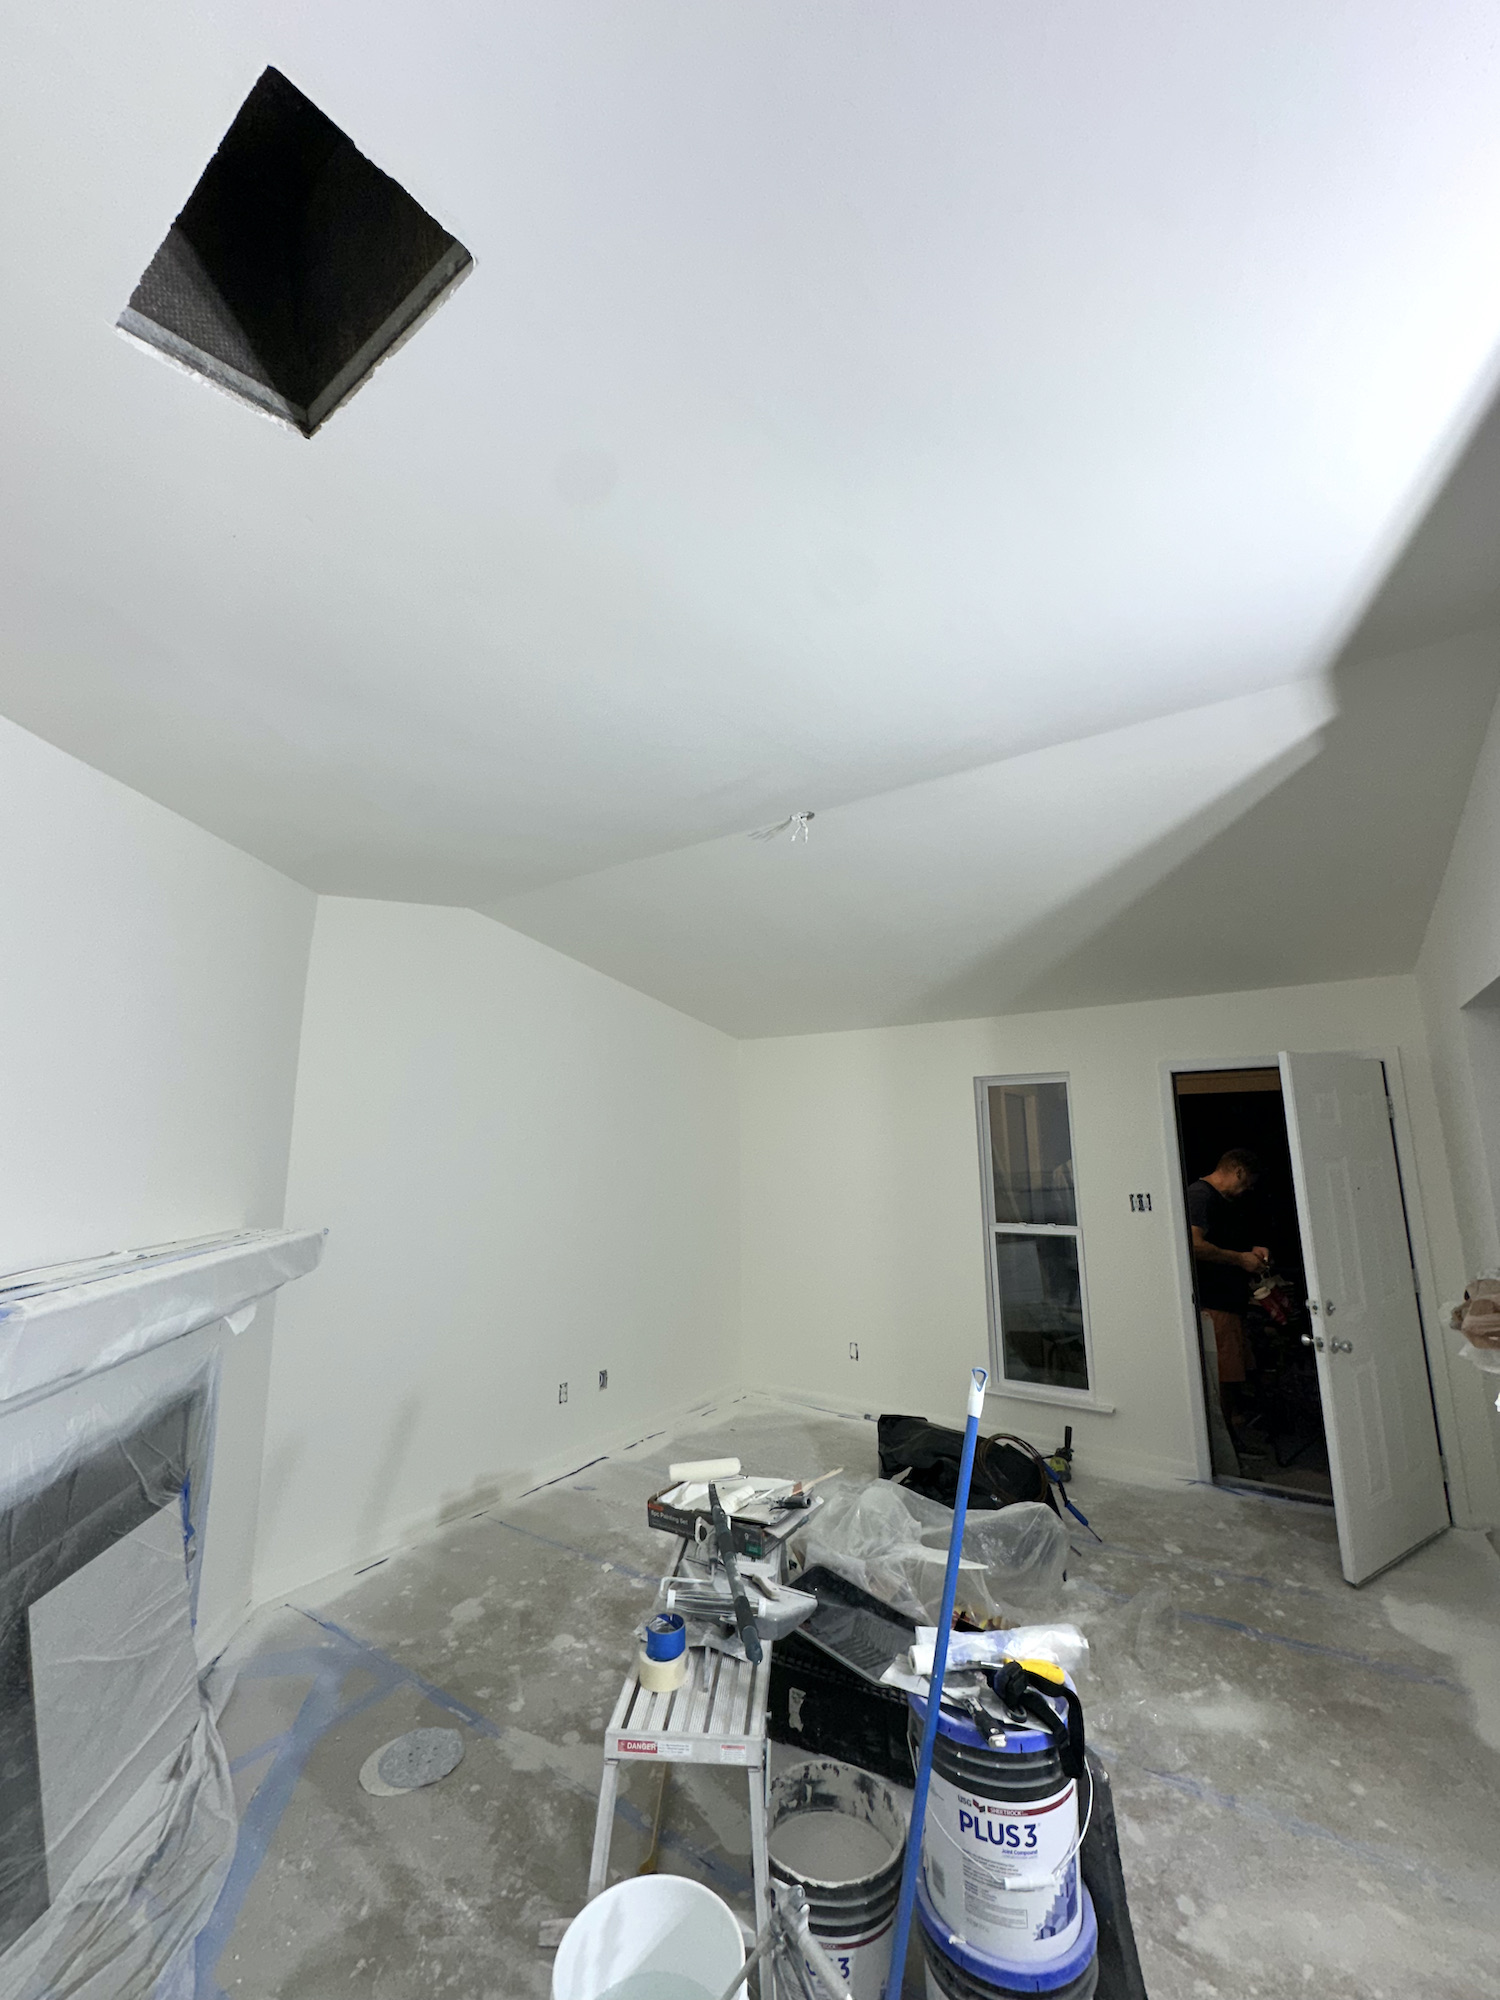
Prepared surfaces received primer and finish coats before touch-ups, cleaning and final review.
How the project stayed organized
Bathroom, ceiling, wall, window, door and closet work were coordinated so new finishes were not damaged by work that should have happened earlier.
Work areas were protected, old bathroom finishes and windows were removed, and debris was controlled.
Open surfaces, plumbing locations, window openings and damaged wall areas were addressed before finishes.
Popcorn removal, skim coating, Level 5 wall work and sanding created the foundation for paint.
Bathroom finishes, windows, doors and closet components were installed and adjusted.
Primer, finish coats, caulking, silicone, touch-ups, cleaning and final review brought the project together.
Real project pricing
Materials were purchased separately. Additional client-requested work outside the main scope was priced separately as the project developed.
This is a real project example, not a universal package price. Your apartment estimate depends on size, existing conditions, access, material selections, finish level and licensed-trade requirements.
Discuss my renovation
One accountable point of contact
Kirill reviews the scope, coordinates the crew, keeps decisions connected and remains available through the final walkthrough. When licensed plumbing or electrical work is required, the appropriate specialists can be coordinated and identified in the project plan.
Apartment renovation FAQ
Free initial project review
Tell Kirill which rooms you want to update, your ZIP code, timing and approximate budget. Photos are welcome even if every detail has not been decided.