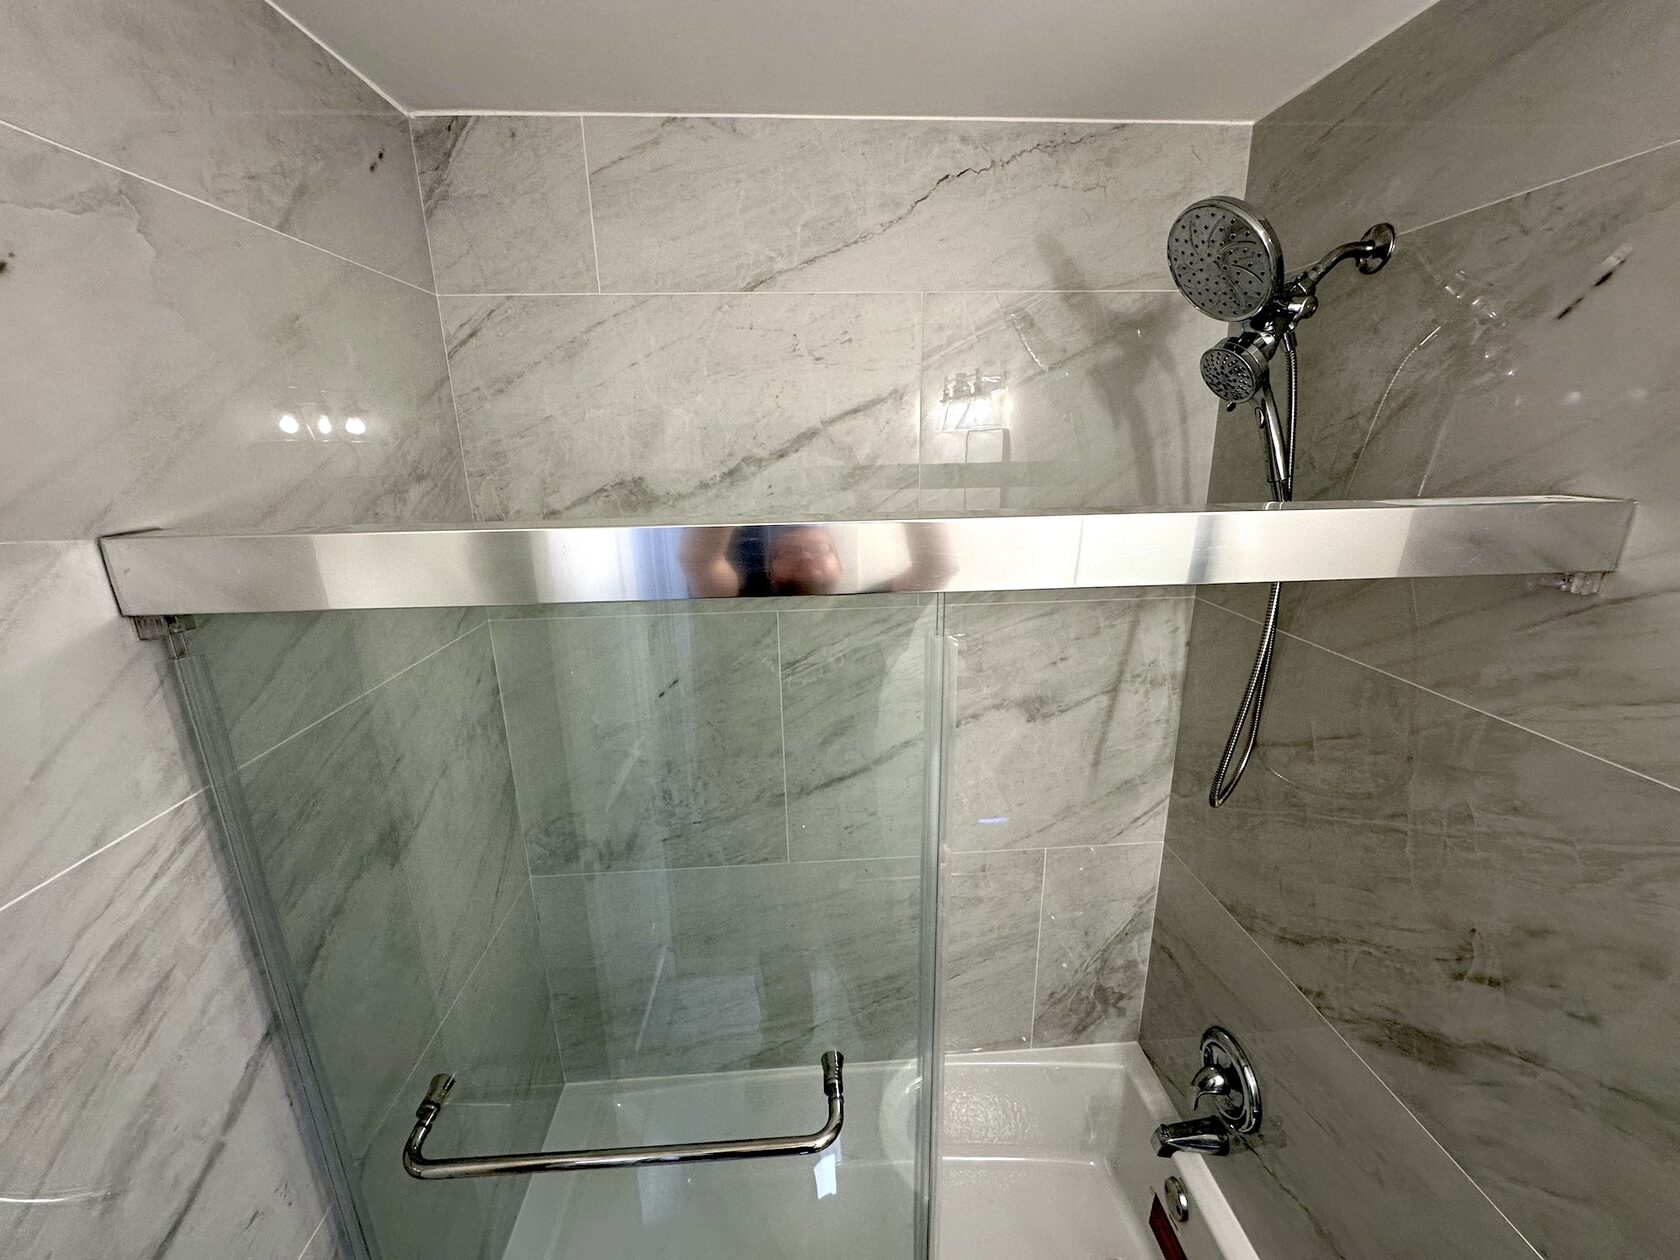
Large-Format Wall Tile
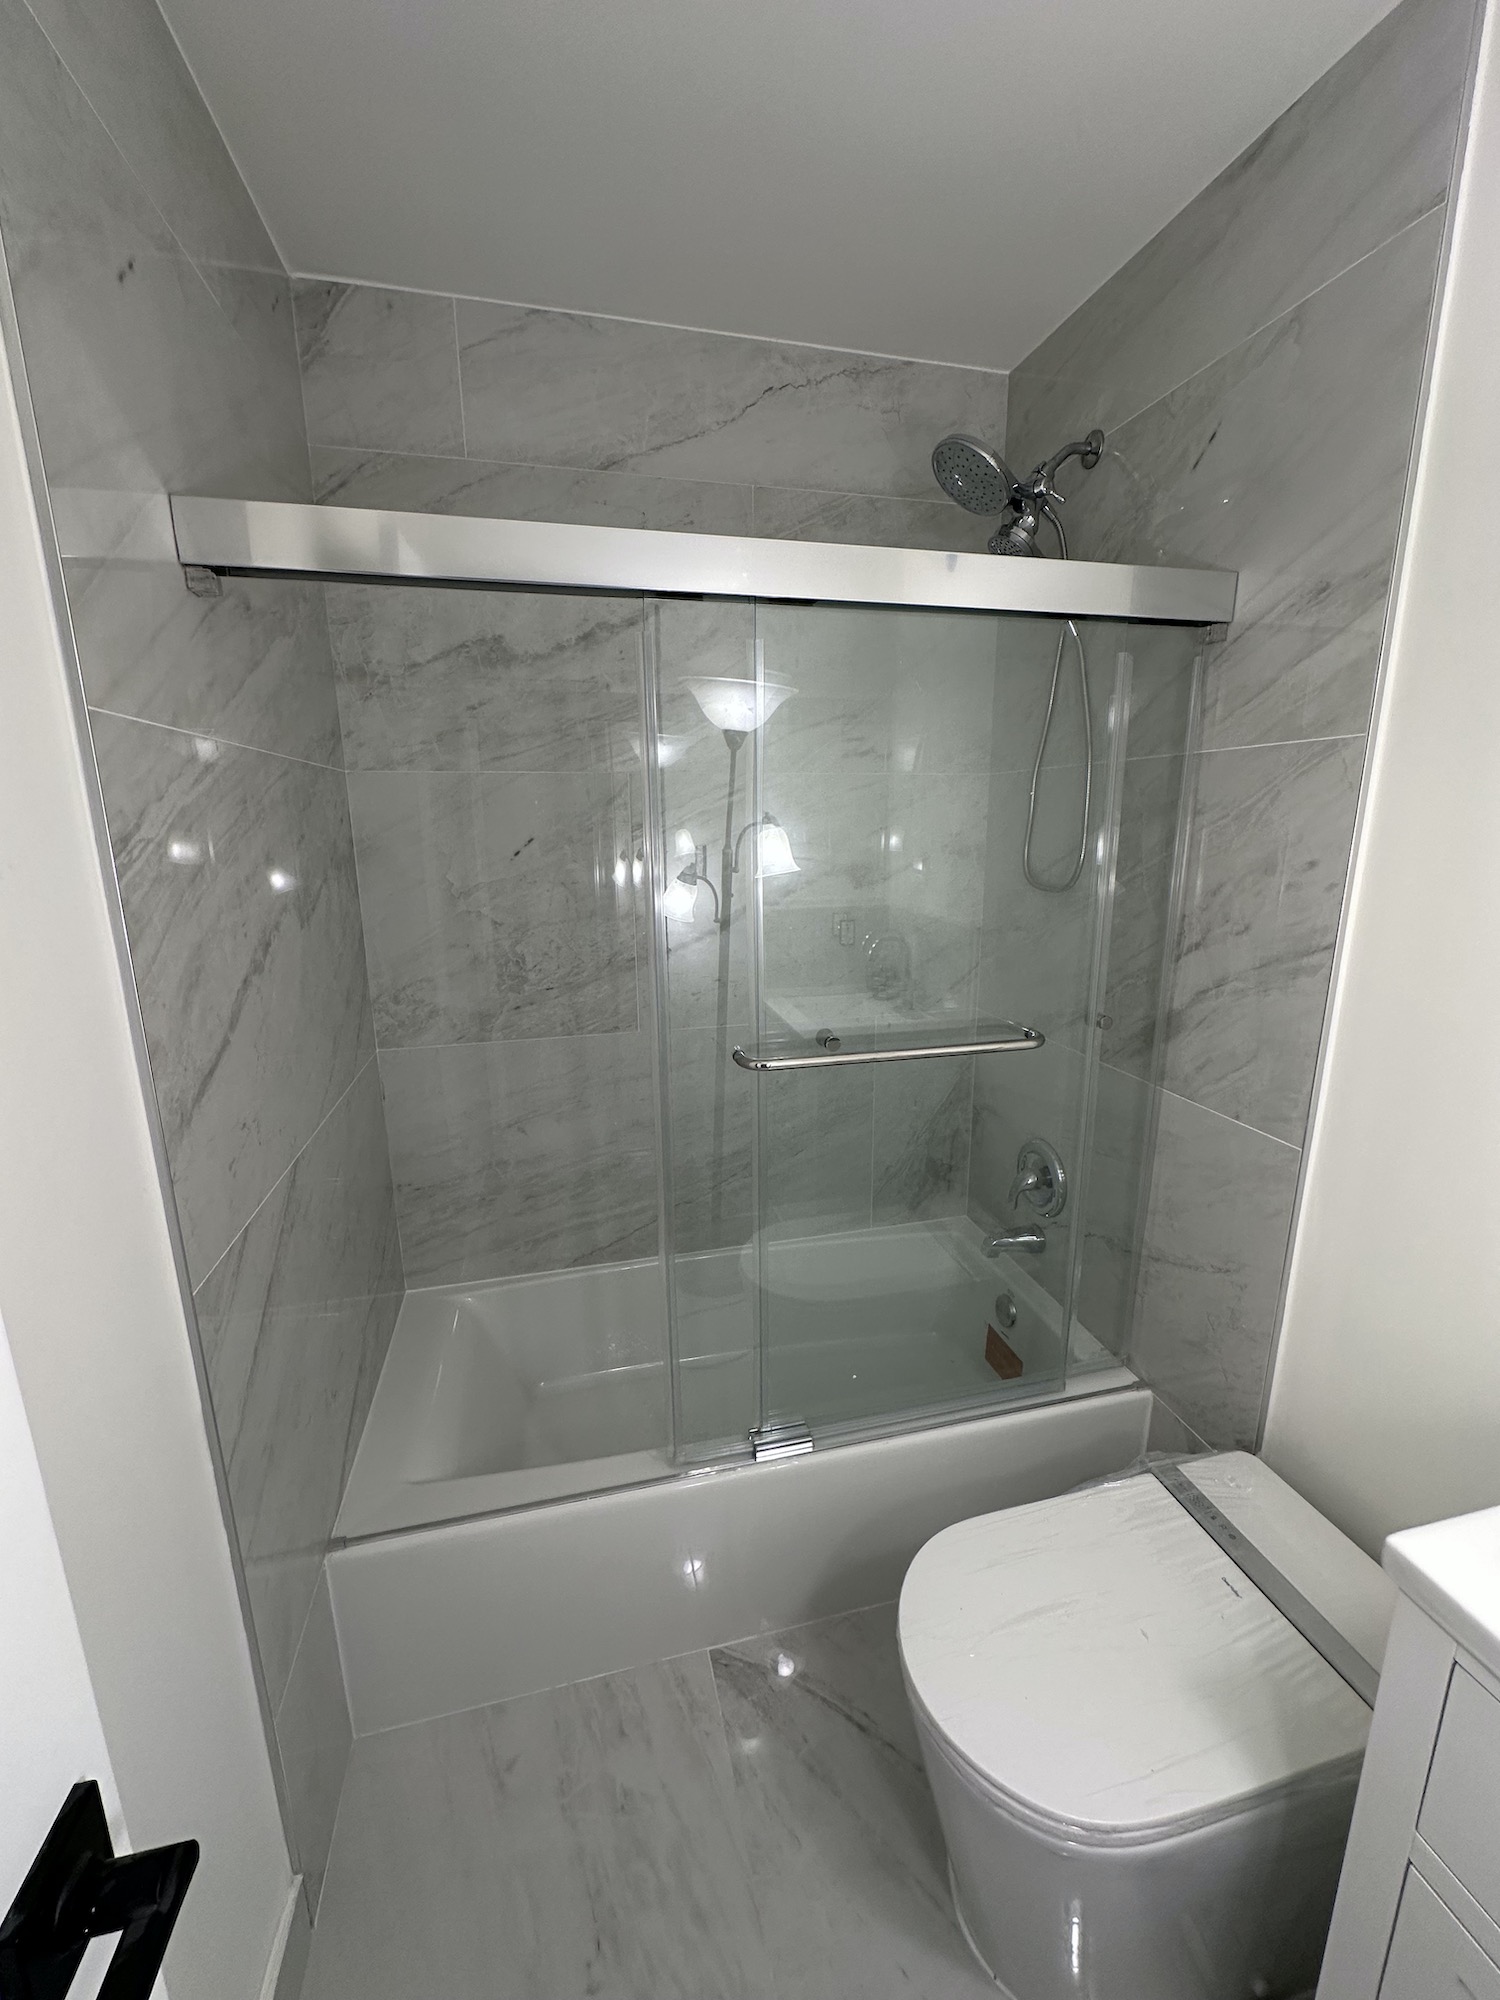
Stone-look tile installed up to the ceiling for a cleaner, more continuous finish with fewer grout lines.
Real Austin Project · Full Bathroom Renovation
See how an outdated bathroom became a clean, modern space with large-format tile, a new acrylic bathtub, updated shower fixtures, a smart toilet, new vanity and carefully finished details.
Start With the Result
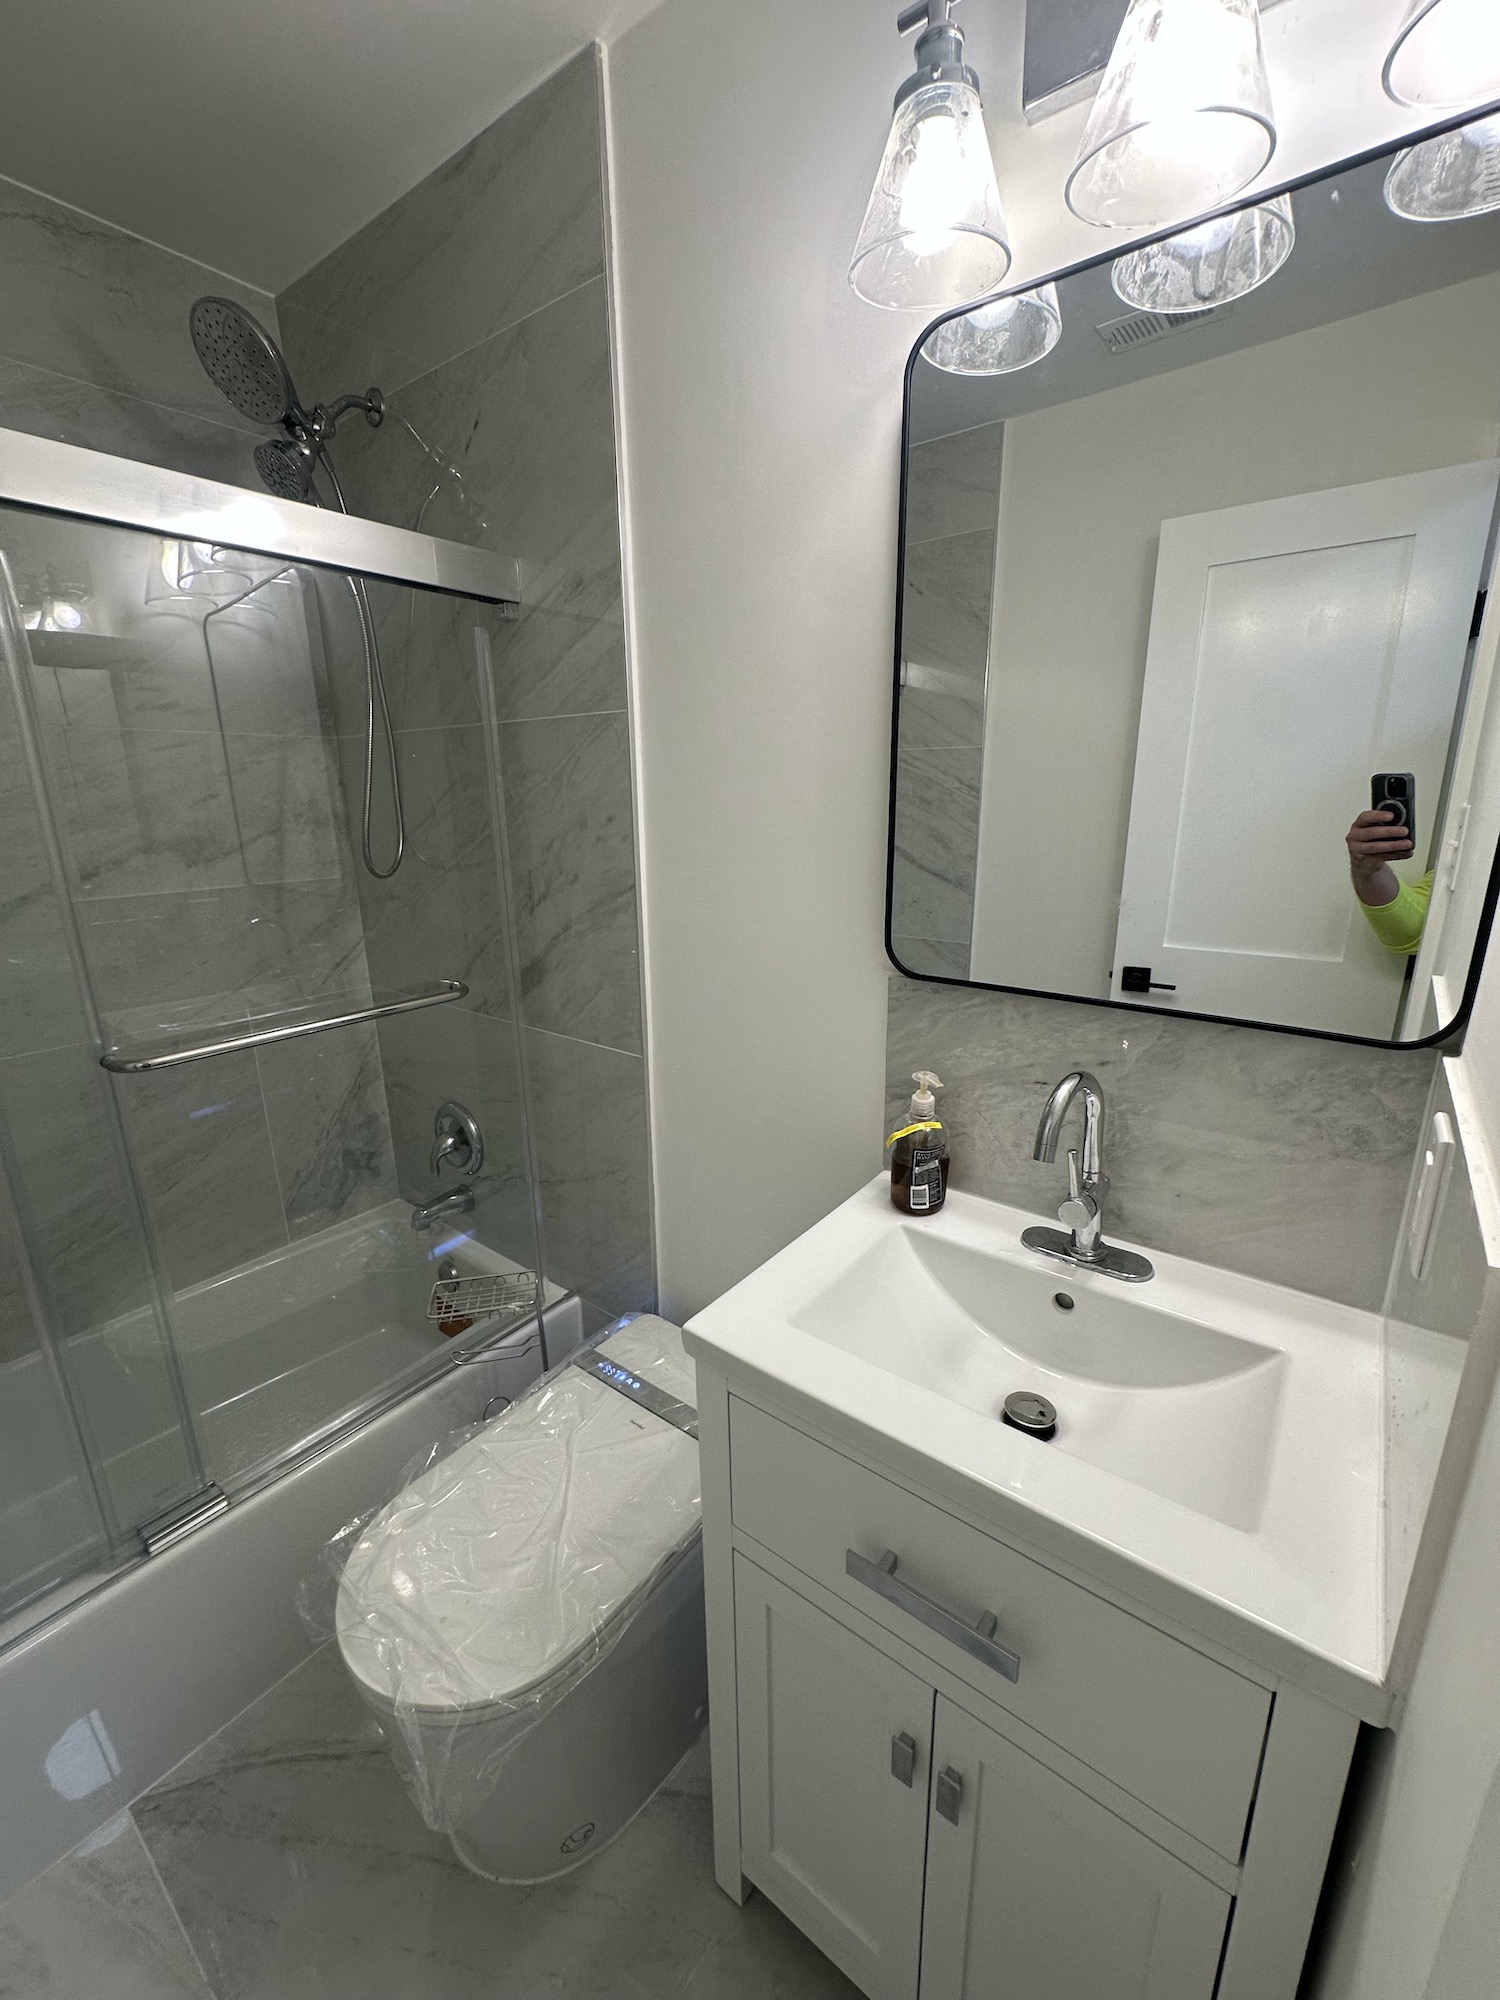 Finished Bathroom
 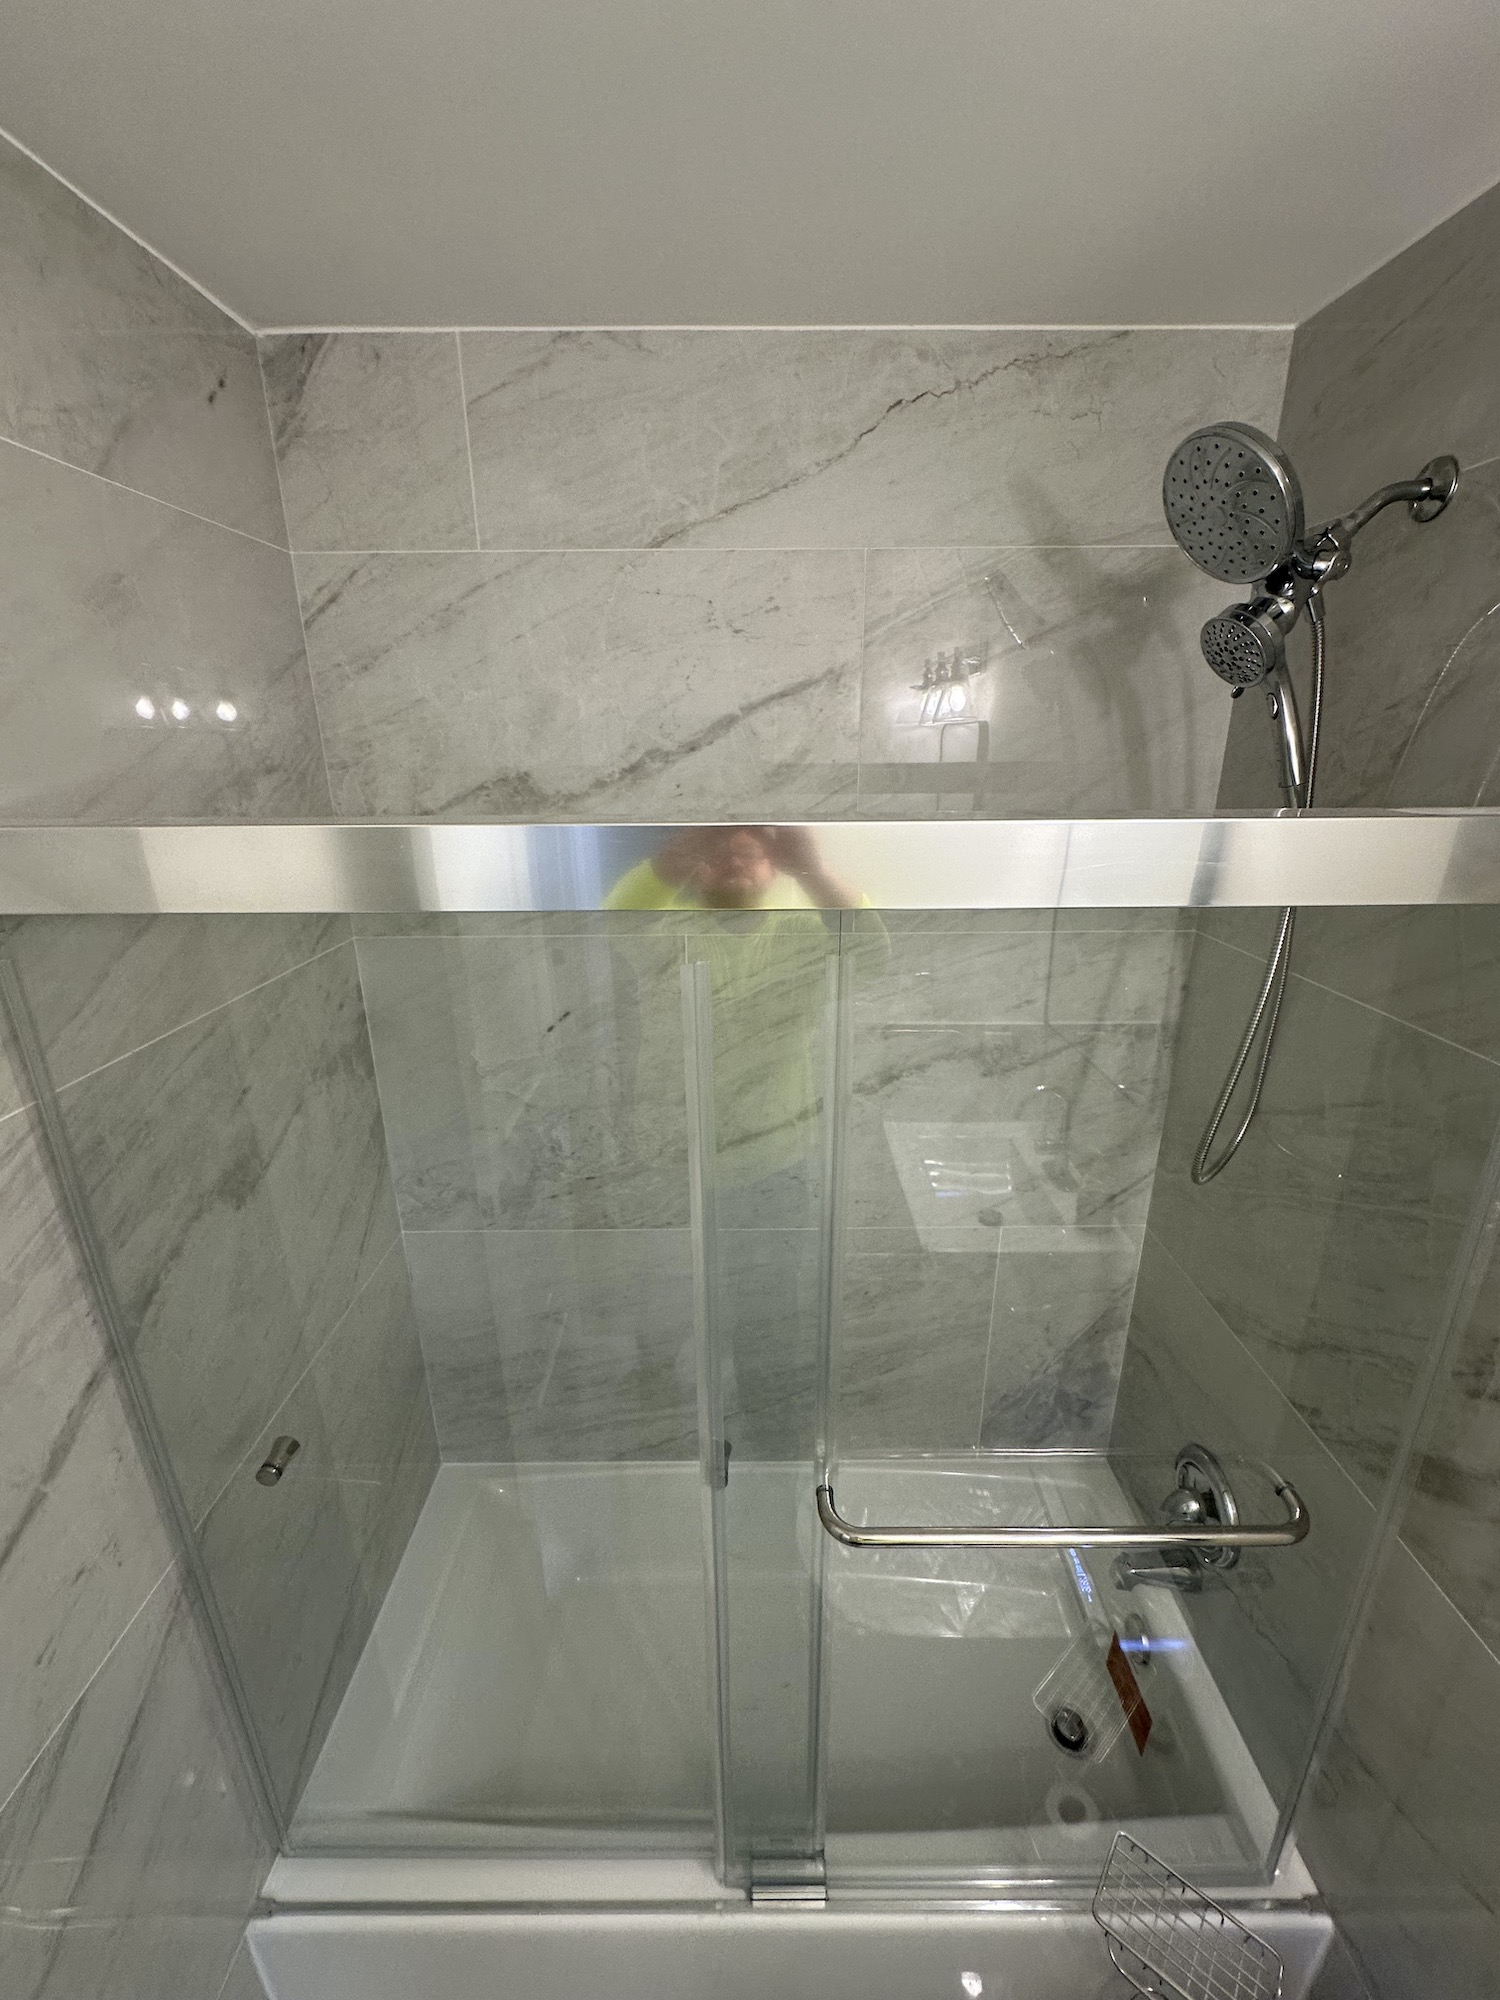 Tub & Tile
 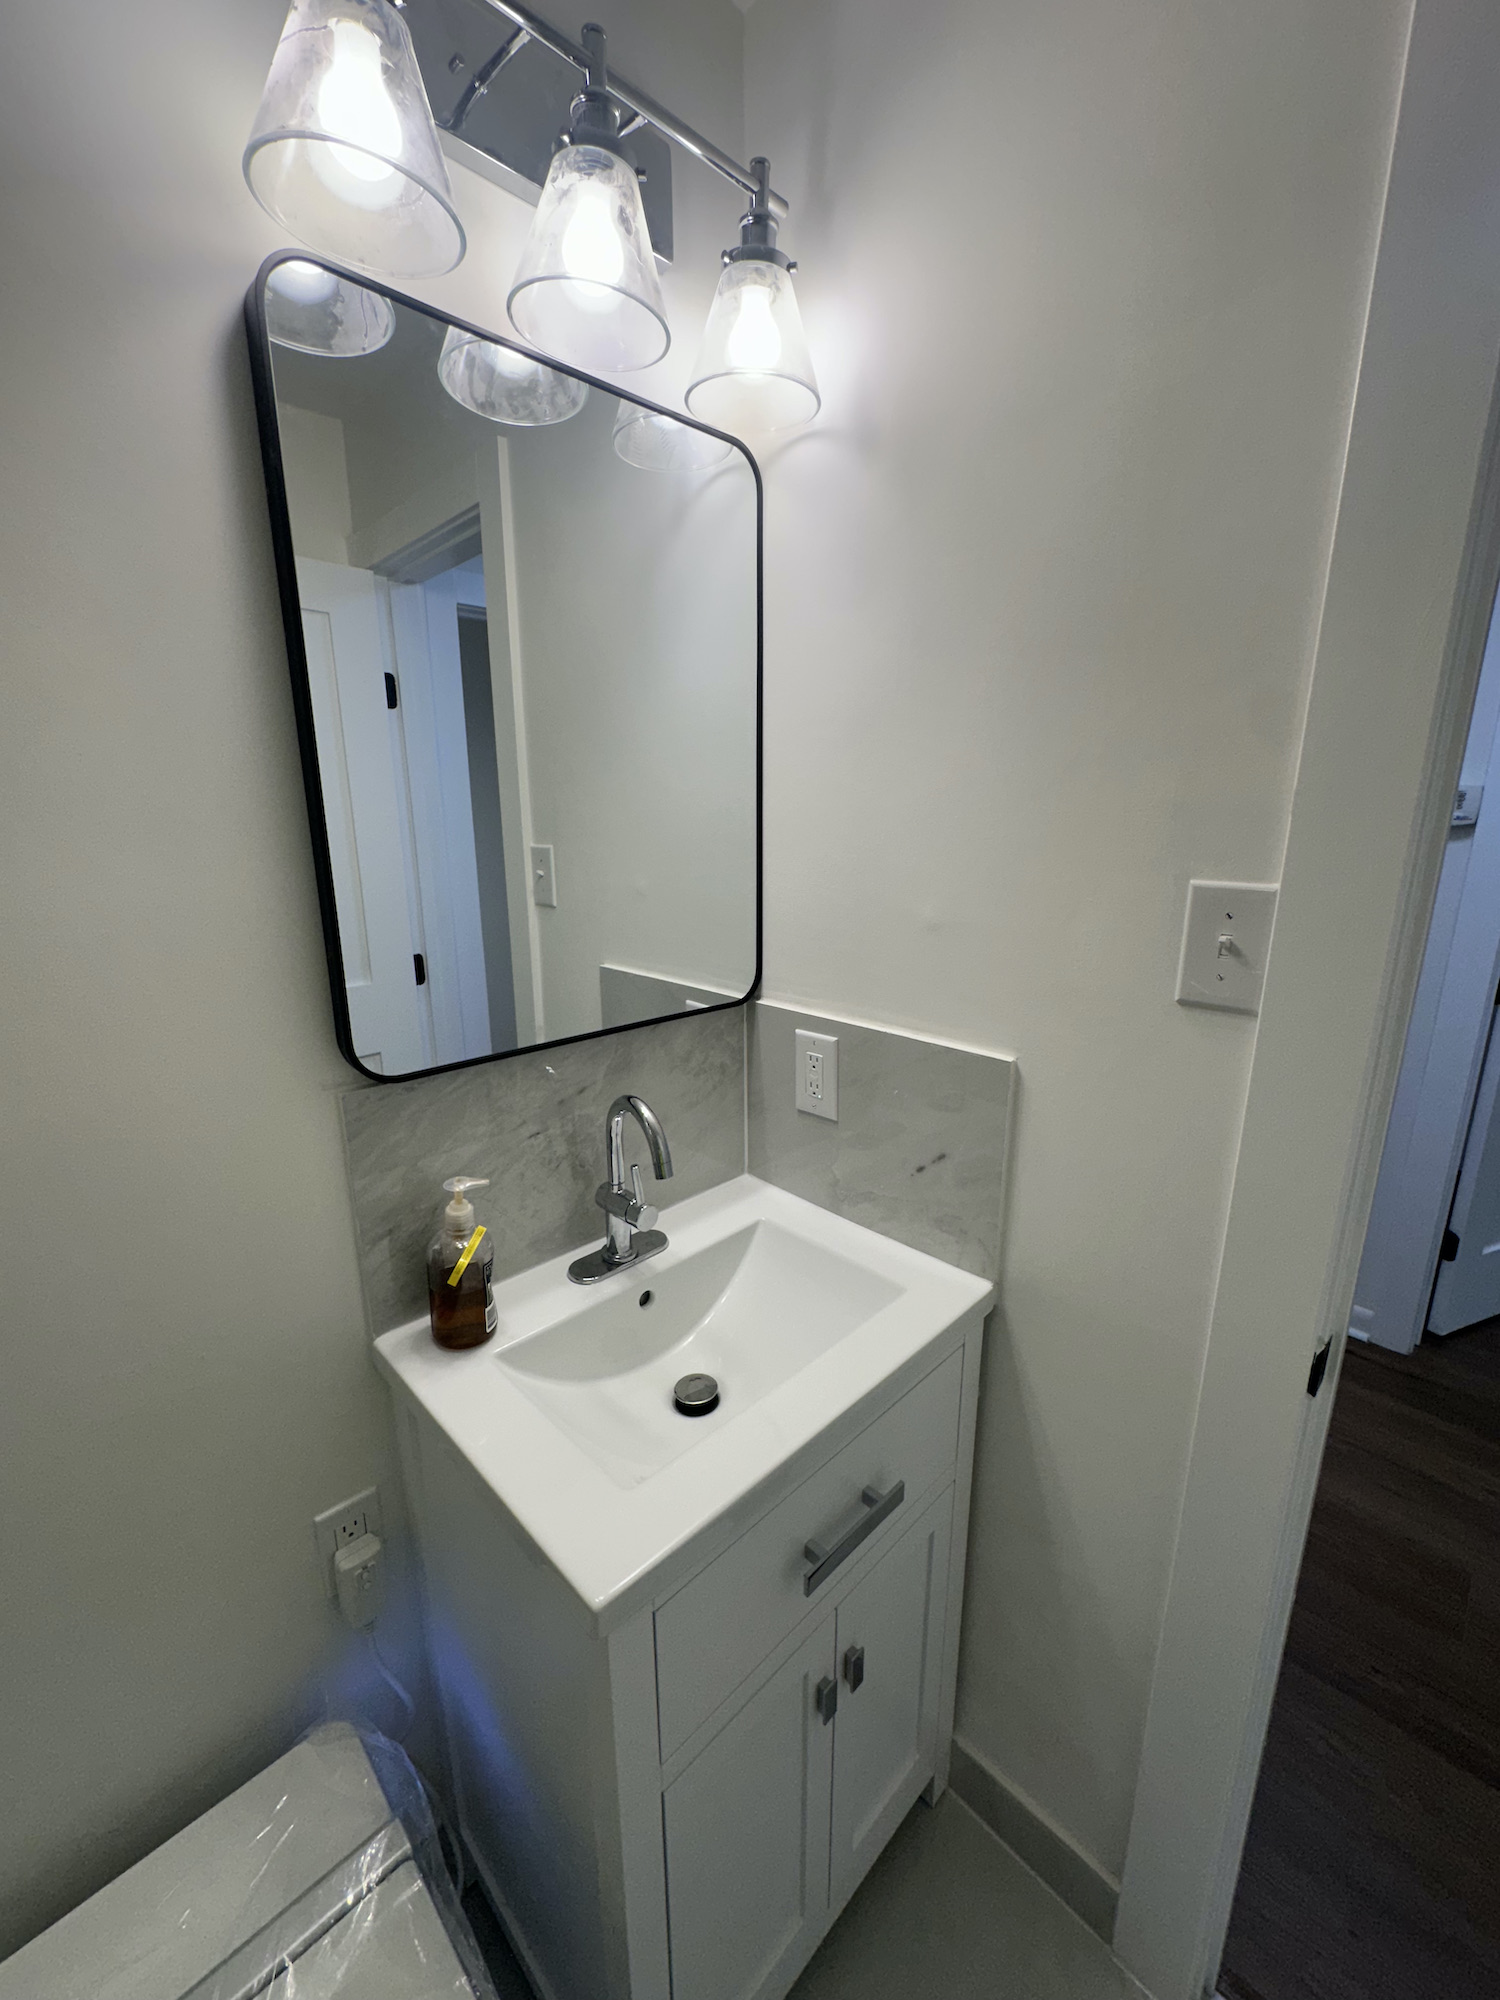 Vanity
  Smart Toilet
  Floor Detail
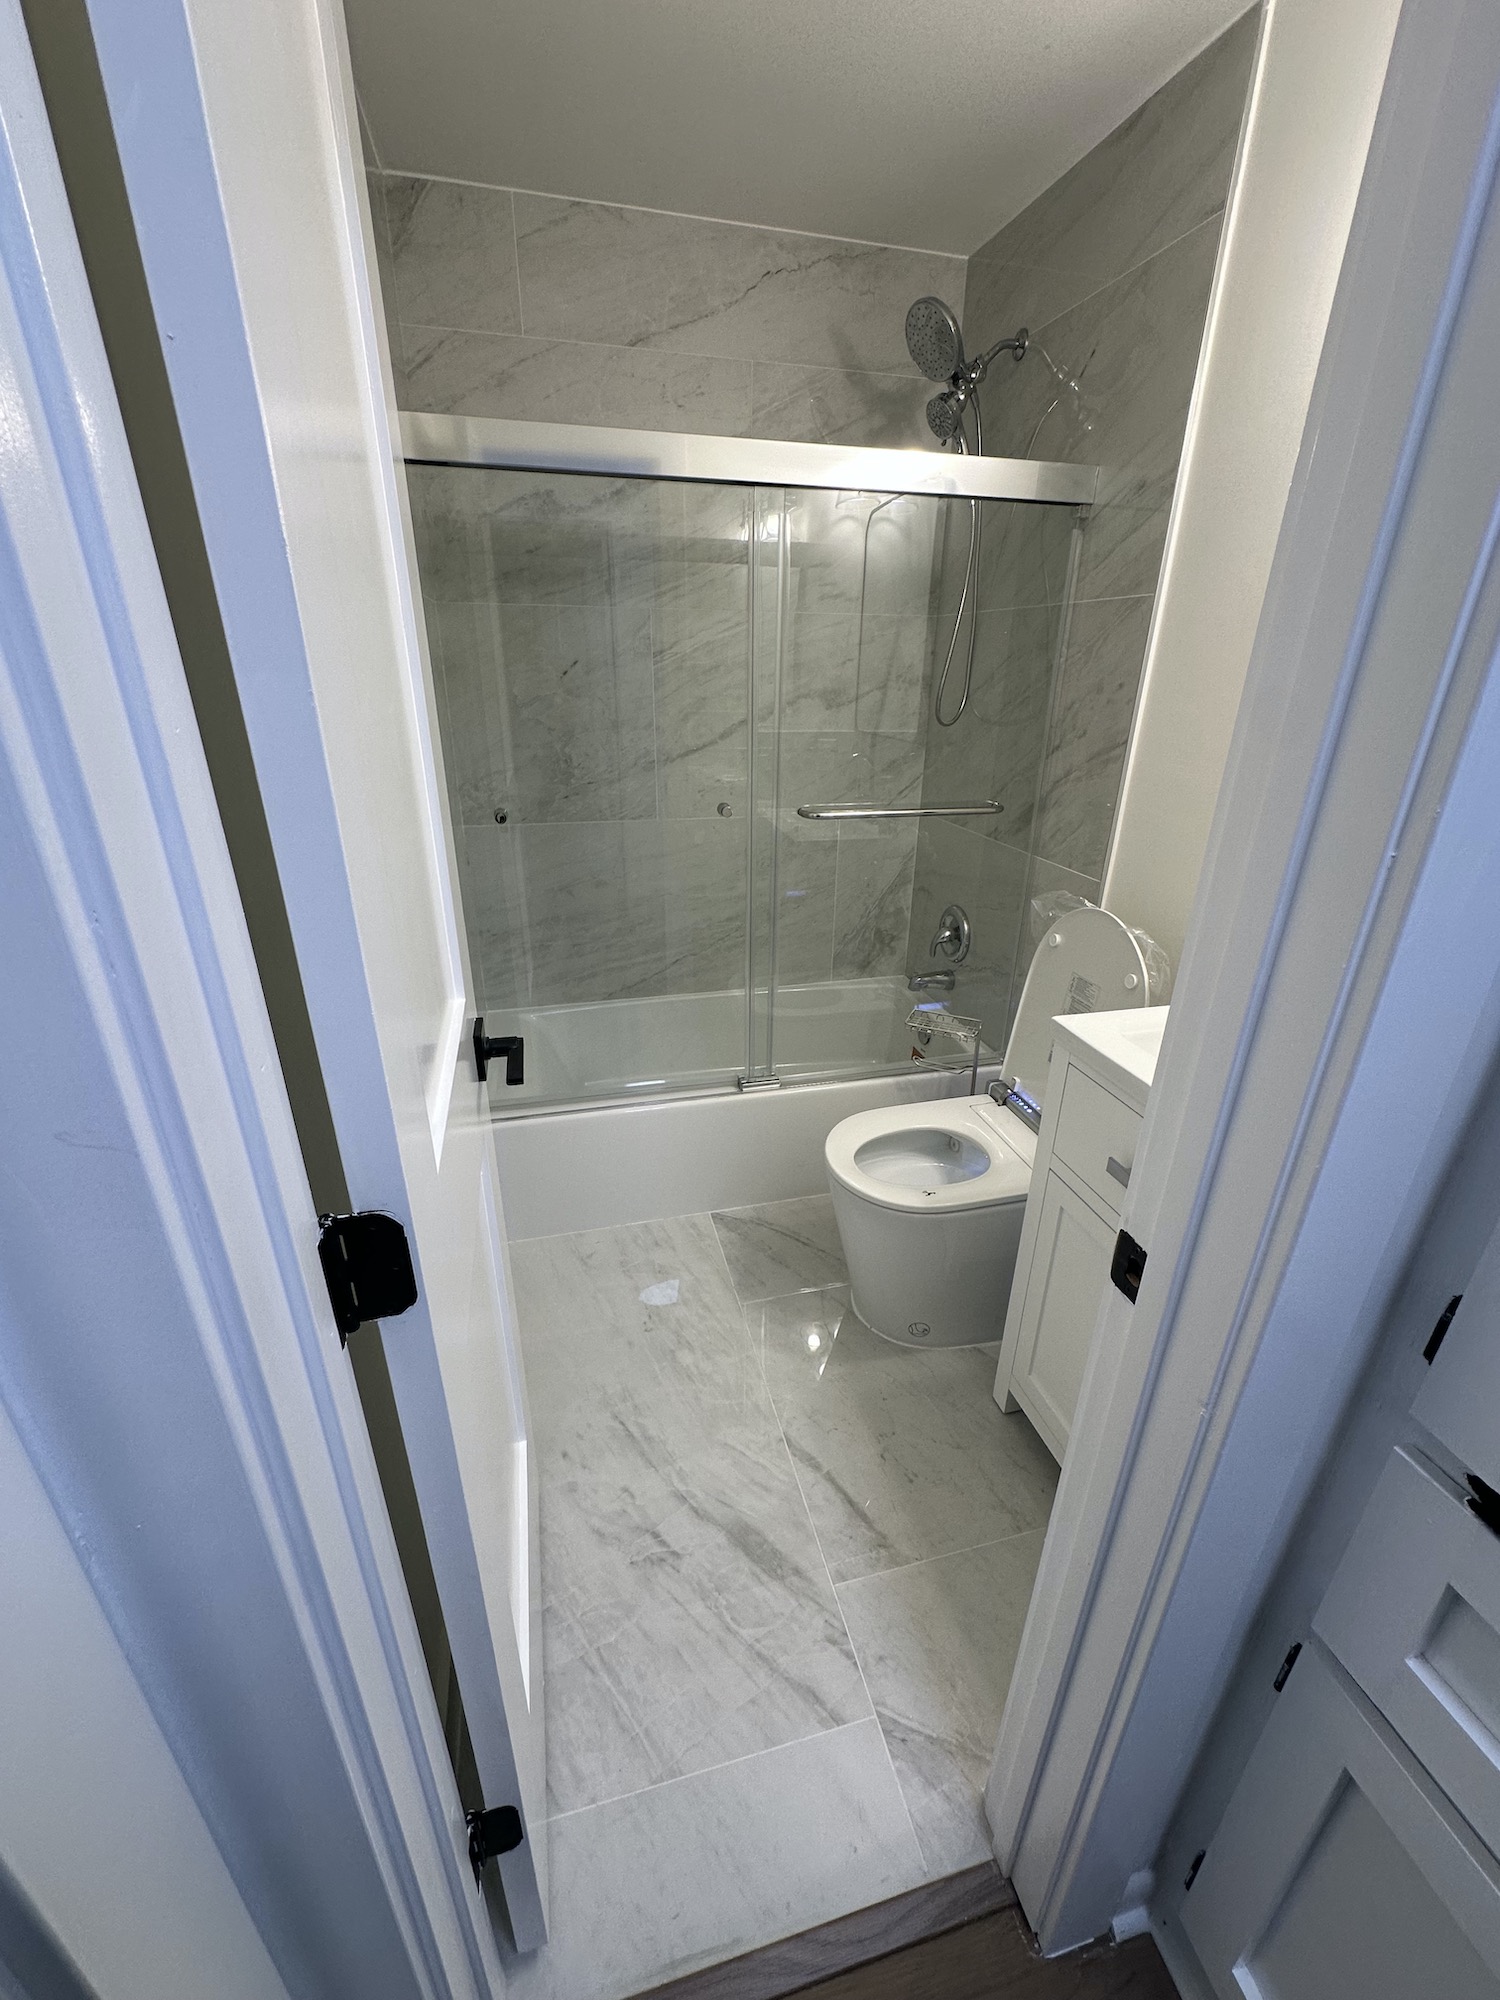
 The goal was not simply to replace old fixtures. The bathroom was rebuilt as one coordinated system: demolition, substrate repairs, bathtub installation, wet-area protection, tile layout, plumbing fixtures, vanity, smart toilet and final finishing were completed in the correct sequence.
Large-format tile reduces visual clutter and gives a compact bathroom a cleaner, more spacious appearance. The neutral stone-inspired finish also creates a durable backdrop that works with future decor changes.
A bathroom can look good on completion day. The real test is whether the surfaces behind the tile were prepared correctly, the wet area was protected, the fixtures were set securely and every transition was properly sealed.
Stone-look tile installed up to the ceiling for a cleaner, more continuous finish with fewer grout lines.
A new alcove tub installed and integrated with the prepared wet-area wall system.
New valve, showerhead, tub spout and trim coordinated with the completed tile layout.
A modern smart toilet installed with the required placement and surrounding finish details.
New vanity, countertop, sink and faucet, finished with a practical tile detail at the wet area.
A clean floor layout that visually opens the room and minimizes unnecessary grout joints.
The Transformation
A remodel is easier to evaluate when you can see both the work behind the finishes and the completed result.
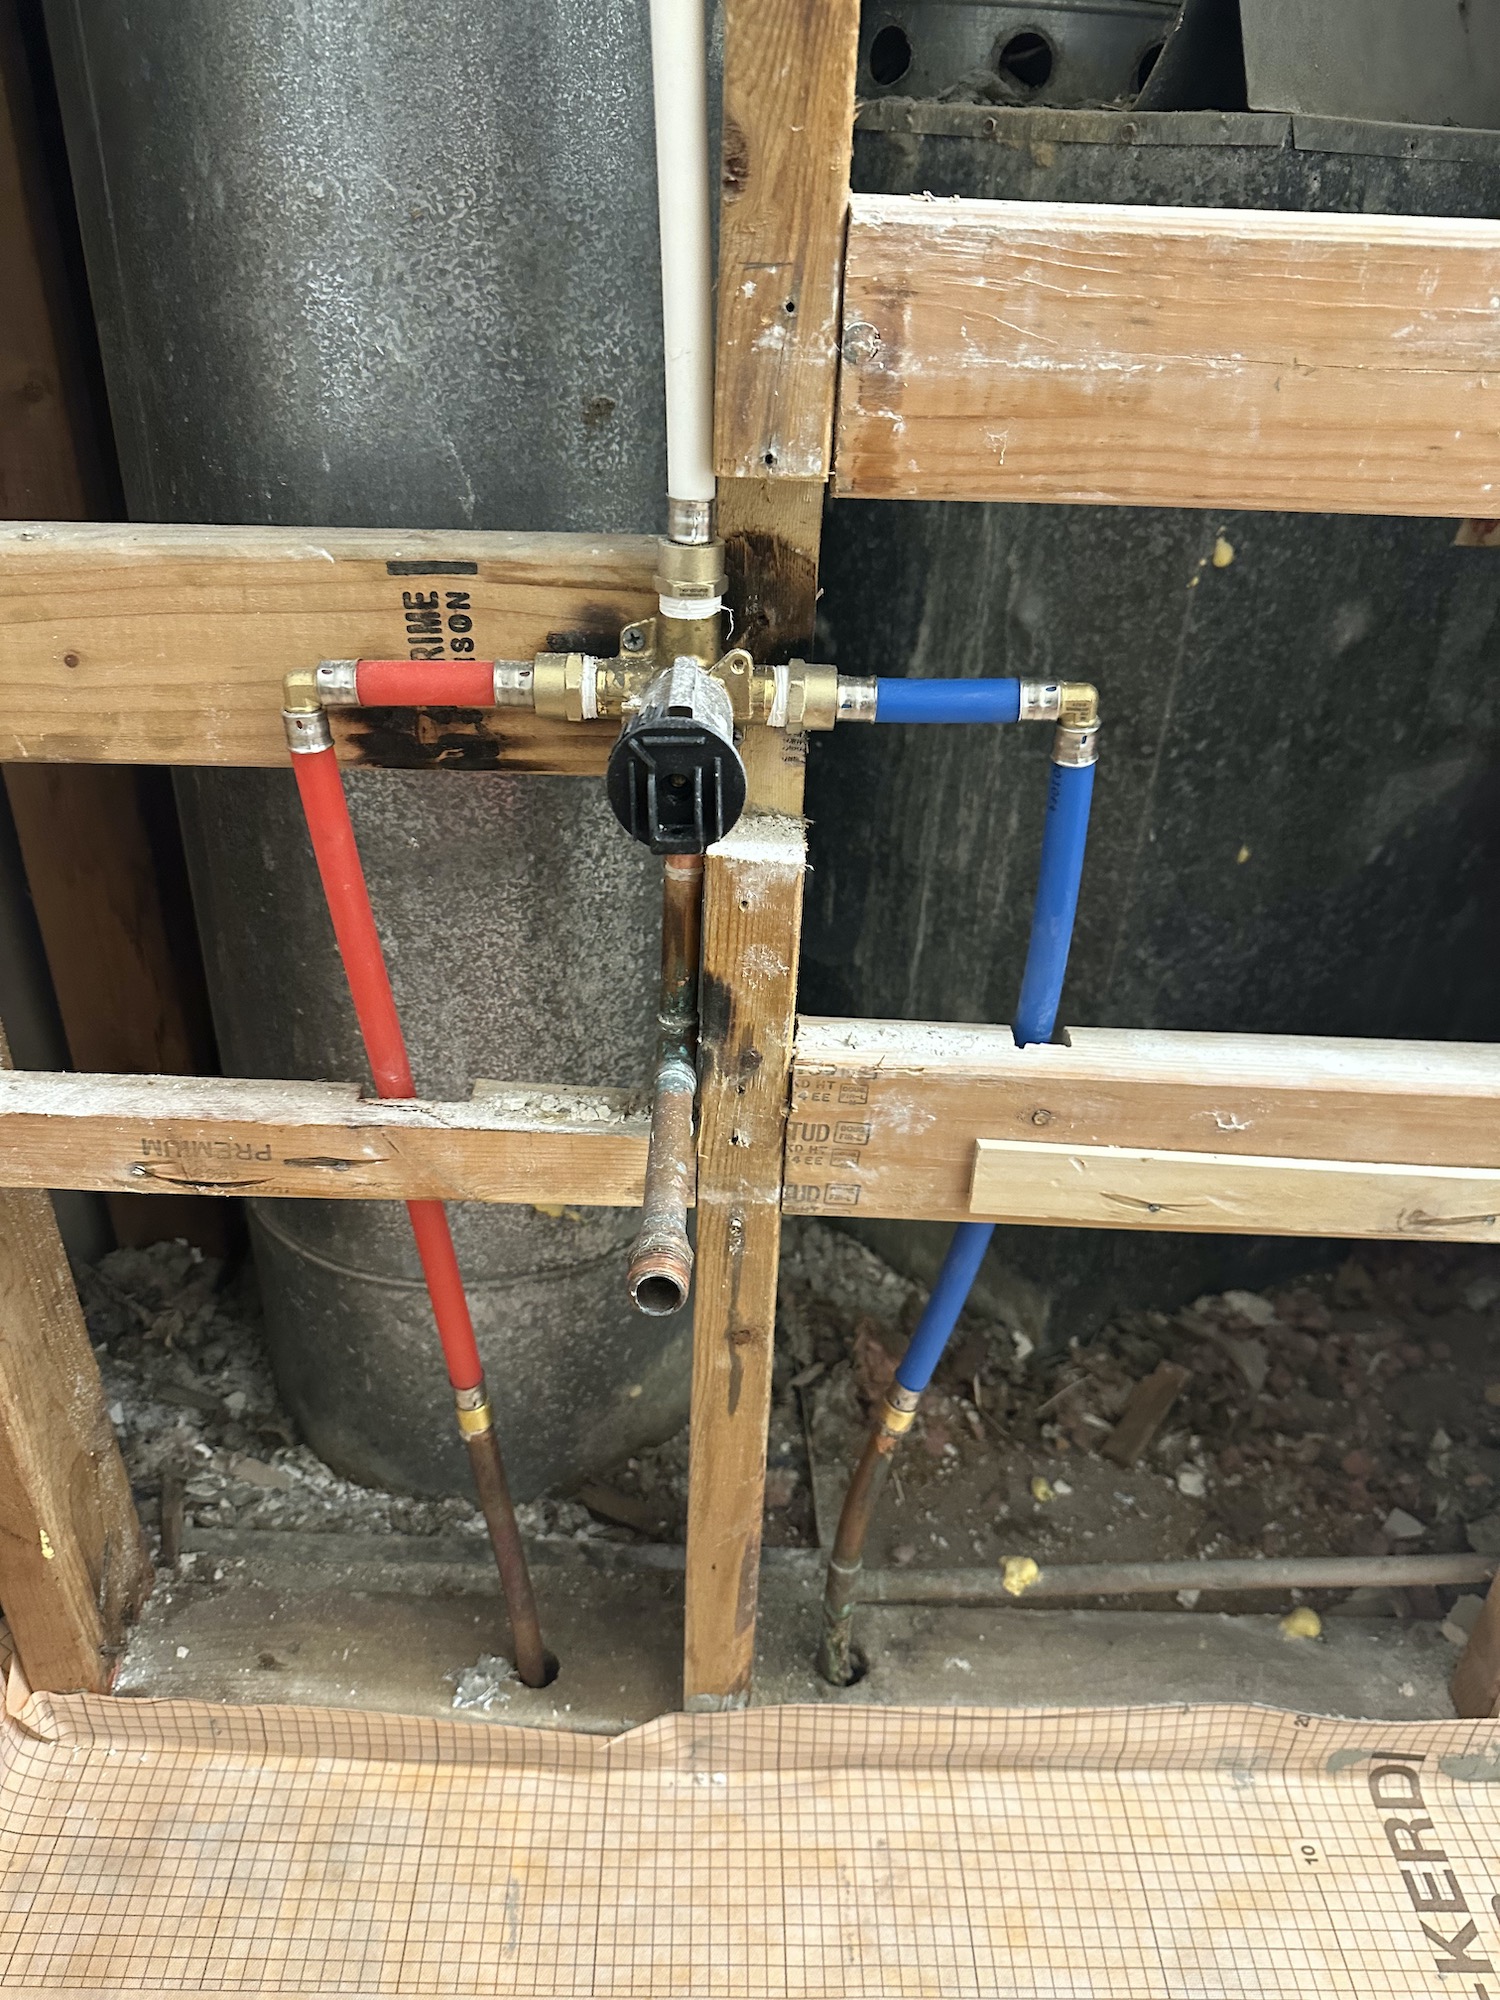
The wall was opened so the shower connections and surrounding conditions could be reviewed before the new surfaces were installed.
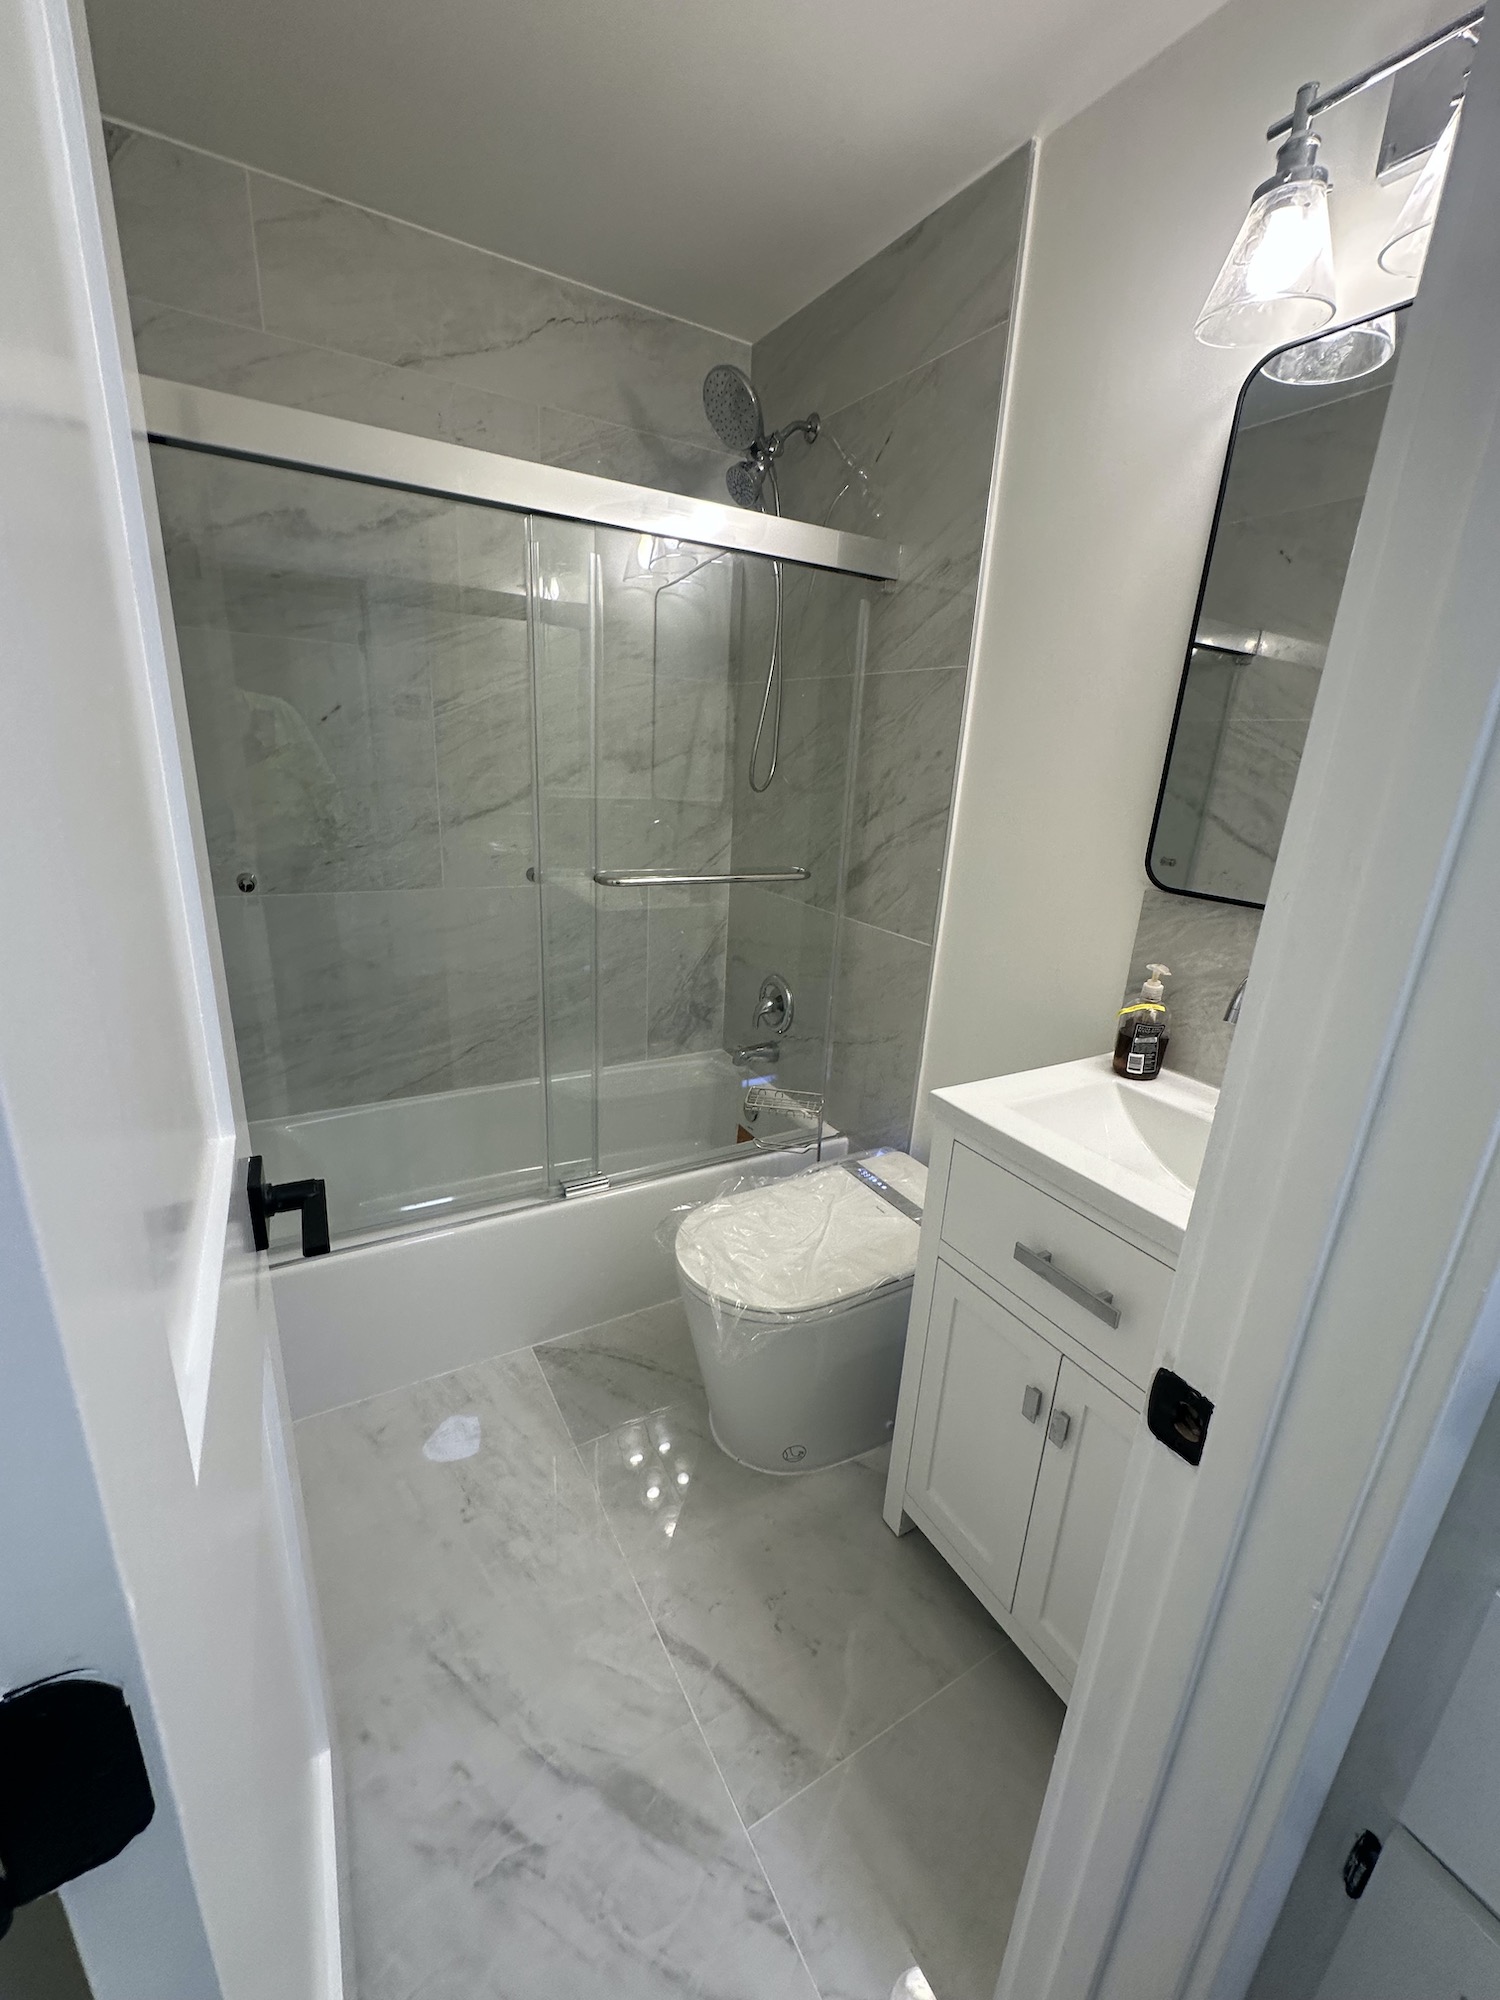
The finished bathroom combines practical fixtures, larger tile, cleaner lines and carefully sealed transitions.
How It Was Built
The finished tile is only the visible layer. Good results depend on what happens before the first tile is installed.
Protected the work area, removed the existing tub, wall tile, toilet, vanity, sink and fixtures, and cleared debris for inspection.
Checked the exposed bathroom surfaces and completed the wall and floor preparation needed for the new installation.
Set the new acrylic bathtub and coordinated the shower valve, tub spout, showerhead and fixture locations before closing the walls.
Prepared the tub surround with the required backer and waterproofing details before tile installation.
Planned the tile layout, made precision cuts and installed the wall and floor tile with attention to alignment and transitions.
Installed the vanity, sink, faucet, smart toilet and shower trim, then completed grout, silicone and finish details.
Checked operation, completed the punch list, cleaned the work area and reviewed the finished bathroom with the homeowner.
Plumbing Rough-In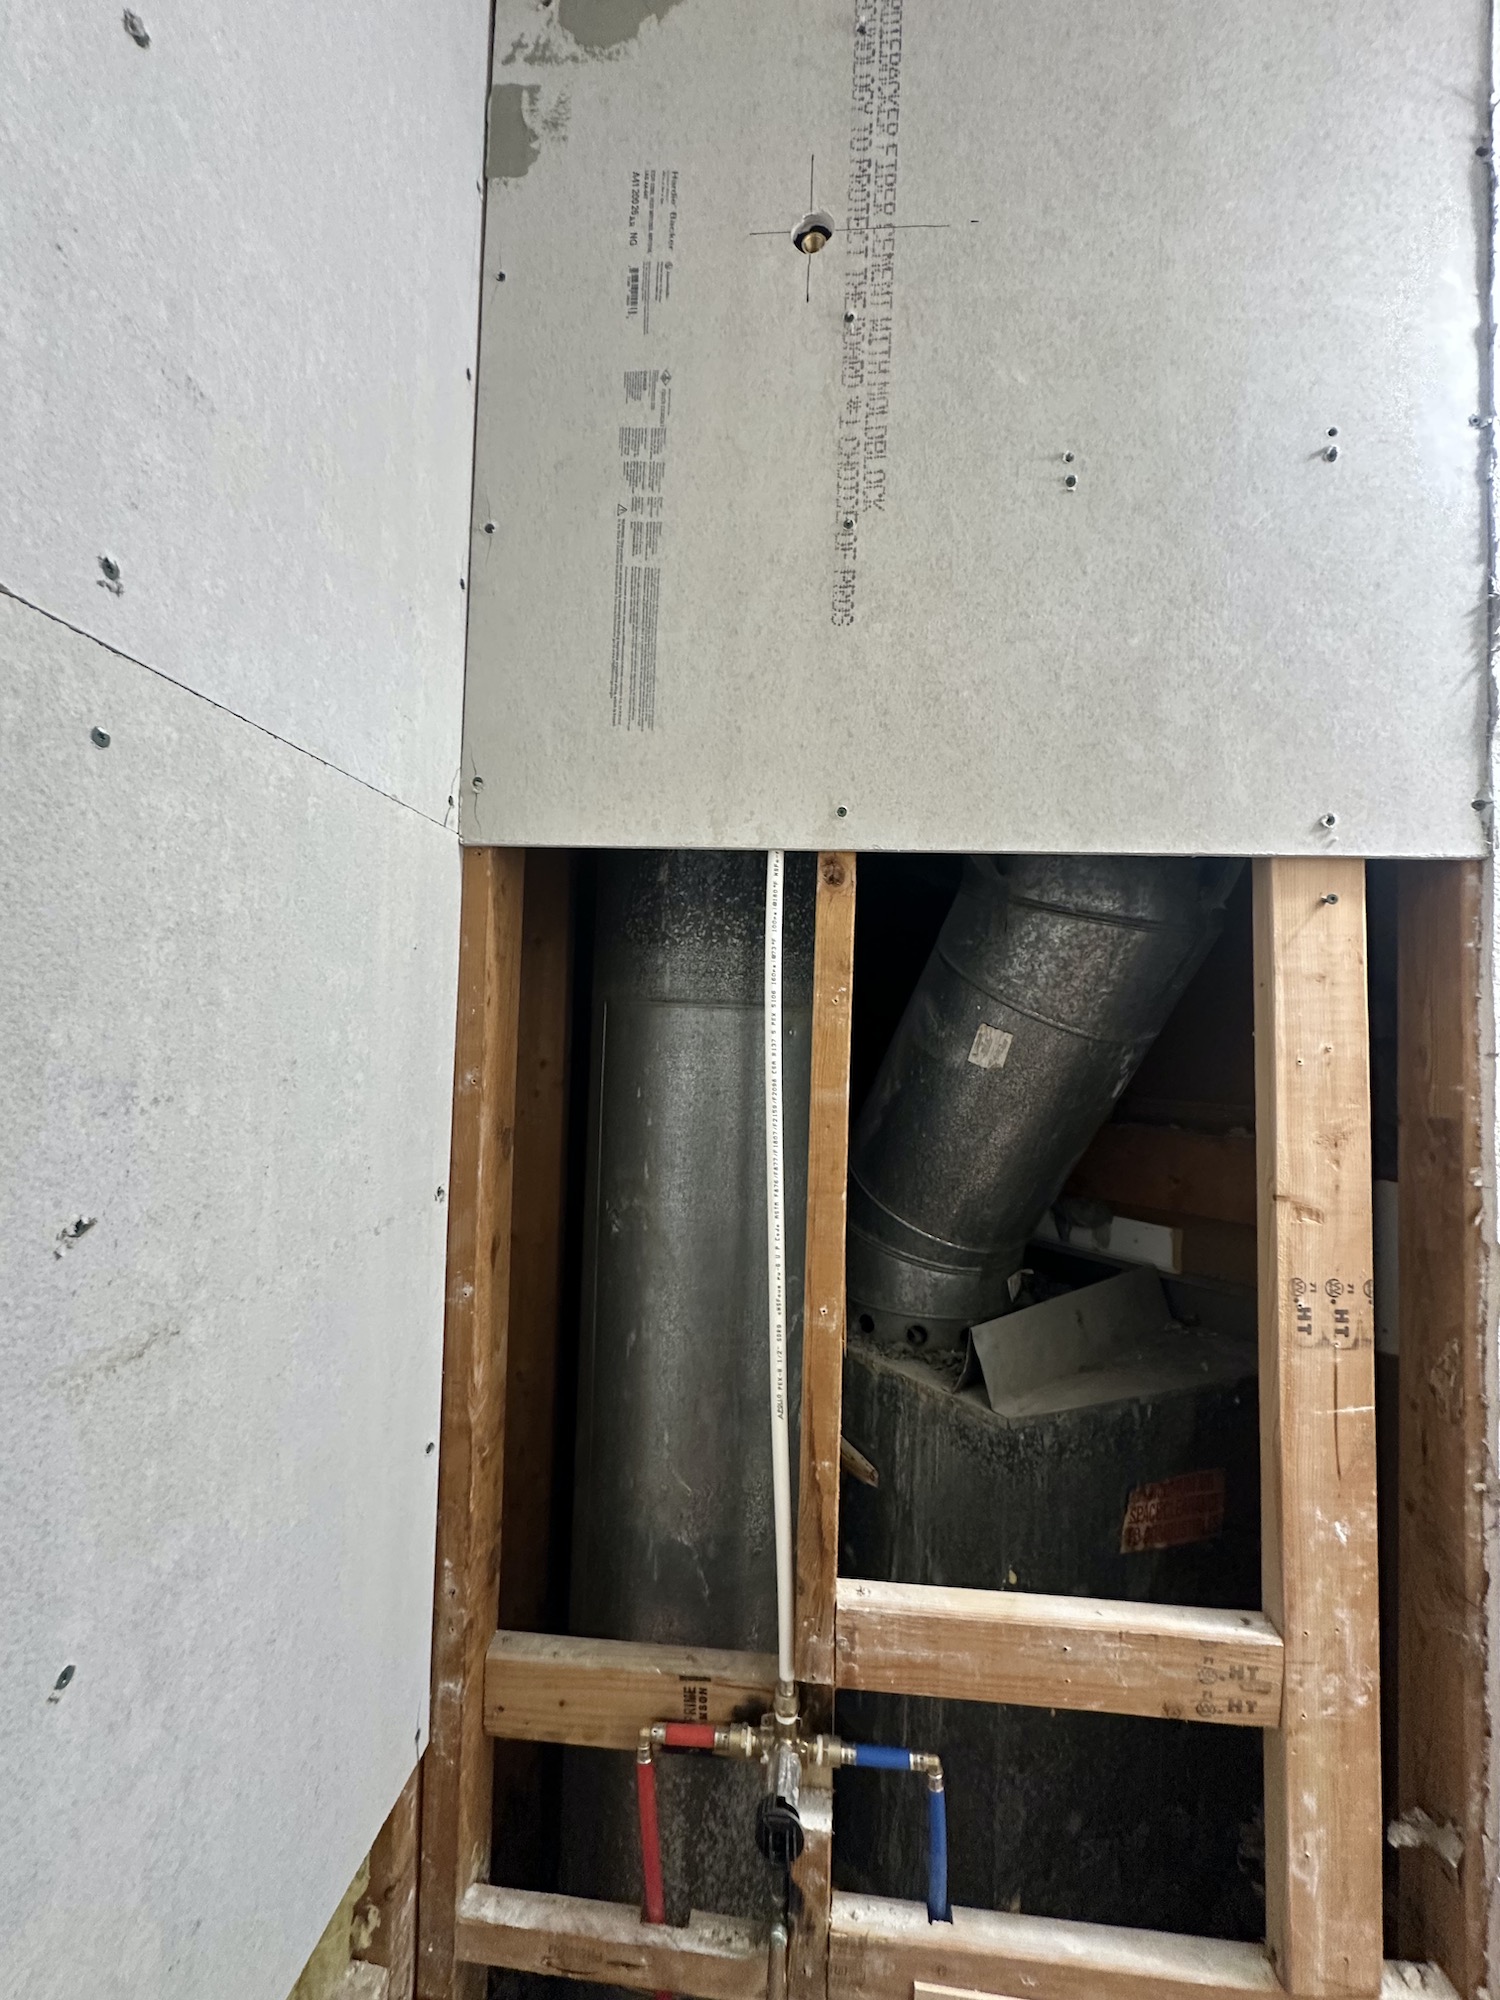 Wall Preparation
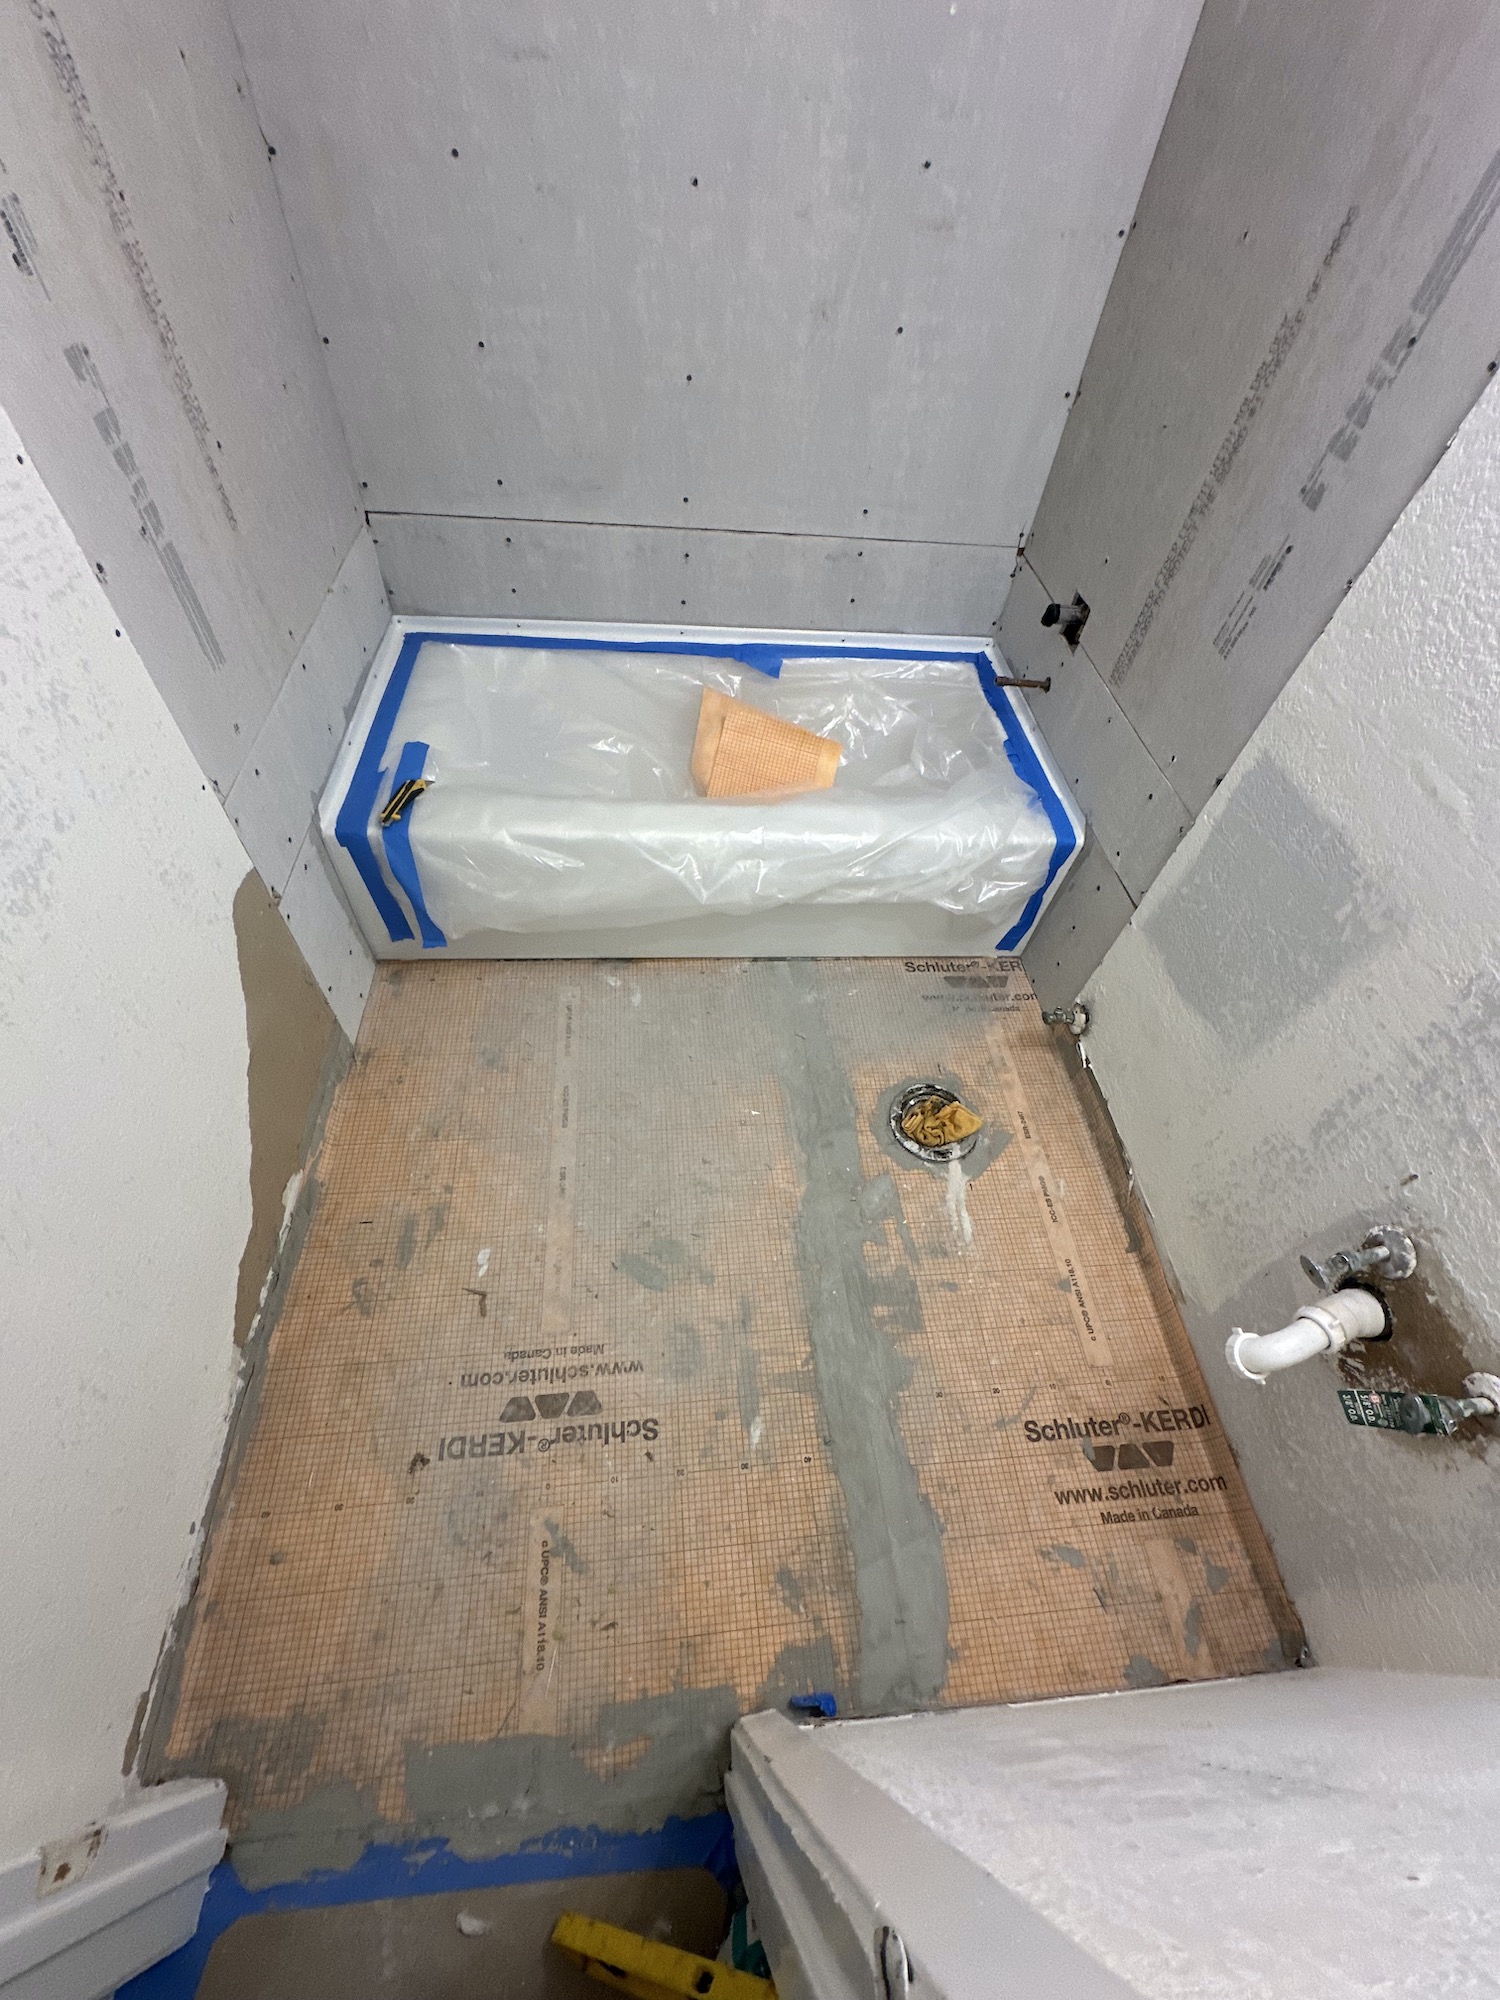 Tub & Surface Prep
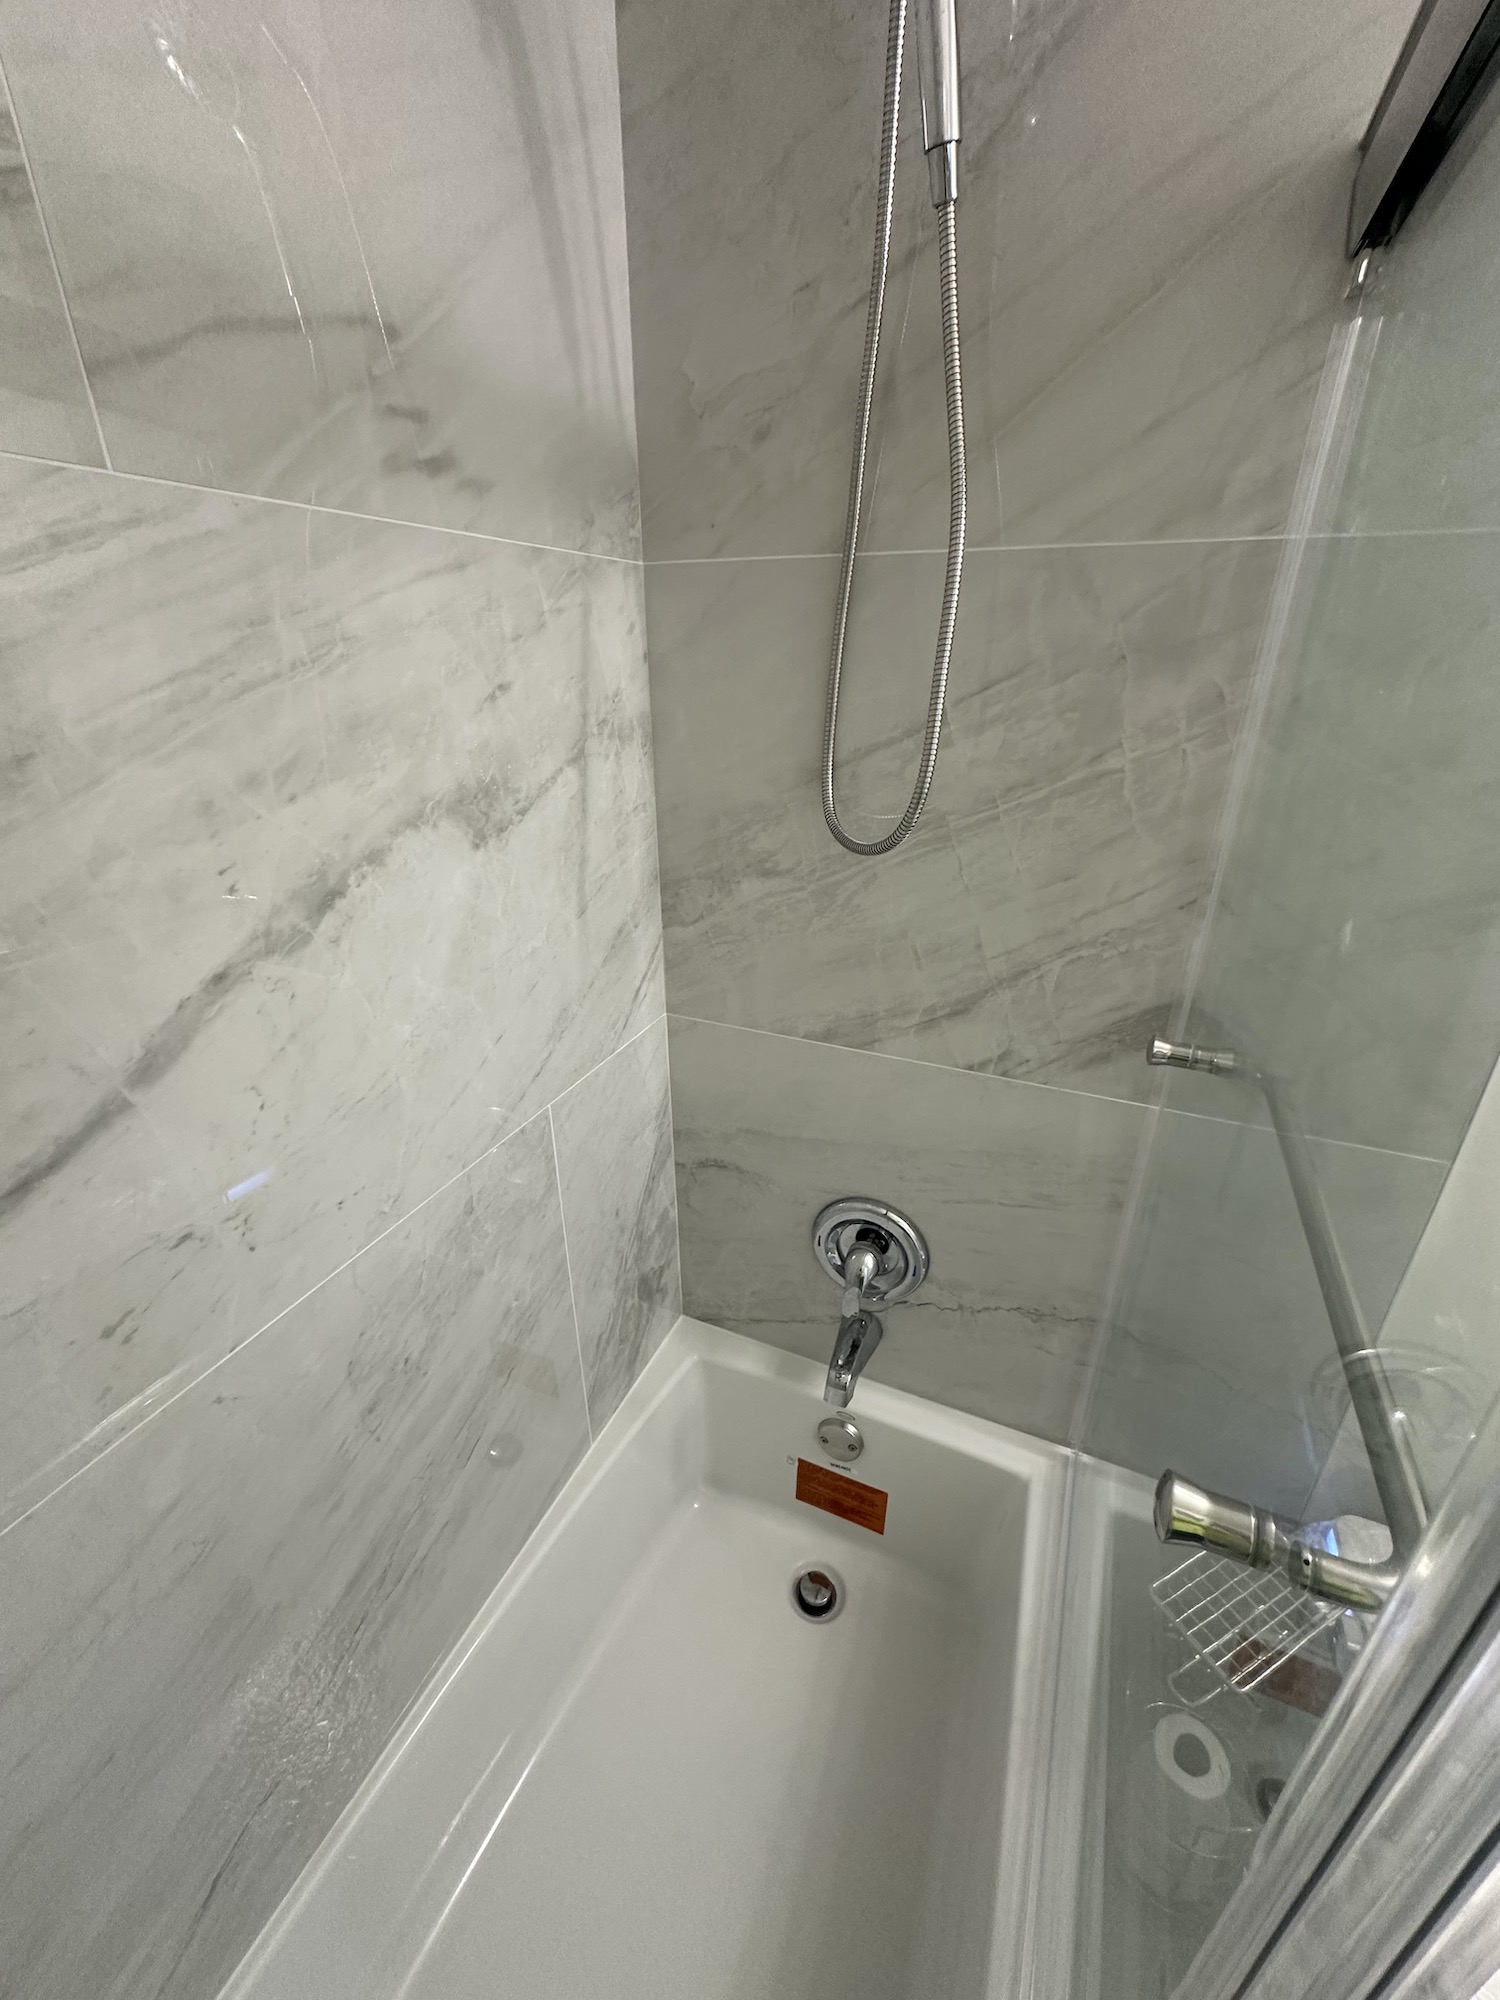 Finished Wet Area
Project Walkthrough
Take a closer look at the large-format tile, new acrylic tub, glass shower panel, updated fixtures, vanity and smart toilet in the completed space.
Real Project Pricing
Real project pricing gives homeowners a useful starting point. Your price depends on size, existing conditions, layout changes, tile selection, plumbing or electrical requirements and finish level.
Labor Investment
60-Second Project Planner
Choose the closest options. We will include your selections with the estimate request so the first conversation is more useful.
What type of project?
What matters most?
When would you like to start?

One Accountable Point of Contact
Kirill Ostrovskii, Owner & Project Manager of Kir Remodeling, coordinates the scope, scheduling, crew communication, finish decisions and final walkthrough. When licensed plumbing or electrical work is required, the appropriate specialists can be coordinated as part of the project plan.
Bathroom Remodeling FAQ
This completed bathroom had a $9,500 labor scope, with materials purchased separately. Your estimate depends on bathroom size, demolition, existing conditions, layout changes, waterproofing, tile, plumbing, electrical work and selected fixtures.
This bathroom phase was planned for approximately 10 working days. More complex layouts, inspections, special-order materials, concealed repairs or custom glass can extend the schedule.
Yes. Keeping the tub, toilet and vanity in their current general locations is often the most efficient approach. Relocating drains, supply lines or walls can add time and cost.
The wet-area assembly must be properly prepared before tile installation. The exact backer and waterproofing approach depends on the selected system and existing conditions. We define the planned assembly in the project scope.
Yes. Large-format tile requires careful surface preparation, layout planning, handling, cutting and setting. Tile size, pattern, room dimensions and substrate flatness all affect labor.
Yes, when the selected model fits the space and the required water and electrical connections are available. Any licensed electrical or plumbing work can be coordinated when required.
The material plan is confirmed before work begins. For labor-only proposals, the homeowner pays for materials directly or reimburses exact receipt cost without a material markup.
Kir Remodeling serves Austin and nearby communities including Cedar Park, Round Rock, Georgetown, Lakeway, Pflugerville and surrounding areas. Project fit and travel are confirmed during the initial review.
Free Initial Project Review
Tell us where the bathroom is located, what you want to change and your preferred timing. We will review the request and recommend the next step.